Pallet wood framed coffee sack art! !!!
Can I get any more boring with some of these titles for my project posts? ??…I’ll have to work on that…but what other kind of title would you want for what is simply a piece of coffee sack art framed up with pallet wood scraps.
It almost seems like any other title would be deceiving, or require more brain power and since Ken’s niece and her college friends were coming to stay with us last week, I had to put all of my strength into cleaning this entirely messy house and getting the basement in order for their stay.
The girls had a fun-filled two days of site seeing and shopping in Chicago, and we had the pleasure of their company for an evening of dinner and visiting. They all sacked out in the “almost finished” basement —> SUCCESS! 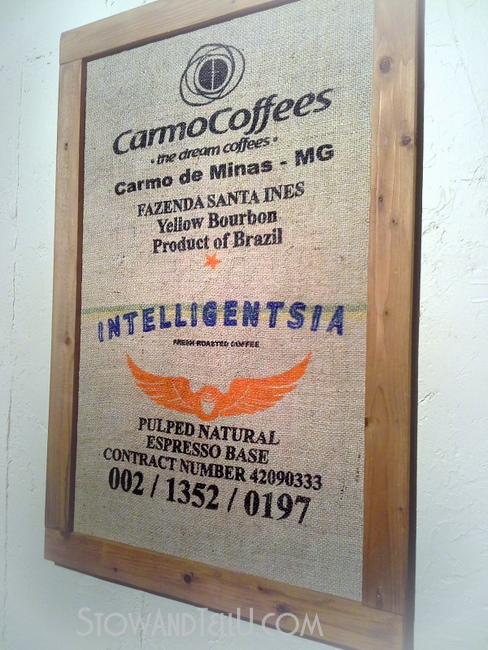
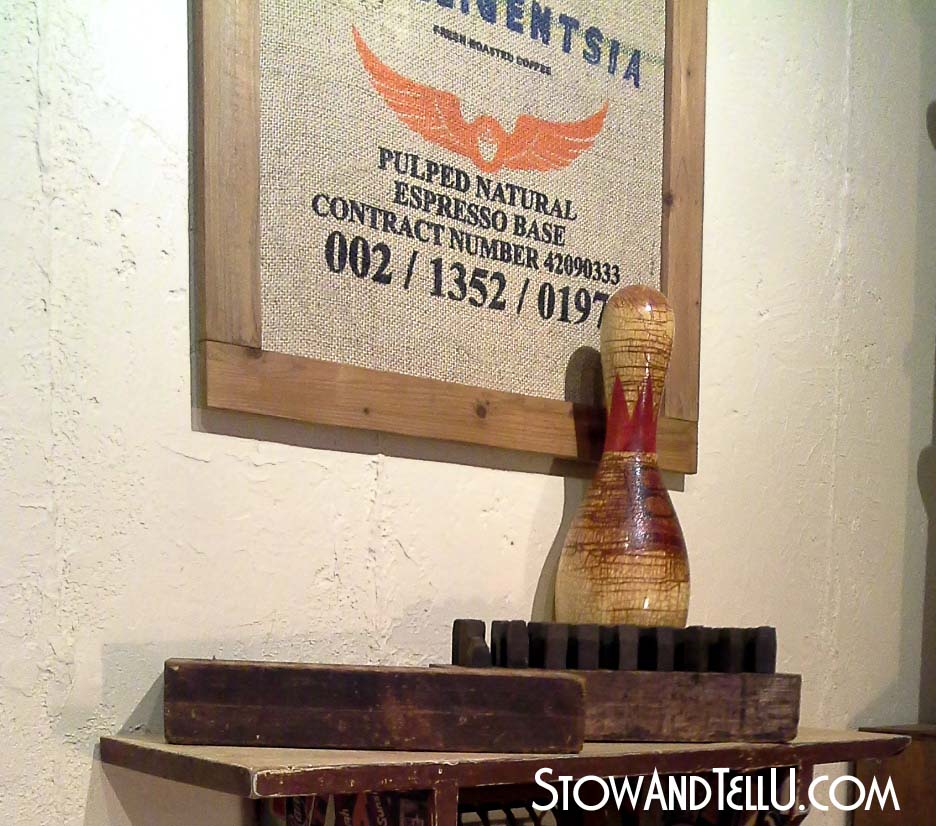
Coffee sack art framed with pallet wood
This one was easier than most on my Richter scale of project difficulty.

I had a piece of foam board that was originally covered with a map of Chicago.
I made this map thing for my mom so that she could place a push pin into every location in Chicago that she lived at as she was growing up. She lived in 13 different homes in Chicago before she married my dad, but that’s a story for another day.
I couldn’t bring myself to throw the map thing out after she was gone. She loved Chicago and loved to look at this map. It was something she could relate to…and remember. I was glad I could give her that comfort.
Maybe one day I can make a nicer framed Chicago map piece in her honor, but for now I was finally ready to give this old map thing make over that I knew she would approve of. After all, she was not the hoarding type.
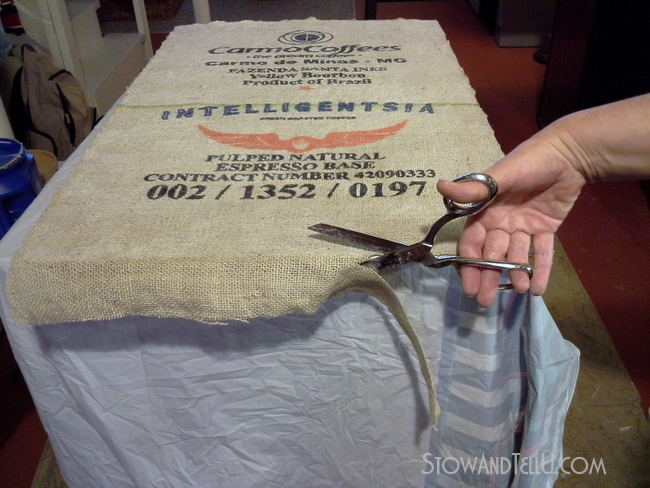
-So, after I washed one of the coffee sacks, as shown here, I cut a piece out large enough to decoupage to the foam board. Note: You can also steel my cheat sheet for washing coffee sacks. Find the cheat sheet download at the bottom of this post.
-Next I trimmed off the excess fabric.
<< Click, here to read the directions for HOW TO WASH COFFEE SACKS >>

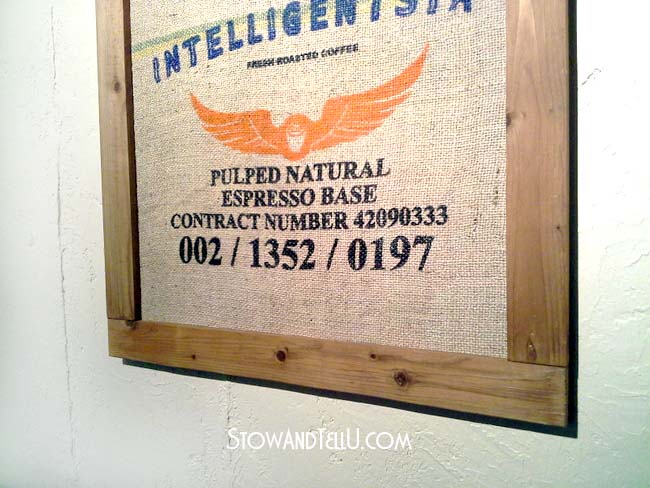
-Ken cut and ripped some pieces of pallet wood down to size, leaving them a little larger than the foam board for overlap.
-I gave them a tea staining and then coated them with coconut oil.
-Then the pallet wood pieces were attached to the foam board, using construction adhesive, in a butt joint fashion, which I learned how to do from a post by Design Dreams by Anne, here.
-I let the adhesive dry some, and then stapled the foam board to the frame on the back side, to give it more stability and to keep it from bending.
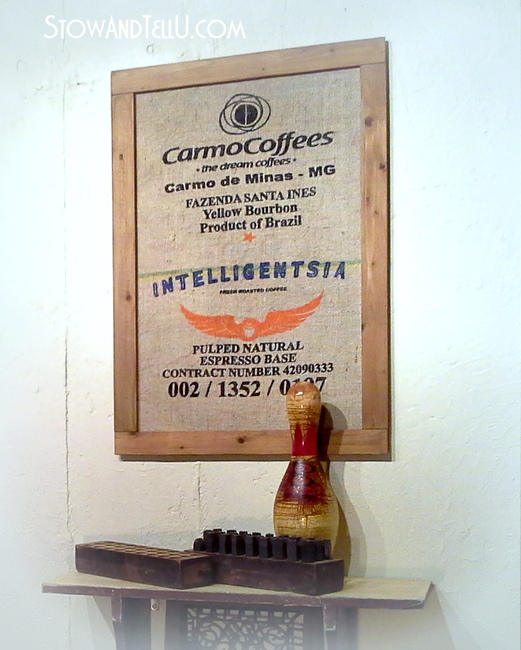
-I attached to our textured and painted basement wall with Command strips and it’s not budging.
Trying to hang stuff up onto cement walls is not as easy as I thought. It requires either drilling holes into the cement or finding some other way to hang a pieces. We are still working on finding some other ways, but more on that to come.
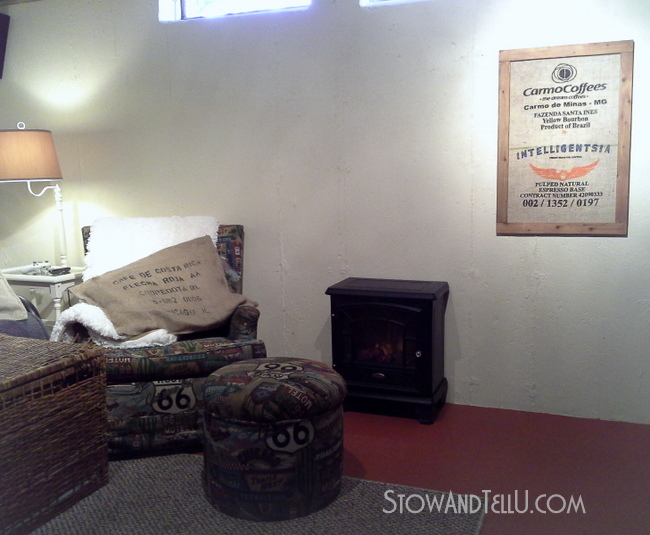
Meanwhile, the basement walls are getting perhaps a little more interesting with some coffee sack art, but I still have some ideas I’m tossing around for adding a bit more interest to these walls.


You also may have noticed that the good old Route 66 shelf has remade an appearance. I’m thinking it’s going to work out quite well as a small side table kind-of-thing rather than a hanging shelf. For now anyway.
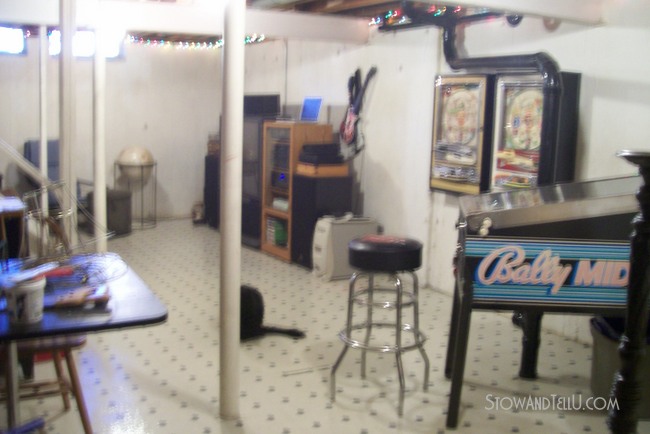
So above is a quick, albeit blurry BEFORE shot of the TV side of the basement.
And below are a few AFTER photos, which proudly show off our newly painted exposed ceiling—>
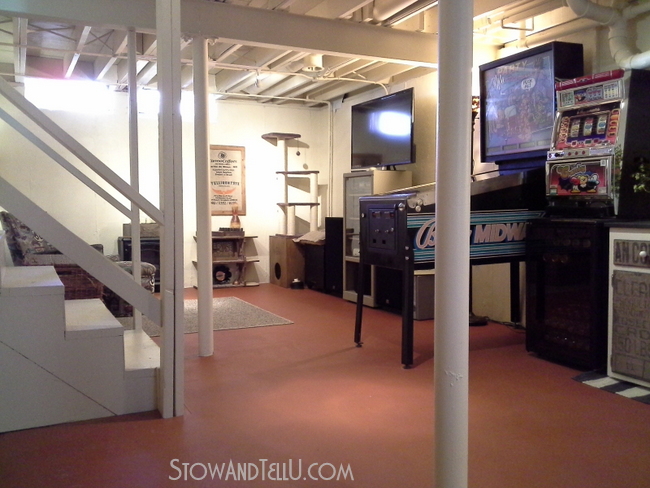
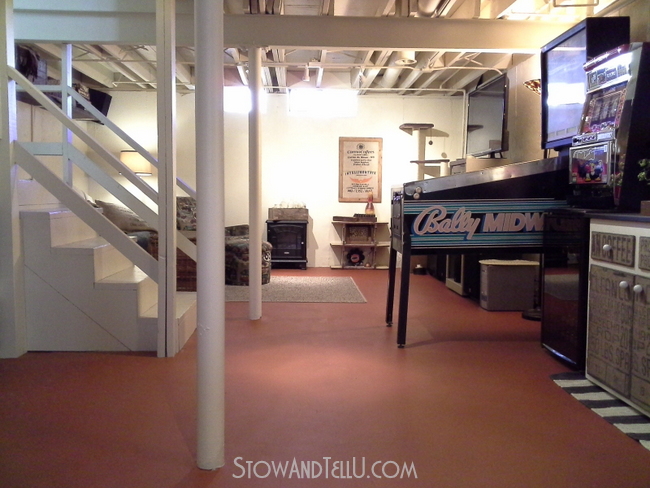
Ken’s niece and her girl friends gave the pinball game and slot machine a run for their money~
No pun intended;)
3 Other DIY ideas using coffee sacks
- How to Decoupage Coffee sacks to Furniture
- Simple No-Sew Coffee Sack Pillows
- How to Wash Coffee Sacks without Ruining Them
Game Room Inspired DIY Ideas
- DIY Route 66 Stenciled Dartboard Scoreboard
- Simple Pallet Wood Framed Coffee Sack Art
- How to Mount Pachinko Machines with French Cleats
Happy days ~ Amy
Anne@designdreams says
That looks fabulous!!! Great job Amy!
chris aka monkey says
i love this i always wanted to do something with a coffee sack alas one of many things ha ha, it’s fun having young people over they have such spirit xx
Sharleen says
Well done. Looking good.
Danni@SiloHillFarm says
Amy, you have totally rocked that basement! I love it! I really love your framed coffee sack too. Very cool! Anne is awesome and like you has inspired me more than once!
Feral Turtle says
I love that you covered your moms map with the coffee sack! She probably would be happy to know you recycled it and moved forward! I find it kinda hard to get rid of stuff to do with my mom but I am inspired by this Amy! Perhaps I can think of ways to refurbish too. Coconut oil as a stain is genius. I would have never thought of this. Your basement looks amazing and so darn clean. Love it!
Sherry says
I want to rip some pallet boards 🙂
Great job Amy! Your basement is looking amazing too. A fun place to hang out and get your craft on!
Bliss says
It’s awesome, and boring titles are the best they tell me exactly something not to miss!
Doreen@househoneys says
Fabulous job Amy! One of my favorite projects to date, and wow, your basement has come such a long way! You must be so happy with it?!