I have a small townhouse and yet, a lot of craft supplies and other random belongings that I would like to keep under wraps, but handy at the same time. Thus, I am trying to unify and prettify the look of my storage so it will hide my clutter while becoming one with the room….Good luck with that, right?
Call it a LAUGH OUT LOUD or a LABOR OF LOVE project, it’s all part of my LOL storage box series.
Why decorate card board boxes? Well, for one, because it’s nearly free…where supplies are concerned, anyway. I can’t turn my nose up at that! Secondly, I’ve already had some success with card board storage, for example, the way the DIY beer box storage has been keeping all of our cds and dvds that we can’t seem to part with. I did that project last year and the boxes, as well as the storage system have held up just fine. If it works, don’t fix it?

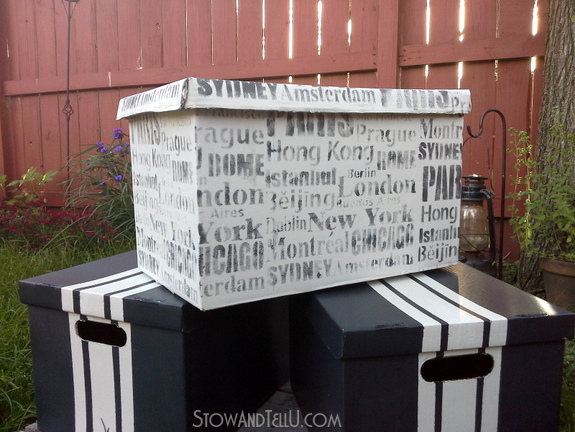
The grain sack boxes were the first up, and those turned out swell, in my opinion, so this time I’m gave it a go with a store bought, travel inspired stencil.
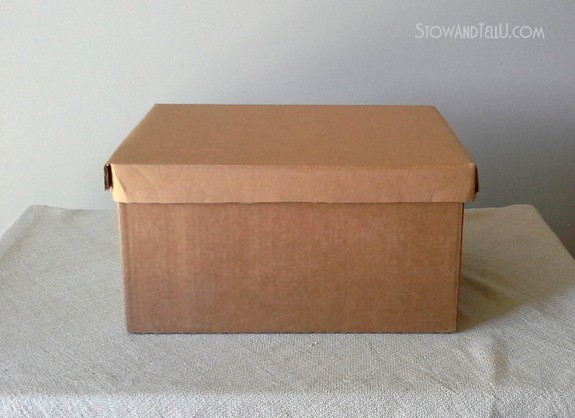
I didn’t use a pre-fabbed lidded storage box this time, but rather I made one myself following the general directions from the DIY lidded storage box.
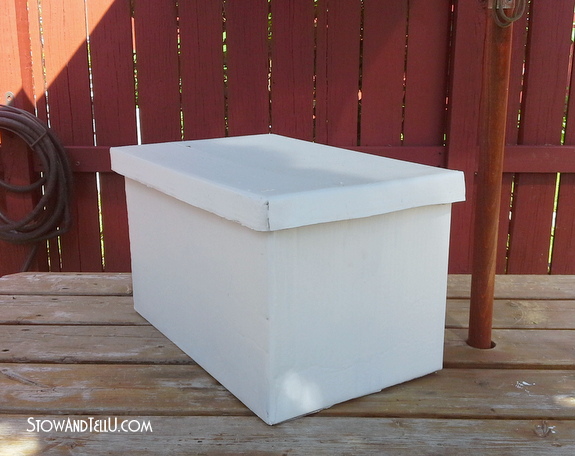
I gave the box and lid 2 coats of a white primer and off white craft paint mix using a roller sponge. I Let dry between coats and then let dry overnight. (I also kept a container of this paint mixture aside for touch-ups.)
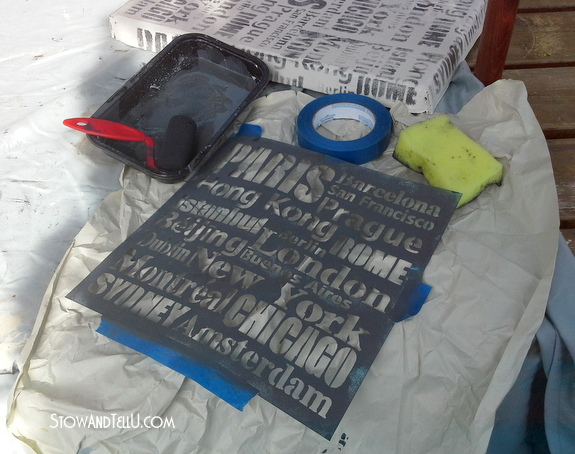
I used the same stencil that I used on the blue jean travel organizer, a foam cleaning sponge and several sheets of craft paper to dab the sponge on.

I did not get fancy, aim for perfection or freak over a few blotches that were made while stenciling this box and lid. Basically I just placed the stencil down in various non-uniform positions and started pouncing over the stencil with a craft paint mix of black, white, and off-white.
Note I made sure the paint was a little lighter in color than the batch I mixed up for the grain sack boxes.
I tried to keep the sponge as dry as possible, which helps keep the blotches down. Having newspaper or craft paper near by to dab the sponge on, a lot,was the key trick that worked for me.
I let a few minutes dry time go by between laying the stencil down on the next section. I also tried to vary up the placement of the stencil so that it looked random to some extent.
Once it was all dry, I took a sponge brush and the white paint mixture and touch up any blotched areas.
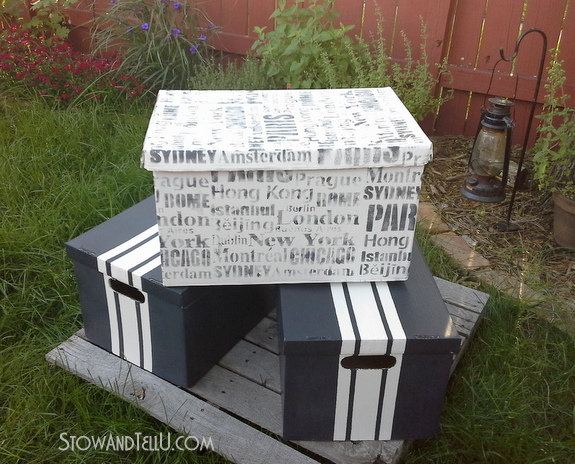
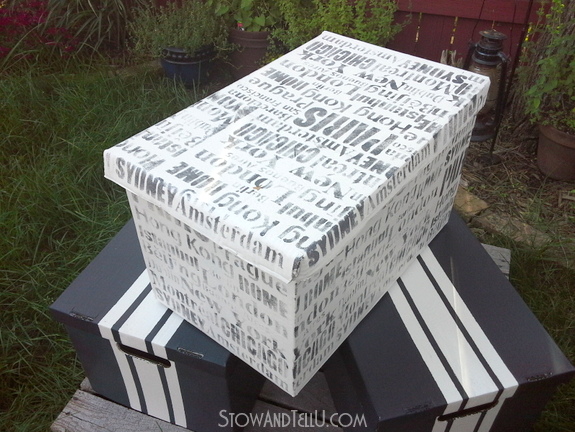
That was all it took to make a stenciled storage box! I did have some uneveness with the print pattern, which was okay with me, but if I were doing this stencil on a piece of furniture, I would probably lighten up the color just a bit more for less contrast.
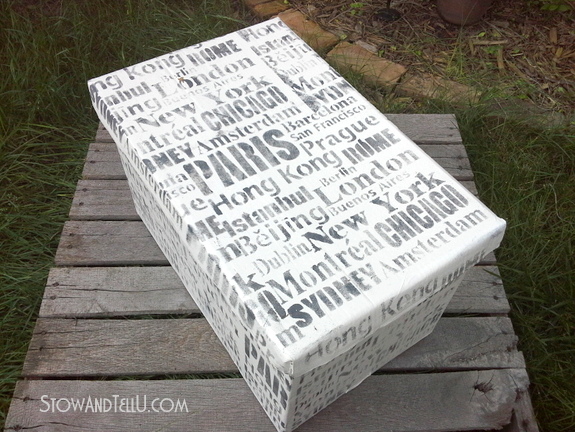
All in all the stenciled box fits right in with the lock of the grain sack boxes. Stacked in a corner or on a shelf, these boxes will give a sense of design to the room for cheap, if nothing else.
What do you use to hide your clutter?… I’d love to know.
Hope your day is storing up to be a good one! ~ Amy

Anne says
I LOVE it!! Where did you get that stencil from?? I want one!!!!
Feral Turtle says
Theses are beautiful! The stencil and stripes are perfect together! It inspires me but I would just be happy to get my room organized into boxes. My craft room has become a dump and run kinda area. Perhaps that will be on my winter list! I hope you do a tour of your completed crafting area! I know it will be awesome!
Mel says
They are absolutely fantastic. I love the stencil idea they’d be great in boys rooms too.