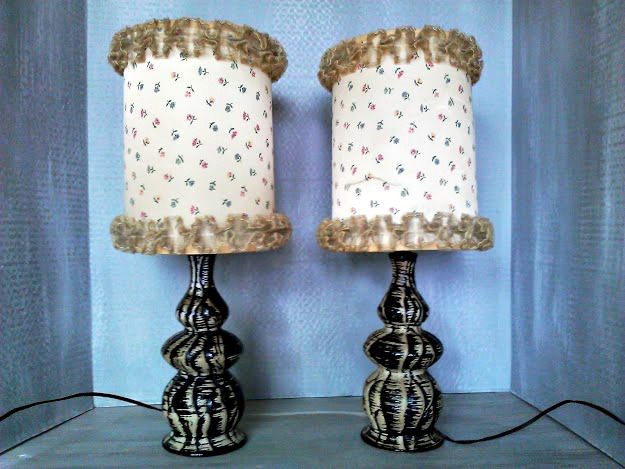
I found the funkiest pair of black and white textured lamps, while antique shopping down in Kentucky last spring. Spotted from across the room, these lamps were partially hidden from full view on the shelf. They were crystal clear on my texture radar; however, and complete with ruffle trimmed lamp shades no less.
Ruffled trimmed shades that were pretty… hmmm… let’s just say “different”.
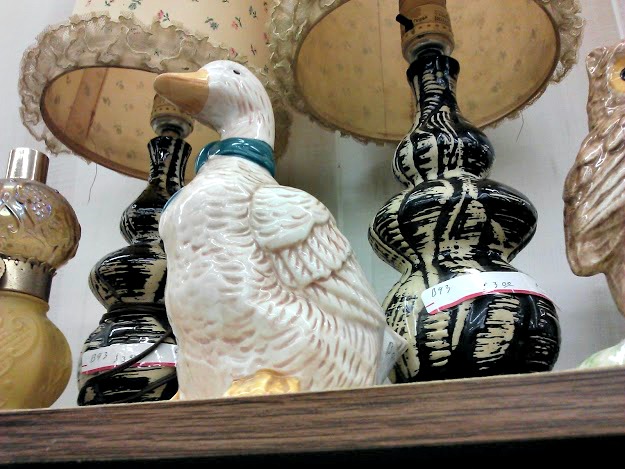
 Not so much different from anything you’ve ever seen before, but more along the lines of different from the black and white lamps that they were on!
I found this shade/ lamp combination to be very curious. The lamps themselves are vintage for sure, and most likely from the fifties era, if I had to guess. Could it be possible that these calico-patterned, tutu fabric-trimmed shades are the originals?
“No way,” would be my first reaction, but then, perhaps at one time… that kind of bad was actually good??
I might just have to research that one day, meanwhile I had plans to revamp these lamps.
As they say, don’t fix it if it ain’t broken. Since the shades fit the lamps perfectly, I decided that salvaging these exact shades was the way I wanted to go.
I removed all the ballerina tutu trim and threw it in the garbage…like real fast!
There were a few small tears in the shade, so I dabbed some Elmer’s glue along the tears and let that dry. I then gave them a coat of black spray primer; and then several coats of Mod Podge Matte and black craft paint combined; and finally a spray coat of Mod Podge sealer.
 How to make the ruffle trim:
I had two lamp shade projects I fell in love with while I was planning these.
First was the most darling-ever burlap rose-trimmed lamp shade project that you can see here from Sheila at Plum Doodles. Sheila re-purposes a fancy wire trash can as a lamp shade adding burlap rosette trim. Super cool!!
Second was a very elegant ruffled lamp shade project that you can see here from Shanna at Restoration Redoux. Shanna uses a drop cloth to make a fabulous ruffle pattern throughout the lamp shade. I never would have guessed that it’s a drop cloth on that lampshade!
I followed Shanna’s tutorial only I decided to keep the trim look that the shades originally had.
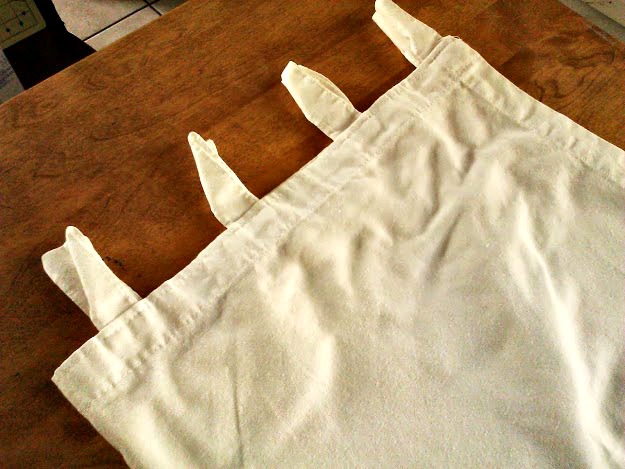 I used a salvaged, white, large curtain panel that I picked up from the thrift store.
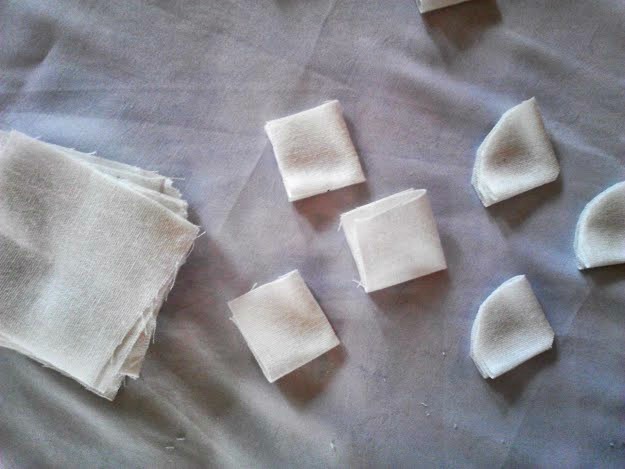 I cut a bunch of squares, folded the squares and cut around the corner to make circles. I also trimmed off just the tip of the point that would be the circle center when unfolded.
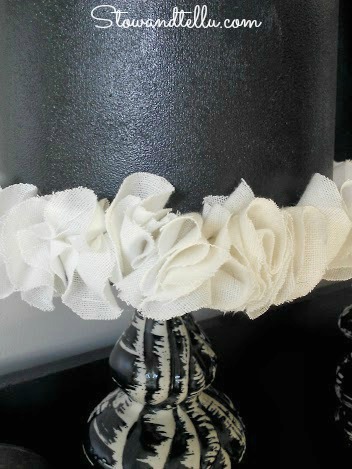
 I scrunched the circle from the center and hot glued the circle to the shade on a slight angle, then reversed the angle for the next circle, and so on.
 When I was done, the trim appeared too large at first, so I dabbed a bit more hot glue in the center of each circle and scrunched it down some more until it was size proportionate to the shade and lamp.
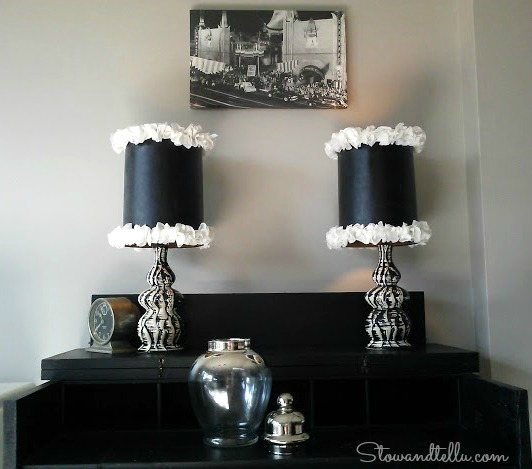
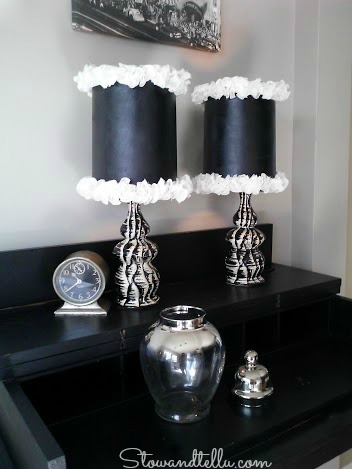

A funky lamp deserves an over-the-top lamp shade, and I’d say it’s got one now. Looking rather Hollywood regency and glam, I think these ruffle trimmed lamp shades will do.
You can see other lamp shade projects here.
If you had to guess, do you think those were the original shades?
The curiosity is getting the best of me…. Thanks for stopping by ~ Amy
heather f says
these turned out so fun and funky!! Love them.
SheilaG @ Plum Doodles says
Wow, what a transformation- your shade makeover looks perfect with the lamp bases. Unlike the calico, which just has me speechless. I can’t imagine that the fabric was original, but the shade size & shape works so well with the bases, that it’s hard to believe they weren’t the originals. I’m stumped! Thanks for mentioning my trash can lamp shades. 🙂
Amy says
The original shades are rather curious…and you are welcome, Sheila! Your trash can lamp shade is still one of my favorites out there 🙂
Mel says
Gosh Amy what a find, I love the new look shade they’re beautiful
Amy says
Thank you, Mel. I can’t help but love all that funky texture!
Vicky says
Very Cute! I love the whole display you put together.
Amy says
Thank you Vicky, I wish I could say my whole house looked like that, at least for a while 🙂
Shanna Gilbert says
I am absolutely in love with these! They were so terrible before and now they look like you spent a fortune on them! So unique!
Mary-andering Creatively says
Really pretty and well done. You are so creative.
Amy says
Thank you, Mary, glad you stopped by ~ Amy