Drip art. Have you seen it or even tried to make your own? I just made my own drip art painting this past Saturday afternoon. It’s pretty easy to do, especially since drip art tends to fall into the abstract art category, so there’s no straight lines, drawing, or some of the other technical artist skills needed. At least not for making a piece of art for your own home.
One of the ideas I had for updating the living room was to try and make a piece of abstract drip art that looked a little something like a forest with a light blue sky in the background.
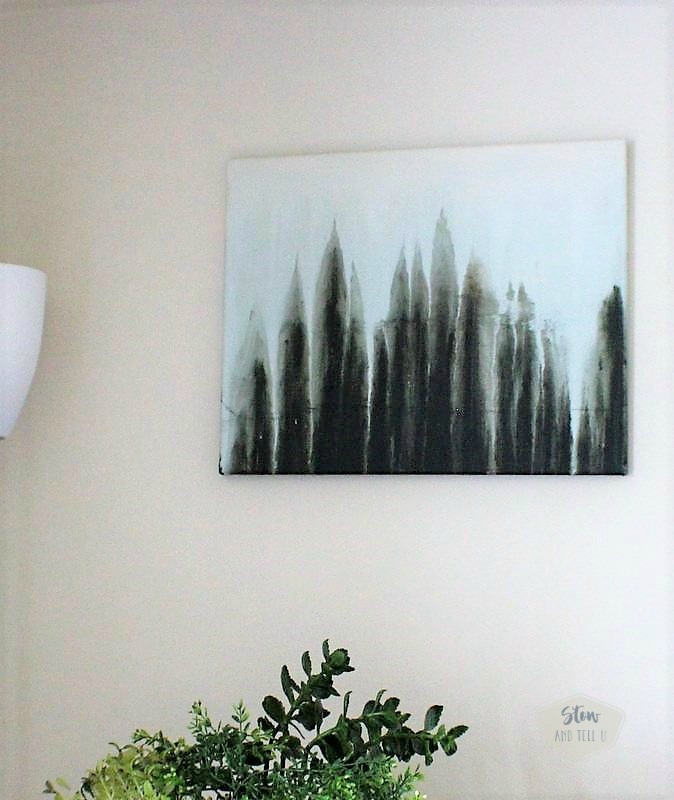
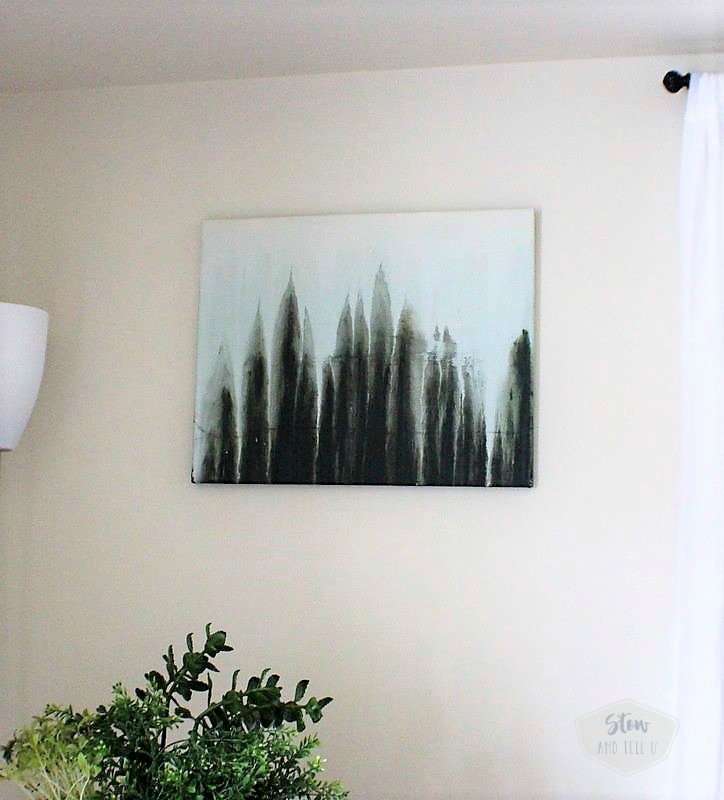
Abstract Forest Drip Art
Here is what I came up with.
My goal with this piece was to use some of the wall color in the painting, bring in the color light blue as an accent color to the room, and capture a hint of what might appear to be a tree line near a forest.
I watched several YouTube videos and read a few tutorials to get the general idea on how to make this type of art. There are quite a few ways to go about it.

Basic steps I used for this project:
– White primer painted over a thrifted piece of canvas art.
– Base coat of light blue (PPG Blue Lullaby) painted over the entire canvas.
– Living room wall color (PPG Antique White) painted along the top.
– Canvas flipped over so the bottom was at the top.
– Plastic cups filled with dark evergreen and muted brown paint, then poured both along the top of the canvas (which was actually the bottom.)
– Allowed time for green and brown paint to drip almost to the bottom (which was actually the top.)
– Flipped the canvas back over so the canvas was right side up again.
– Sprayed water onto the canvas with a spray bottle. Let it drip down.
– Dabbed more light blue near the top with a small paint brush. Sprayed more water. Let drip.
– Dabbed the green and brown over the “tree” areas. Sprayed more water. Let drip.
– Brushed the wall color along the top. Sprayed more water. Let drip.
– Repeated the last 3 steps several times until I like the way it looked.
– Total cost: $15.00
- Left over wall paint, free
- 3 paint samples $2.99 each
- Spray water bottle $1.99
- 3 Craft paint brushes, $1.00/ each
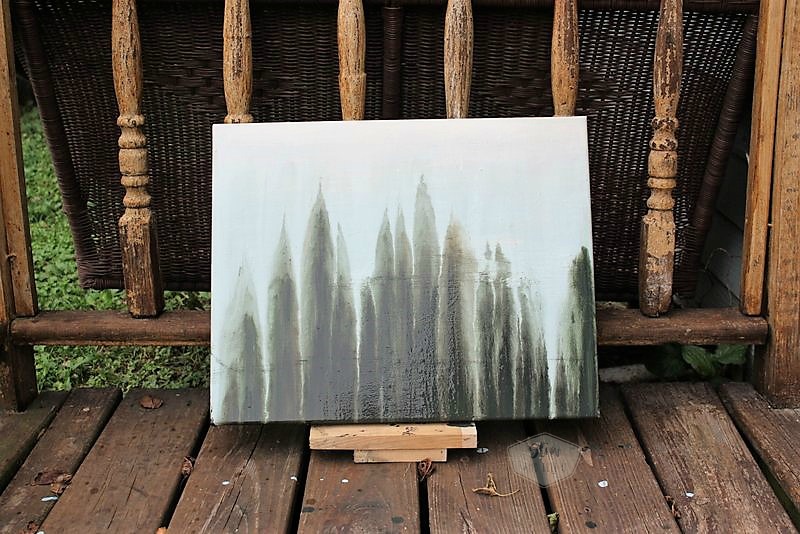
Here it is drying outside the shed.
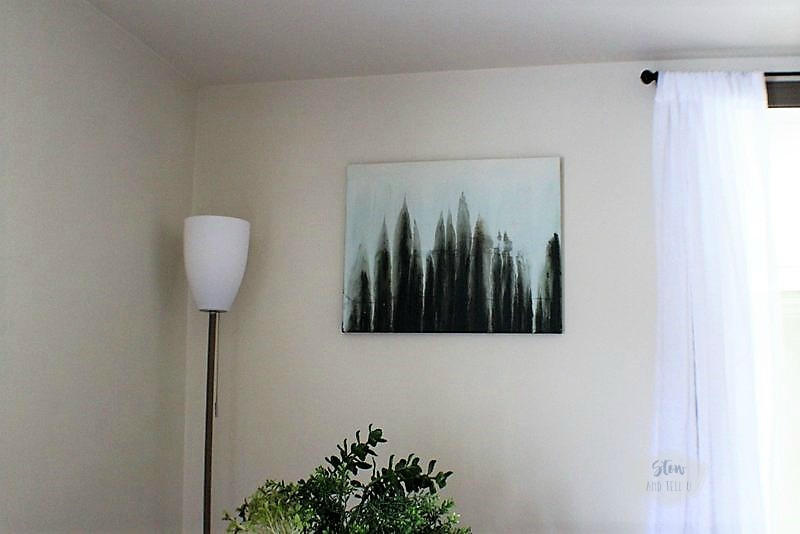
Our living room walls are still barren, but I think I’m going to like the way it looks in this room, once it’s all said and done.
Making this drip art was pretty experimental, so if you plan to give it a try, don’t be scared. It’s so fun to see what you can come up with, it’s totally worth it.
Drip art video
After making my own drip art, I had my great nieces over and they made their own side-by-side drip art for their bedroom. I let them pick their own paint colors. They chose one 3 craft paints and used gray paint for the background because they are hoping to paint their bedroom gray. They each started with the teal, and then each one chose a primary color and then they used the other color as an accent. Watch this video to see them in action while making the drip art.

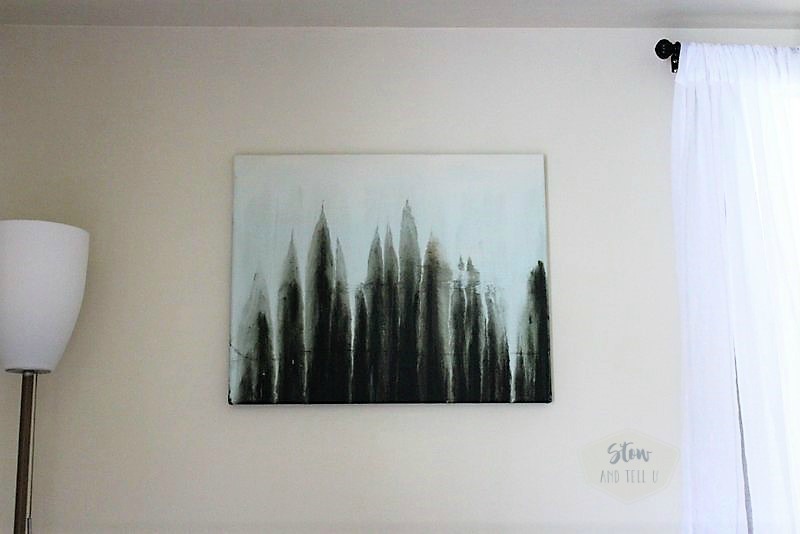
This may or may not look like a forest to you, and you may or may not like it. Nor may anyone else for that matter, haha. But I’m not gonna let that get me down because for my first attempt at drip art, I have to say, I really how it turned out.
And I think I’m going to try to make a bunch more!! #ArtTherapy.
Marius says
Awww.. This is simple yet nice. Ok, I’m still watching videos and reading articles about painting because I want to try it out myself. One question please, in steps #4 why did you flip canvas over so the bottom would be at the top of before applying those colors? Are you scared of messing it up?
Amy says
Hi Marius,
I flipped the canvas, so that I could get the darker colors to drip down an look like (upside-down) trees 🙂 Thanks so much for stopping by. Try a drip art project soon. It’s so fun to do!!
Marius says
thank you Amy!