• Home
  • About
  • Disclosure and Privacy Policy
  • Contact
  • Browse

Stow&TellU

  • Home
  • DIY & Crafts
    • Craft Projects
    • Home Decor
    • Furniture
    • Storage and Space Saving
    • Holiday Ideas
    • Seasonal
    • LIghting
    • Rooms and Redesign
    • Garden & Outdoor
  • Daily Life
    • Recipes
    • Travel
    • Route 66
    • Perspective
  • Faux and Tell U
    • Faux Round-Ups
    • Faux Techniques and Projects
  • Resource Library
  • Freebies
Home » DIY & Crafts » Craft Projects » Faux Canvas Wrapped Photo Framing

Faux Canvas Wrapped Photo Framing

December 3, 2012 By Amy 6 Comments

3 Dec
75 shares
  • Share
  • Email

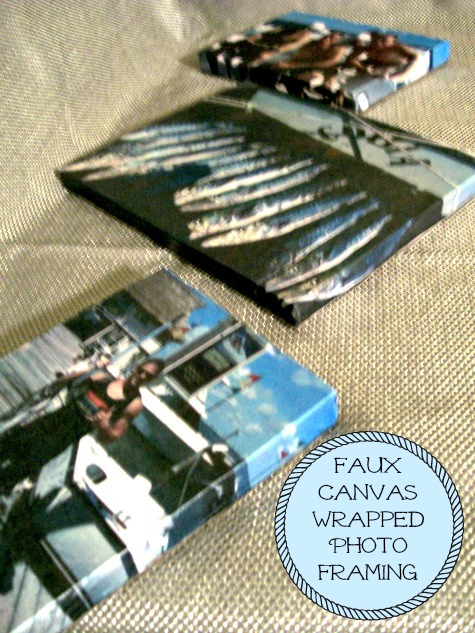
I framed these great photos, taken from my son’s recent deep sea fishing trip in Cancun, Mexico. I wanted to get a canvas wrapped look for these photos, but I didn’t want to spend money to buy canvas frames, so I cut up some left over plywood and no longer needed mdf shelving to use as my canvas. This canvas-wrapped look photo framing project would be an easy and inexpensive diy gift idea. Any kind of photo would work. It’s the gesture of preserving meaningful memories that is truly the gift.

Faux canvas wrapped photo framing - StowandTellU

Supplies

Plywood or MDF shelving (hopefully left over from other home improvement projects)

Table saw

Power drill and medium drill bit

Color printer

Printer Paper

Decoupage Glue – I used Mod Podge

Sponge brush or roller

Small tray or tub for Mod Podge glue 

Cut plywood or mdf shelving into 5”x7”, 4”x6”, or 3”x5” pieces. You will want to use a table saw, or you may be able to take it to your local lumber yard or hardware store, and ask them to cut it for you for a small fee.

TIP: If you can, make extra blocks, as these may come in handy for other craft projects.

Center and drill 2 holes on an angle going toward the edge of the block, on the back of the wood block. This will be where you will the nail will go when you hang the picture on the wall. By drilling 2 holes, this will allow you to use both landscaped or portrait directional photos.

From your computer, ipad or mobile device, determine what pictures you would like to frame. Print these pictures using a color printer and standard or high quality color printer paper. Most printers now have photo printing options. You will need to follow your printer’s program to scale the image size you would like to use. For example, an 8”x10” image will wrap nicely over a 5”x7” plywood block, and so on.

Once you have printed a photo, dry fit it over your wood block. Make sure there is enough room for the image to wrap around the block. If the photo is 1/8” less, this is okay, because there is a way to fix that once you have attached the photo to the block.

Center the wood block on the back side of your photo.

Draw a line around the wood block with a pencil.

Cut out the corners.

Fold in the edges on 2 of the opposing flaps.

Apply decoupage glue to the front of the wood block, and the center of the penciled area.

Lay block down over the penciled area.

Apply glue to the sides of the wood block and the flaps, and then wrap the flaps around the wood block. Let dry.

Apply 2 more coats of decoupage glue. Let each coat dry.

Apply 1 coat of sealer. Let dry.

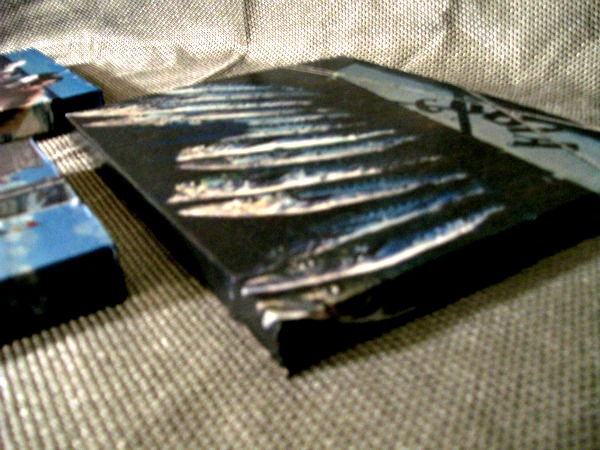
TIP: If you have a small gap of paper showing on the bottom edge of your canvas, use an ink stamp pad in a matching color to blend the edge.


13Close up 2 of wrap2

Faux canvas wrapped photo fraoming - Stowandtellu

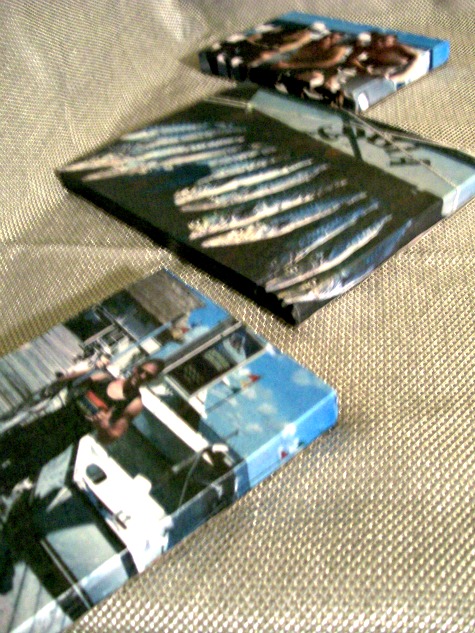
If you happen to have left over plywood from a home improvement project, or mdf shelving that you no longer need, than, this is a simple and cost saving way to make “canvases” and obtain a canvas-wrapped look for photos and artwork.


75 shares
  • Share
  • Email

Filed Under: Craft Projects, Faux Techniques and Projects Tagged With: Beach and Coastal, Decoupage Projects, Gift Ideas

« Elf Stocking Ornaments
Deep Sea Fishing Cancun, Mexico »

Comments

  1. photos on canvas says

    April 2, 2013 at 6:03 am

    excellent issues altogether, you simply won a new reader.

    What may you suggest in regards to your put up that you simply made a few days
    in the past? Any positive?

    Reply
  2. 2011 vehicle previews says

    April 10, 2013 at 7:39 pm

    Somebody necessarily assist to make significantly articles I’d state. That is the first time I frequented your web page and up to now? I amazed with the research you made to make this actual submit extraordinary. Fantastic process!

    Reply

Trackbacks

  1. Deep Sea Fishing Cancun, Mexico | Stow&TellU says:
    December 3, 2012 at 9:25 am

    […] his experience, so I wanted to help him capture some of these images creatively.  Check out the Photo Framing Project made with plywood and mdf […]

    Reply
  2. Decoupage Paint Stick Magnets | Stow&TellU says:
    August 23, 2013 at 5:42 pm

    […] of paper to make up a set of these magnets.  I’ve decoupaged storage boxes, lazy susans and faux canvas photo frames, but I’m pretty sure that this is the easiest decoupage project of have done, to date… […]

    Reply
  3. Dos, Don’ts, and Confusion for Your Next Charter Fishing Trip | Stow&TellUStow&TellU says:
    August 9, 2014 at 11:49 am

    […] But DO consider turning those photos into memorable keepsakes by doing something like a faux wrapped canvas photo framing project. […]

    Reply
  4. 5 Things to Use as a Faux Canvas | Stow&TellU says:
    January 16, 2015 at 4:32 am

    […] used cut up pieces of laminate shelving and plywood for this faux canvas photo project to make mementos for my son who went deep sea fishing in Cancun several years […]

    Reply

Leave a Reply Cancel reply

Your email address will not be published. Required fields are marked *

This site uses Akismet to reduce spam. Learn how your comment data is processed.

Looking for Something

Hey! We’re Ken and Amy and we’re here to help you inexpensively turn your home into a cozier living space one DIY project at a time. Read more

Browse by Category

Meta

  • Log in
  • Entries feed
  • Comments feed
  • WordPress.org
  • Home
  • About
  • Disclosure and Privacy Policy
  • Contact
  • Browse

Amazon Associates Disclosure

Stow and Tell U is a participant in the Amazon Services LLC Associates Program. As an associate, we earn from qualifying purchases designed to provide a means for sites to earn advertising fees by advertising and linking to Amazon.com.

Copyright

You’re welcome and encouraged to link to StowAndTellU.com or use a SINGLE image with a brief description and a visible link back to any post. Republishing posts in their entirety is prohibited. Please feel free to pin on Pinterest!

Disclaimer

We love sharing ideas and projects with you, however, we cannot guarantee everything will also work for you. As the reader, you assume any risks involved when completing projects seen on this site. We are not personally liable for projects that are completed based on the ideas and inspiration shared here.

Copyright © 2023 · Stow and Tell U

75 shares