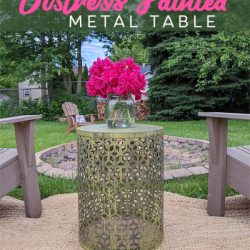
Grab a roller and paintbrush and let this outdoor painted metal table project inspire you to give your patio furniture an update without spray paint.
Last winter I bought one of those lattice-boho-style, round metal side tables. A perfect space-saver for placing our small table-top Christmas tree in the corner. I justified the purchase, by telling myself I would use it out in the yard during the warmer weather.
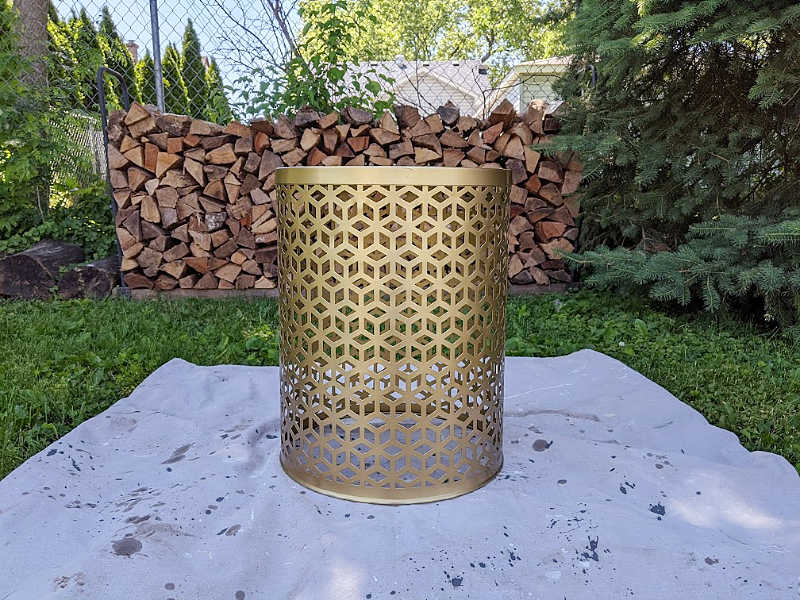
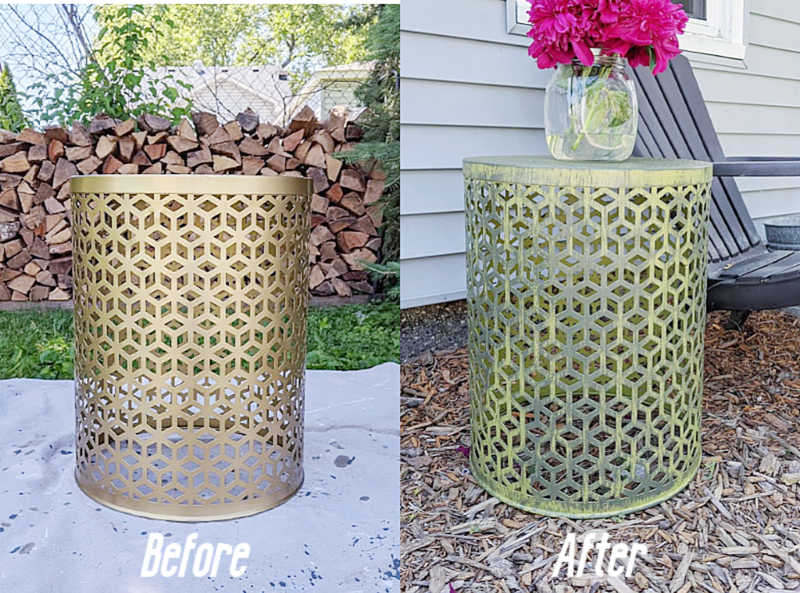
The problem: It is a metallic goldish-brass in color.
And no offense, gold. You just don’t look right in our backyard.
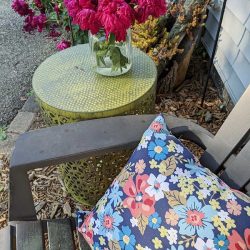
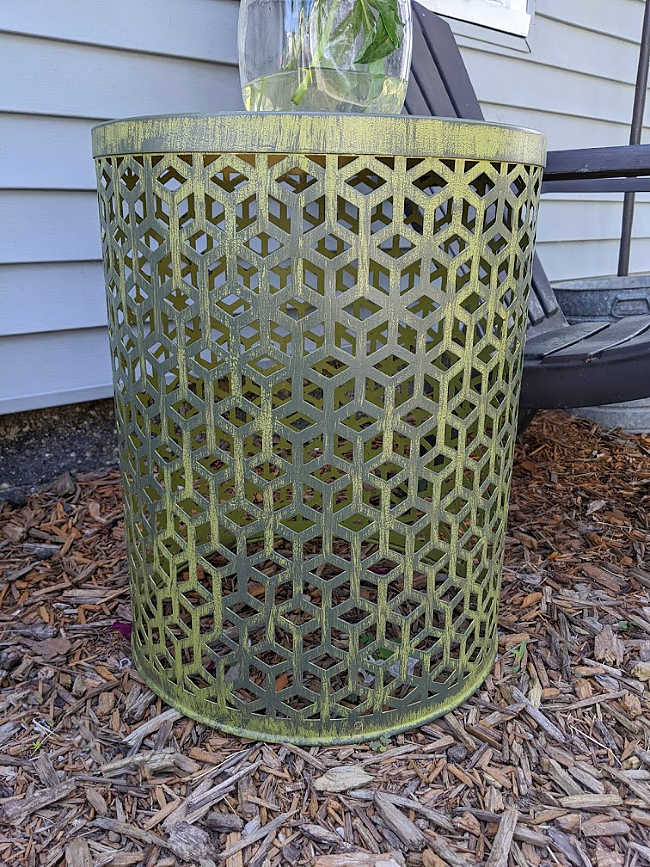
So, last weekend’s project was painting and distressing this round metal drum table, so that it would look like it belonged outside during warmer weather, and inside during the Christmas season.
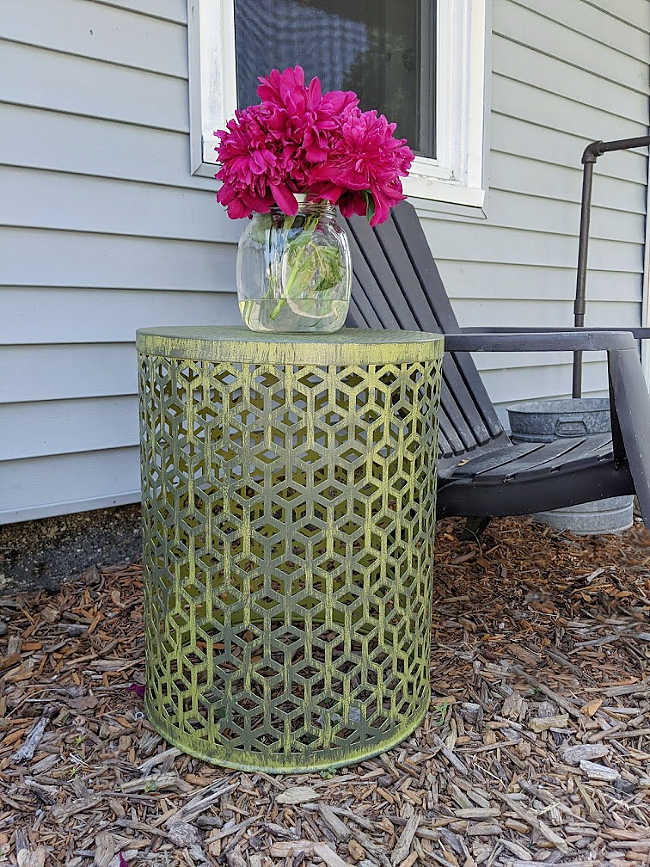
Now, it’s a distressed, mossy green that can easily blend into most outdoor patio styles.

Because in all honesty, Ken and I don’t have any specific patio style at the moment.
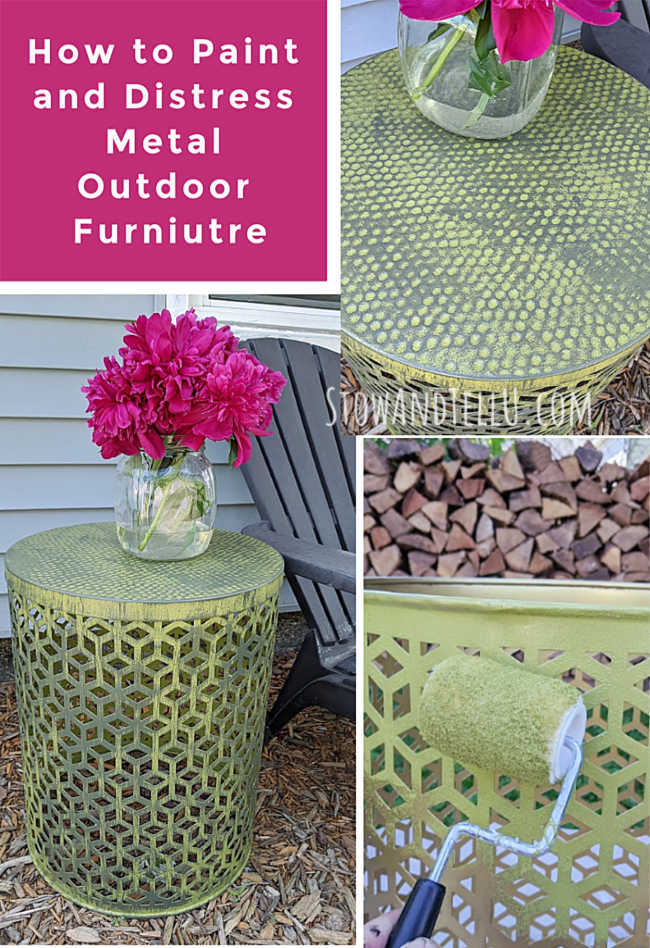
How to Paint and Distress an Outdoor Metal Table
For this project, I used a roller and paintbrush application. Painting metal furniture with this method is pretty quick and easy to do. As it turned out, it only took me a few hours on Saturday afternoon. What may have helped, even more, the fact that I used DIY Outdoor Paint by Artminds which rolled right onto the metal like butter! Not to mention, this outdoor paint does not require the extra step of a clear top-coat.
I can’t say, this is the best paint for metal, but I can say that this paint worked really, really well for my project. It was easy to roll on and provided almost full coverage on the first coat. Additionally, the table has been out in the rain with no issues.
The steps and supplies I used are listed below. Feel free to comment or contact me with any questions.

Supplies used for this outdoor project
- DIY Outdoor Paint by ArtMinds (I used colors Lemon Lime and Evening Shade), found at Michaels
- Klean-Strip Liquid Sandpaper
- Clean, dry, lint-free towel or cloth
- Small (4″) paint roller and roller cover
- Medium-sized chip brush
- Several plastic containers for mixing the paints
- Paper Towel
Note: If you just want to paint, and not distress the metal, just skip the last step of distressing and you will have a solid colored painted metal table (or another furniture piece) and be good to go for summer.
Quick and Easy Steps for Painting with a Roller and Paintbrush
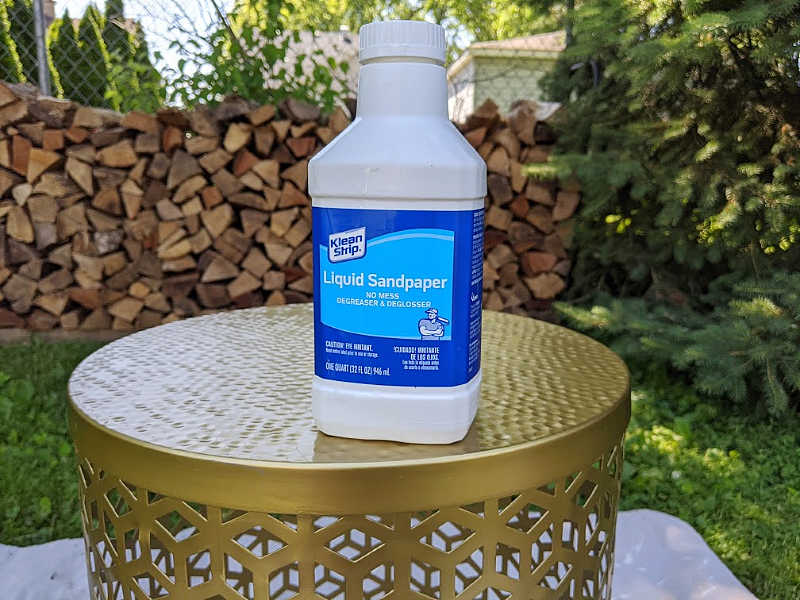
Degreasing the surface with a liquid sandpaper
- Wipe the entire metal piece down with the Klean-Strip, per the directions. Let dry. (This is liquid sandpaper that will not scratch the metal.)
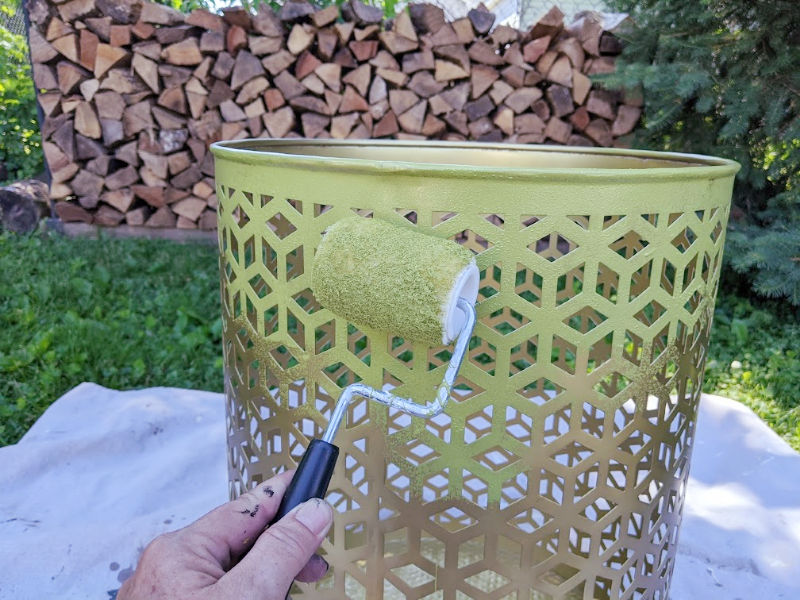
Applying the base coat
- Flip the furniture piece upside-down.
- Start painting with a small to a medium-sized roller (I used this 4” roller), depending on the size of the piece of furniture.
- Allow drying time.
- Repeat a second coat if necessary.
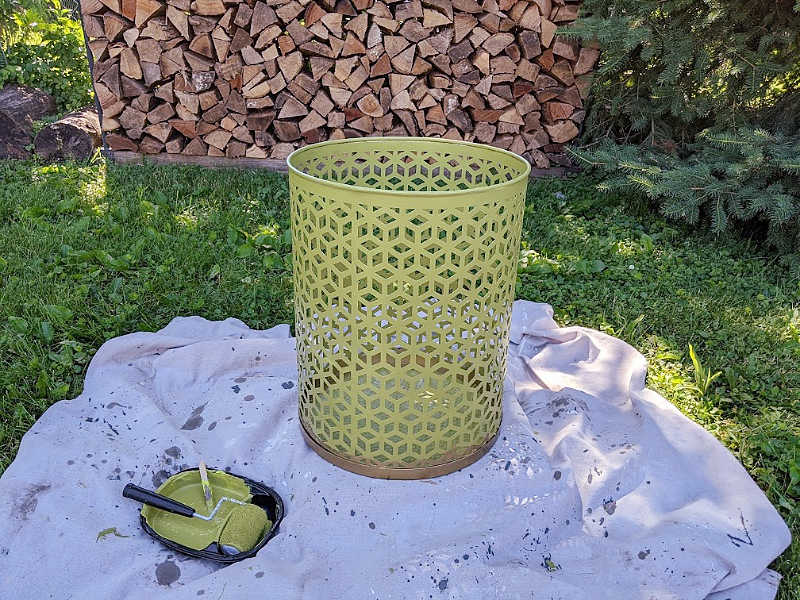
- Next, flip the table right side up.
- Continue to paint the rest of the table with the roller. Allow drying time.
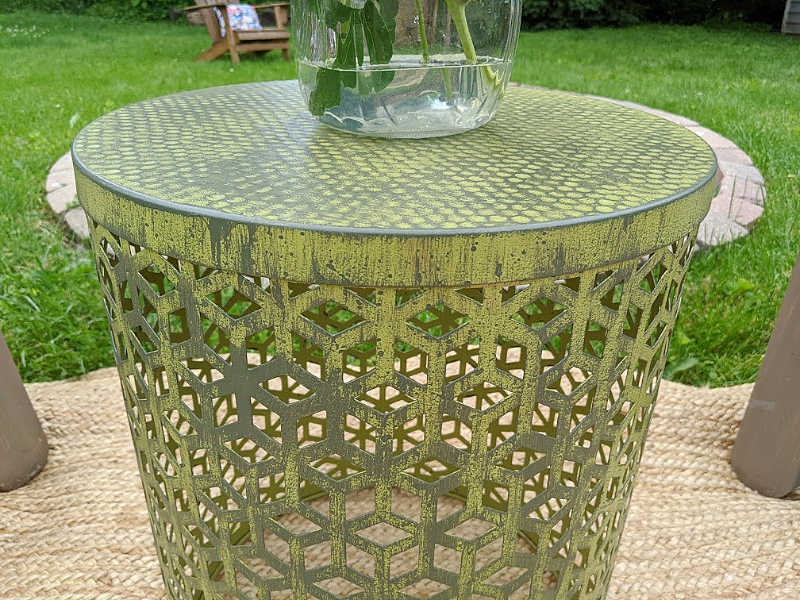
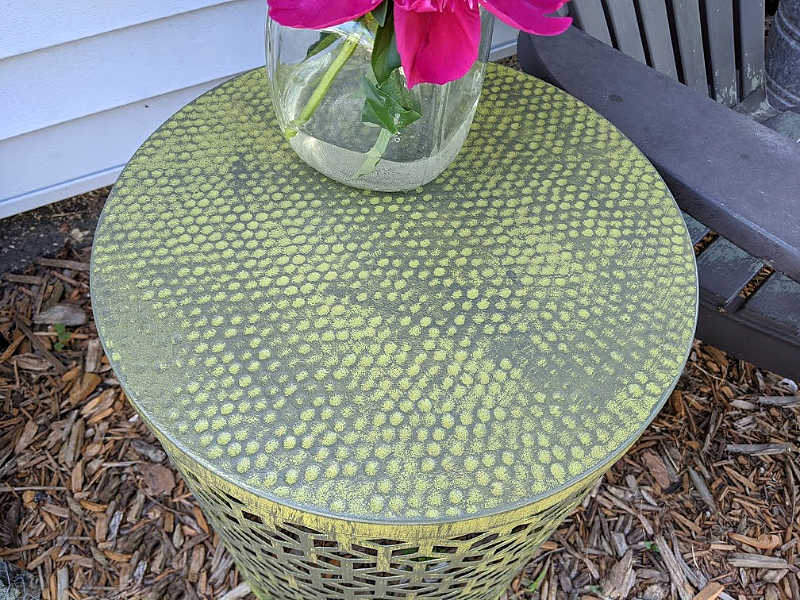
Applying the distress technique with a paintbrush
- To distress with the darker shade, dip the chip brush into the darker shade of paint, and then tap most of it off onto the paper towel.
Related: How to Spray Paint Plastic Wicker
- Then dry-brush over the surface lightly, and sparingly. Don’t cover every spot, rather brush along certain areas, leaving other areas the original color. Remember less is more.
- Allow the darker shade to dry, then go back in and add more detail if desired.
- Allow the paint to dry overnight.
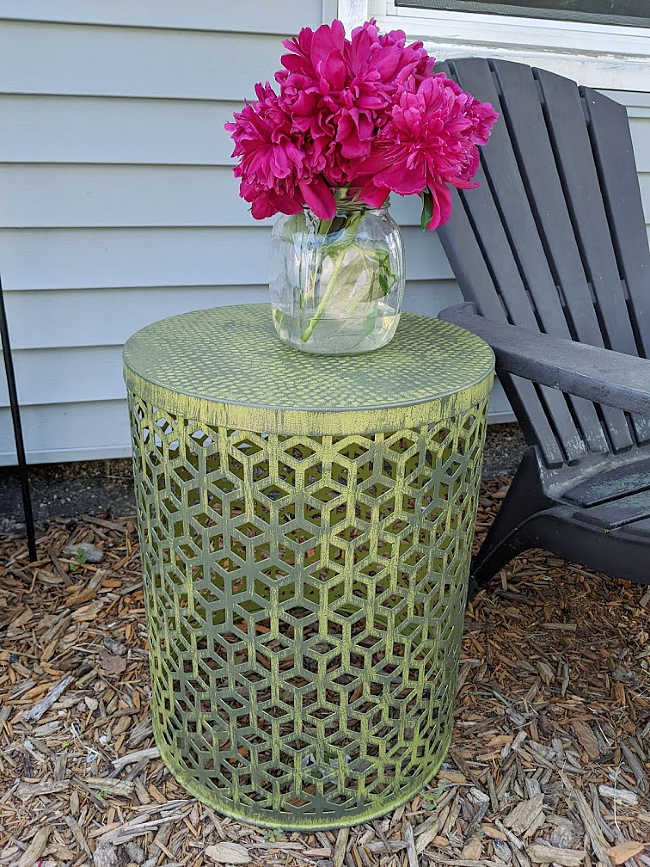
And it’s ready for the outdoors!
I thought spray paint was going to be the way to go, but it turns out with the right type of paint, using a roller application can work really well too.
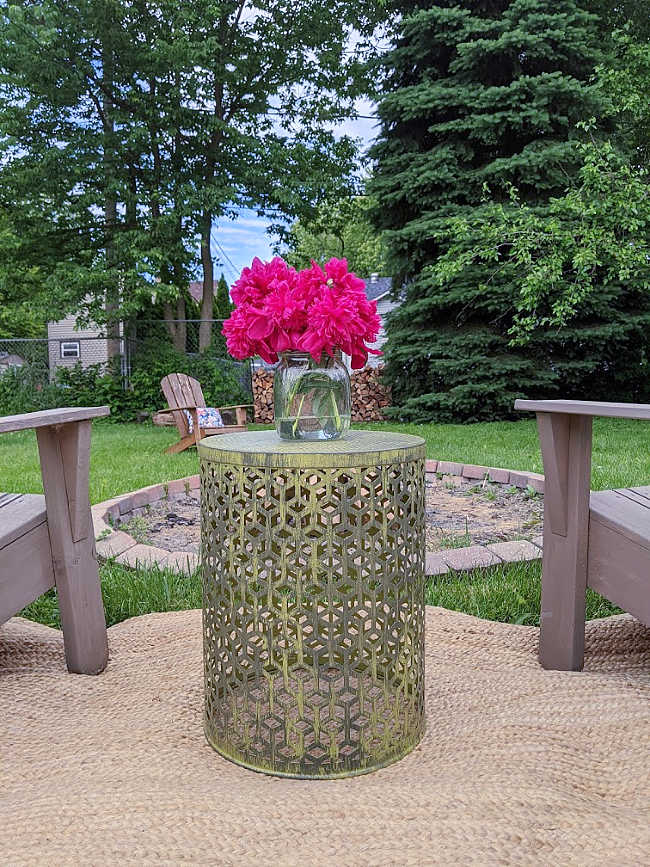
I choose green tones for this painted metal table because I felt they would match our no-style yard best.
But I also think it’s a great neutral color for a backyard area because it blends with the verdant landscape one might hope to enjoy. Although ours is mostly weeds…
How about you? Do you have metal outdoor furniture that can a fresh coat of paint?
If you like this, you might also like
Mary says
That looks really great Amy. I love the distressed look you gave it. I work at Michaels and we sell that paint but I had no idea it would look so nice on metal furniture.
Amy says
Hey Mary,
How fun that you work at Michaels (I work in a billing department, not quite as fun, lol). Yes, I was surprised at this paint, too, but it went on so nicely. The liquid sander I used may have helped, too. I’m really liking that brand. I just used it on wood and the same results, great coverage.
Have a great weekend,
Amy