Looking for an easy, budget-friendly way to fix a leaning fence post? We used Post Buddy and it was a game-changer for our back yard rehab project.
Wooden fence posts, even when installed correctly tend to give way to the elements and start to either break or lean over the years. Removing and resetting new fence posts when this happens seems like a LOT of work, wouldn’t you agree?
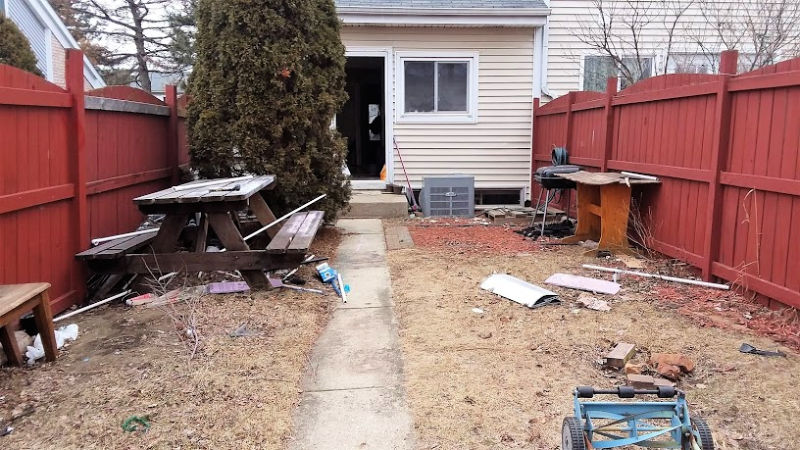
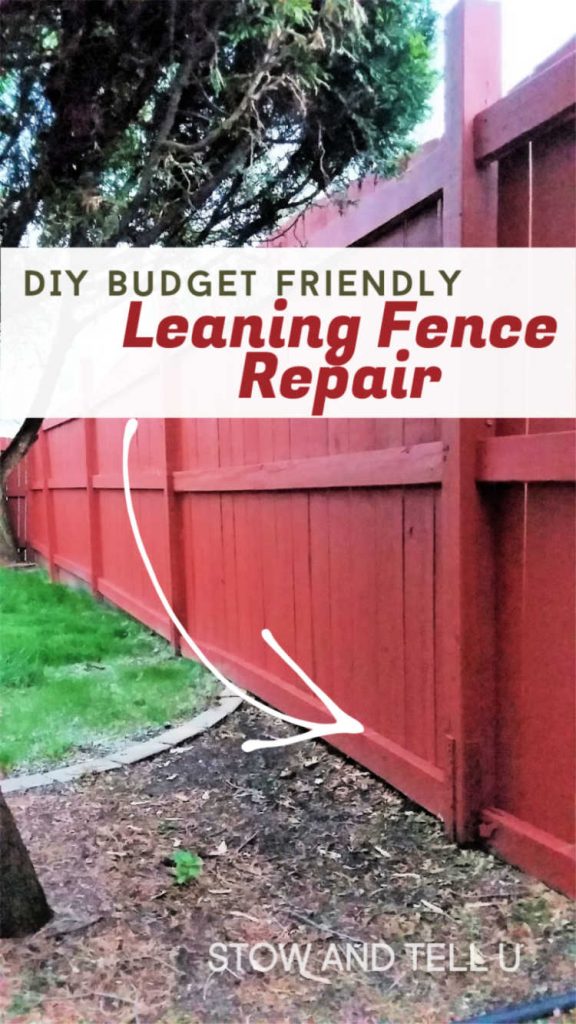
Townhouse back yard before rehab
We were up against this challenge during our townhouse rehab after our last tenants moved out. Not only was the back yard cluttered with loads of debris, but the tenants had also shoved the picnic table up against the fence too, as we soon discovered, keep the fence from leaning into the yard.
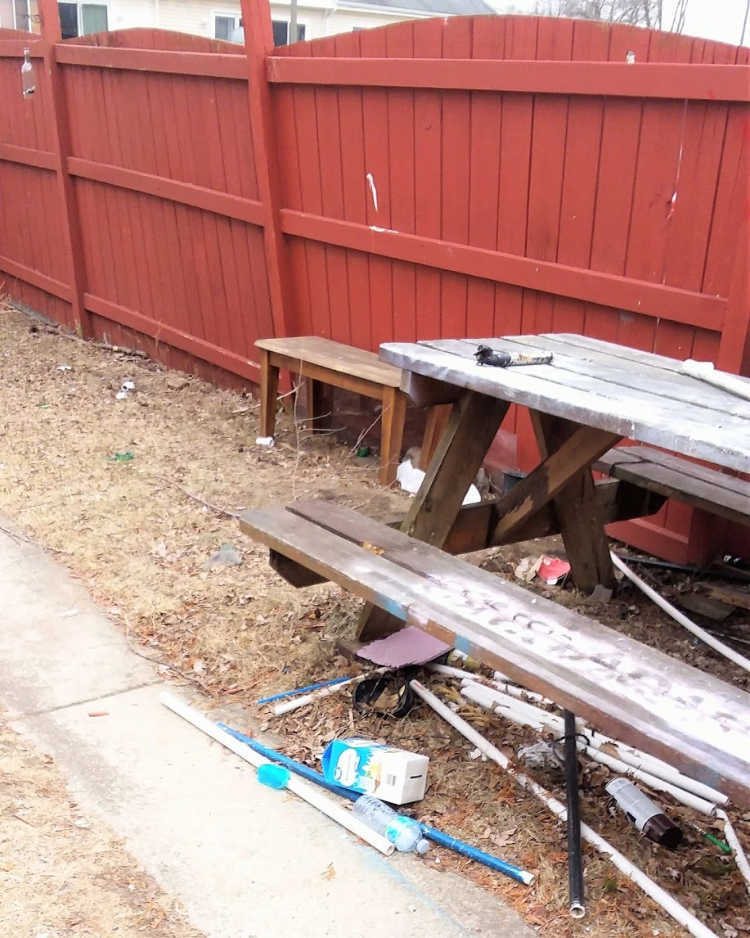
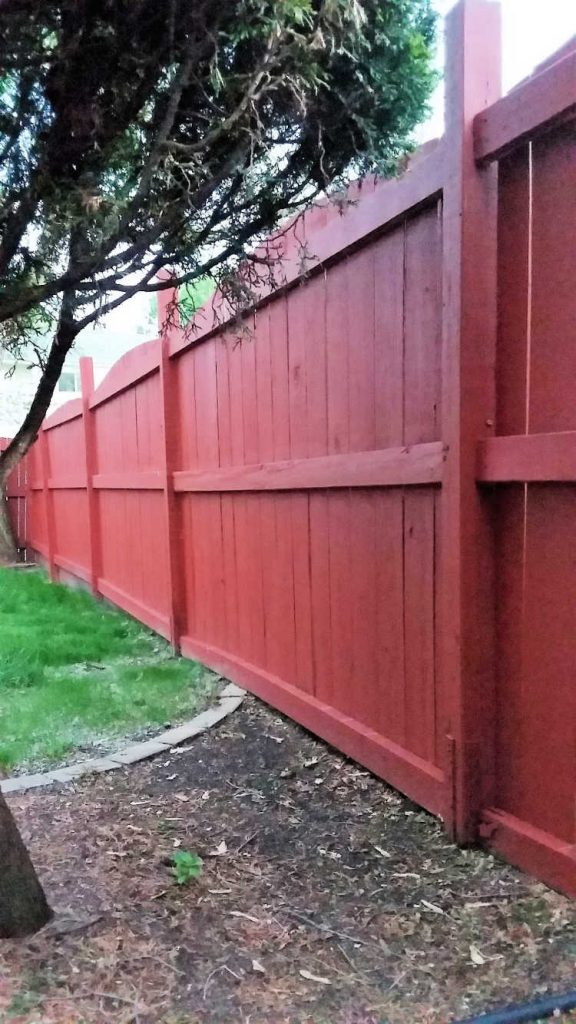
Once we moved the picnic bench, it was evident several of the fence posts were leaning into the yard putting the Leaning Tower of Pisa to shame. The whole side of the fence was starting to come down.
Temporarily, Ken propped a 2×4 against the main culprit, aka the worst of the leaning posts, while we tried to figure out how to best repair our broken fence.
Here we were, on a short timeline and a strict budget, so we needed a solution that didn’t involve re-setting the fence posts, if at all possible. Was there even such a thing?
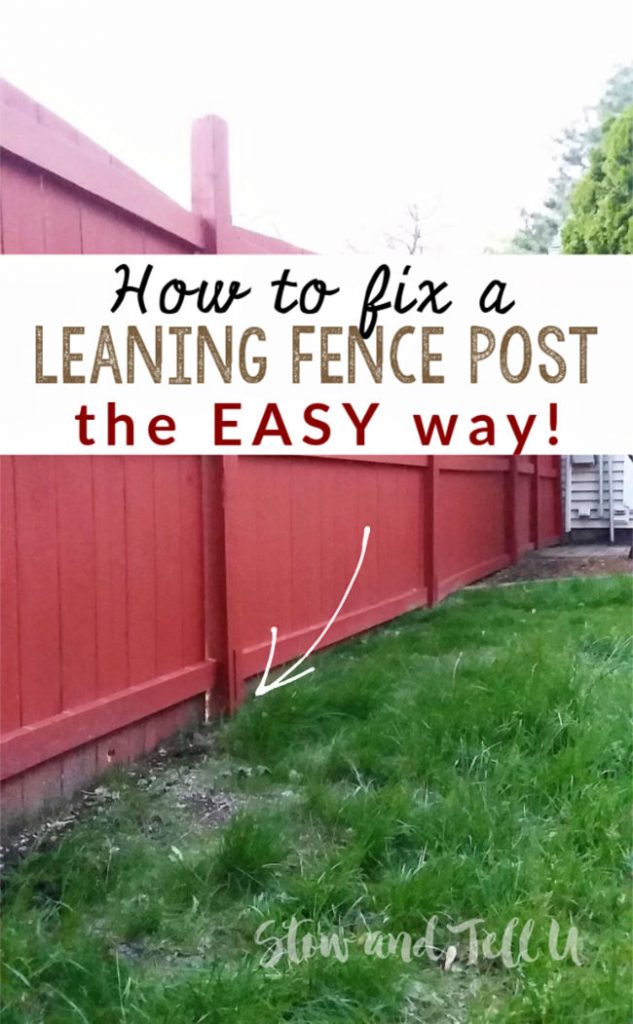
How to fix your leaning fence posts the easy way – and on a budget!
After some research online I found that there are quite a few fence post repair solutions. One product in particular called the Post Buddy System really looked promising. After reading up on it, I ordered 3 sets for under $100.
This post contains affiliate links. If you click on one of the links and make a purchase, you will not pay a penny more, but I may receive a small commission from the sale. Read our full disclosure, here.
What is Post Buddy?
Basically the Post Buddy System is a fence post repair kit consisting of a set of two 5 ft. long steel stakes that you hammer into the ground at the base of the fence post and between the concrete footing. Note: The Post Buddy System is not recommended for posts set directly into sand, dirt, or anything other than concrete or cement, unfortunately.
Tools needed to do the fence repair
- 1 set of (2) Post Buddy stakes
- Drilling hammer
- Power drill
- 2-½” Exterior wood screws
- 2×4 piece of wood – (one that is long enough (approx 6”) to prop against the fence post to sturdy and straighten it in preparation for hammering in the stakes). This is optional, but it is what Ken used and it worked really well for us.
- Work gloves
- Safety goggles
Steps for Installing Post Buddy
The following are the basic steps Ken followed to do the install
- Clear away the soil and debris right around the fence post. Ken used his hands, but you can use a shovel, as well.
- Prop a 2×4 up against the fence post on an angle to the ground – and facing the fence straight on- with the purpose of making the post stand up straight as possible.
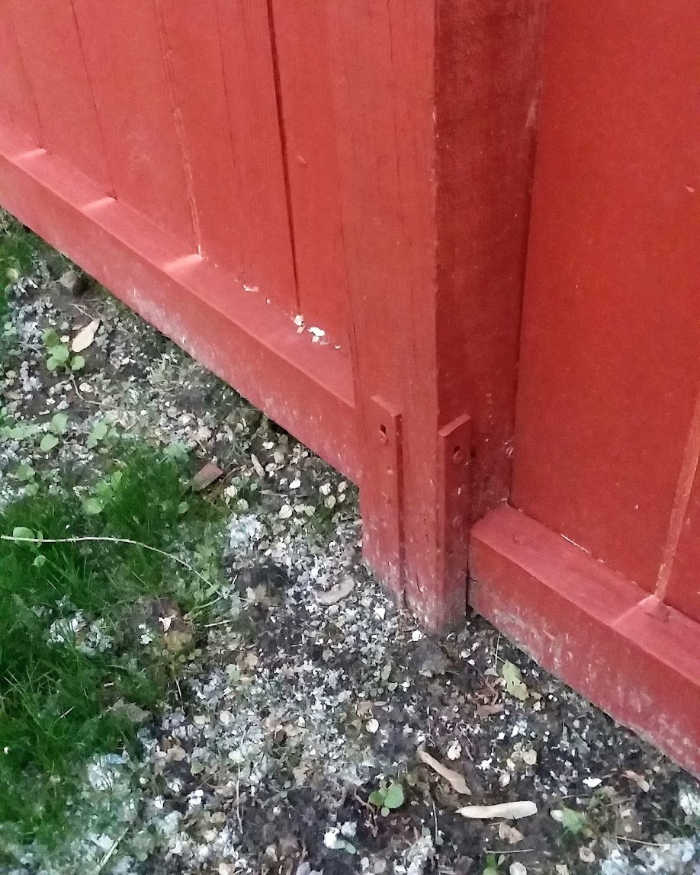
- Line up and center one of the sets of 2 Post Buddy stakes at the base of the outward-facing part of the fence post. The stake needs to be hammered in between the wood post and the concrete setting.
- Next, using a drilling hammer (aka strike hammer, crack hammer) pound the stake down as far as you can get to the “Max” line which is marked on the stake about 8 inches from the end.
- Re-align the 2×4, or in other words, move it to re-straighten the fence post in a left to right manner as you are facing the fence straight on. As you are doing this, determine which side of the post needs more support.
- Line up the second of the set of 2 Post Buddy stakes on either the right or left side of the broken fence post (based on which side needs more support). Try to get close to the picket, but not too close that it will be difficult to hammer the stake in.
- Once you are good with the position of the stake, hammer it in.
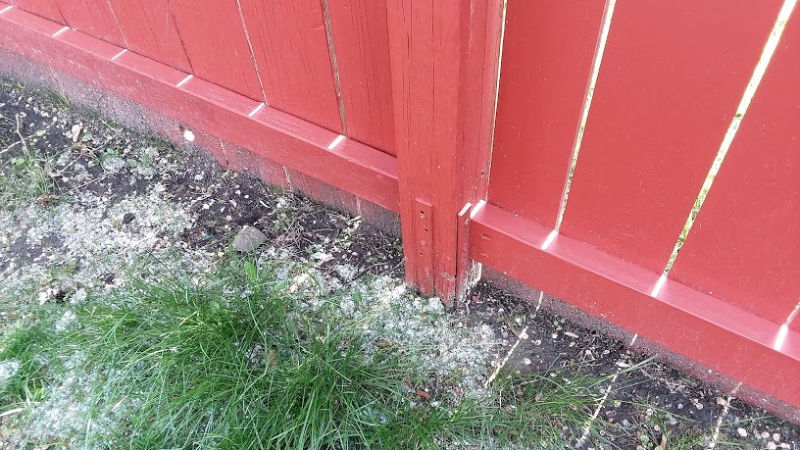
- Remove the 2×4. The fence post should look and feel much, much more secure.
- Finally, use a power drill to screw 2-½” exterior wood screws into the fence post through the pre-drilled holes on the stakes.
- Optional – paint or stain over the stakes, if preferred.

Is Post Buddy easy to do?
Ken was able to do the full installation for all 3 fence posts in about 2 hours.
The task of hammering in the stakes was the biggest challenge. Ken said the stakes went into the ground easily enough at first, but the deeper the stake went the more resistance they were. But, he added, the sturdier the fence posts began to feel, at this point, as well.
The directions that came with the product were easy to follow and gave us a refresher on the process.
We also watched this video (shown below) several times to make sure we really understood the installation process.
I realize I didn’t get very good before and after pictures or a video of Ken installing the Post Buddy System. I apologize for that. While this was taking place, I was doing the majority of the clean-up in the yard. Nevertheless, I can tell you that we were 150% satisfied at how well Post Buddy worked. Not only to straighten out our fence posts but to make the fence posts feel solid and secure in the ground, on top of it all.
Before it all began, we were anxiously wondering if we were going to have to knock down the fence and start over. To do this repair and realize that it solved our leaning fence problem was a huge, HUGE relief.
Knowing that we didn’t have to pull all the posts out of the ground, nor pay to buy all new wood posts, or pay someone else to do the work for us, was an enormous bonus. Honestly, it was hard to believe how easy this fix was.
And, we feel pretty confident that it’s going to be good to go for many years to come, as well.
The back yard was cleaned in full. A fresh coat of paint on the fence. The entire lawn sprinkled with mulch seed. And we called our townhouse rehab project #2 complete.
How many Post Buddy sets do you need for repair?
Post Buddy is available in sets of two for repairing one post per set.
Follow the guide below:
- One post as a set of two
- Two posts as a set of four
- Three posts as a set of six
- Four posts as a set of eight
More yard and garden ideas you might like
5 Faux outdoor landscaping ideas to Rock your front yard
What to consider when buying a gazebo tent
How to combine herbs and flowers together for beautiful container plants
Leave a Reply