Twig projects! There’s a lot of really cool ones out there on the web and done up so many different ways. Can’t help it, I dig twigs and all their crafty possibilities. So, in an attempt to pull off one more beachy project for the summer using twigs, I knew that I wanted weathered looking twigs, rather than woodsy looking twigs because, hey… twigs have a more weathered look when they’re hanging out around a beach!
I started by looking on Pinterest for how to make wood (or twigs) look weathered or like driftwood, and I found this tutorial on DIY Drftwood from Craftiments.com.
There were quite a few tutorials out there, but this one for wood seemed to be the one that might be the closest to what I would need to do to get these twigs to look either like driftwood, or at least more beach-weathered than how they looked when I picked them up off the ground (no where near a beach).
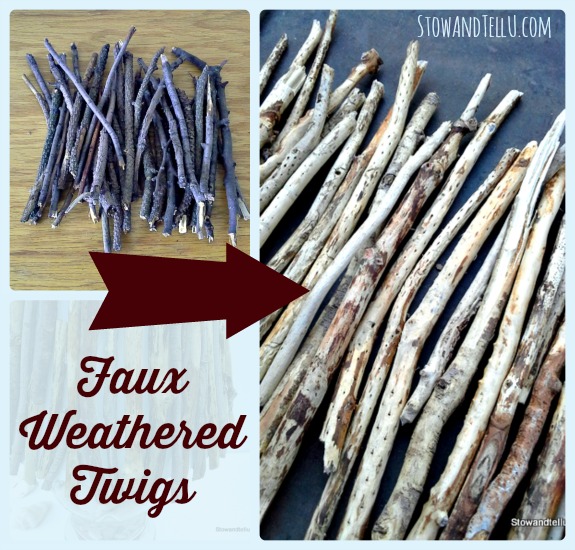
So I am calling these faux weathered twigs (like driftwood, almost) because what I found in this process is that that can make the difference in how the twigs turn out depends on:
(A) the type twigs (from what trees), and
(B) the age of the twigs.
In other words, twigs with softer barks, like pine – and/or- twigs that have been laying on the ground longer ended up looking more like driftwood.
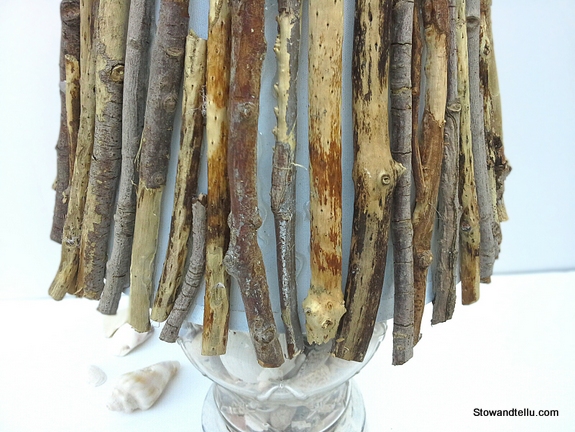
The other twigs ended up looking weathered and aged, but not quite like driftwood. So I had some variation in my results, but all in all, I ended up with beach-weathered looking twigs that worked perfectly for the project I was planning.
Having said all that, here is the 3 step process I used to weather twigs:
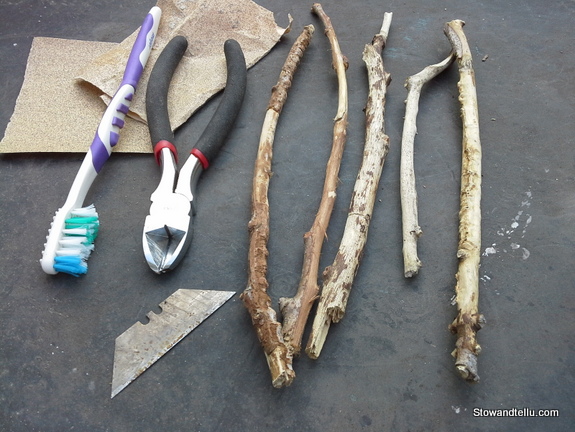
Supplies:
Twigs –(collected off the ground, a variation of twigs will give a nice textured result)
Cookie sheet
Big bucket– (ie: 5 gallon)
Hot water
Bleach
Small brush– (I used old toothbrush)
Razor blade– (for scraping, don’t be scared!)
Sand paper– (optional)
Pair of garden shears –(optional—I only had wire cutters handy, as pictured, but garden shears will work much better if you need to snip off the branchy parts).

Process #1 – Baking
-Break twigs to the size of the cookie sheet~ OR ~ to the size you need for your project, leaving some excess.
-Lay on a baking sheet.
-Bake in oven at 250 F for about an hour, remove and cool.
Process #2 – Soaking
-Fill a bucket with hot water.
-Add 1/8 cup or so of bleach.
-Place twigs in the water and soak (anywhere from 15 minutes to 1 hour, longer if desired).
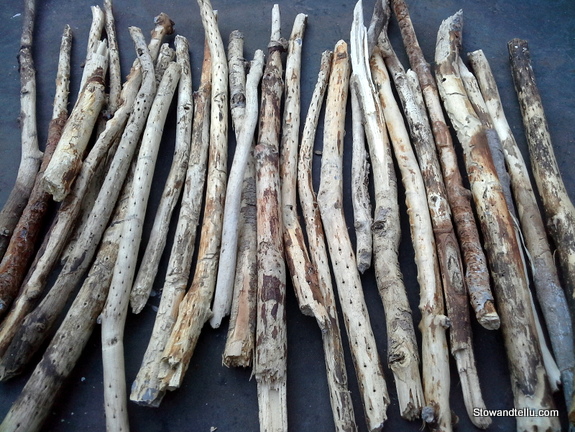
Process #2 – Scraping and Brushing (Sanding and Snipping optional)
-Remove one twig at a time and start pulling away the bark. For some twigs it will come off rather easily.
-Scrape the bark with the razor on the pieces that seem to want to come off, but are just a little stuck.
-Brush and scrape the under layer of the pieces that the bark has been removed from, but still showing bark residue.
-Test the twig pieces that DO NOT seem like the bark is loose at all. If the bark does not seem to budge, then stop there and don’t bother trying to remove it. You will be there a long time. Once these pieces dry, they should still have a more weathered look then when you started, (a bleached-out look, if you will.)
-Lightly sand, if desired (I did not do this step)
-Snip off twig branches (if required for your twig project)
-Let all twigs dry in the sun.
Note: the grouping of twigs I did took me about 1-1/2 hrs to brush, scrape, etc…

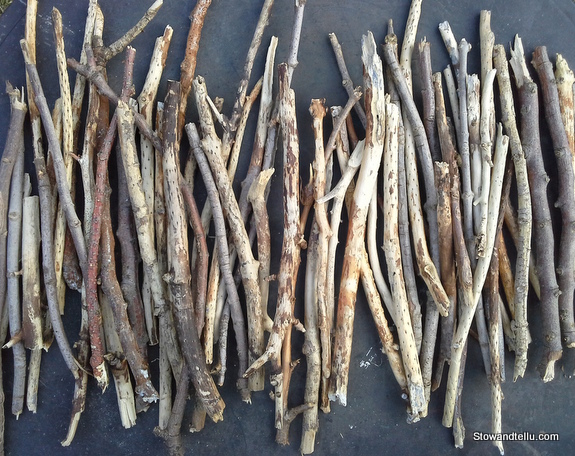
Remember:
Age and type of twigs will give different results.
But when grouped together it will show as a nice variation of weather twigs.

Once they dry, these beachy, faux weathered, “almost like driftwood” twigs will be ready for your twig project. I think they would even work well for rustic, fall crafts.
(Here is a sneak peak of my upcoming project. Bet you can’t guess what it is! Click right here to see.)
I realize this seem like a lot of work, but I did the baking part one day, and the soaking/ brushing part in the afternoon of the next day, and it really wasn’t that hard, nor did it take very long.. (suuuuure, you are probably saying right about now,) but honestly… it didn’t…I’m serious…not lying…trust me..honestly…pinky swear!
You can see more:
Hope your day is just drifting along! ~ Amy
chris aka monkey says
this is so cool,i love driftwood but living in landlocked tn do not get near a beach and i bet i guessed what you are making but i won’t say haha xx
Danni@SiloHillFarm says
You are a genius! I love these and from the hint…I think I’m going to love your project as well!
Mel says
well if you pinky swear I’ll believe anything, that is actually so cool because lets be honest there isn’t always driftwood around when you need it. Do you think it would work on bigger pieces?
heather f says
Right….something tells me all the sanding and buffing and stripping and razoring and bleaching and baking was more than I could bear! It almost sounds like a day at the spa. 🙂 I can’t wait to see what you come up with.
Feral Turtle says
I am just going to take your word about all that work! I think I know what you are up to with those sticks but I don’t want to give it away to other readers! So excited to see the final reveal Amy
Amy says
This message if for Chris (in Indiana. I tried to email you back, but the email would not go through)
Hi Chris,
Your lampshade sounds very cool!!
For the faux driftwood, I used mostly pine twigs, but there was a mix of some others which may have been birch, maple and elm. Some of the branches didn’t shed the bark at all, even though I soaked them. The pine ones probably cleaned off the best. Try to find ones that have been on the ground for a while because the bark will already be starting to decay. Also, if you bake them like mentioned in the post, the bark will come off easier.
I did not do a superb scrubbing (I don’t think superb is in vocabulary when I’m crafting, lol). I remember that I baked them on one day, and then soaked and scrubbed the next day and the scubbing part only took about 2 hours or so. With a good brush and a razor for tools, it wasn’t much harder than cleaning a batch of dirty dishes from a tub in the yard.
Remember too that not all the bark has to come off. When I was at the Warren dunes, I made not of the twigs on the ground (because I’m weird like that), but much of it was only partially debarked, so that worked for me.
If I could make any suggestion it would be to go to an area nearby (park, forest preserve, etc..) And try to find a variation. Then mix that up with the twigs from trees near you.
Please let me know if I haven’t answered your question or if you have any others. I hope this helped, and thank you for reaching out -Amy