At the first signs of a snowfall, when the snow is so fluffy and powdery, haven’t you ever just wanted to scoop some up and take it inside for keeps? You know, put it in a jar and look at it later…after all the snow outside has gotten dirty and dingy…partially melted down… only to freeze up again…several times over?
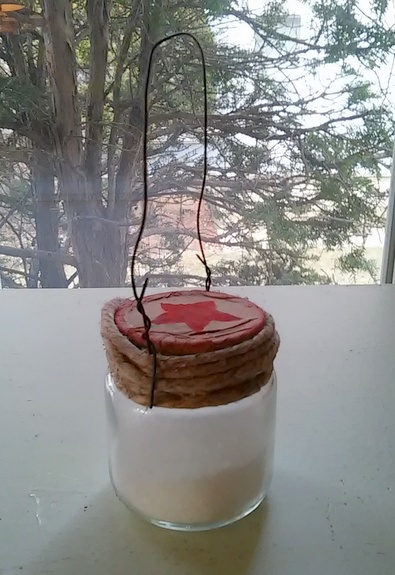
Well, here’s a cutsie little ornament idea that will help you pretend that you’ve jarred up a hand full of freshly fallen snow. Of course it won’t melt because it’s really only “faux” snow.
But with the right amount of baubles and a tag, it will fool you. Long enough to make you smile at the memory of seeing that pretty white stuff fall out of the sky.
Rather than remembering how long it took you to shovel the sidewalk.

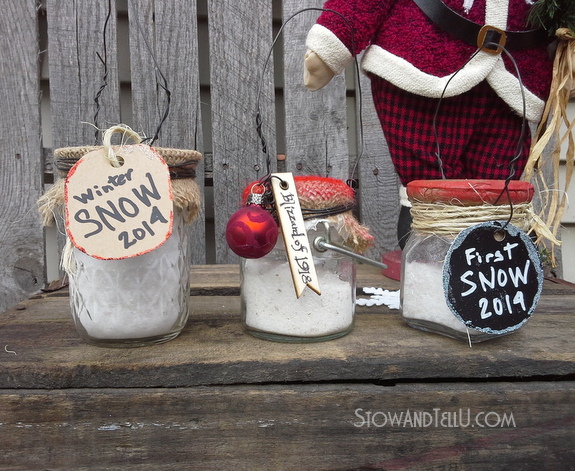
Keepsake faux snow in a jar ornament
To make these, I used a bunch of stuff I had laying around, so this is just an idea for how to make them. With all the pretty new Christmas tags and twines and such, one could create their very own style of snow-in-a-jar ornaments.

This post contains affiliate links. Read full disclosure, here.
First, I used a bunch of small, used baby food, spice and tealight type jars, (going for as lightweight a jar as possible). But most small craft jars with lids
 will work.
Some of mine had lids already, some did not. So I made my own lids for those, which will be shown below.
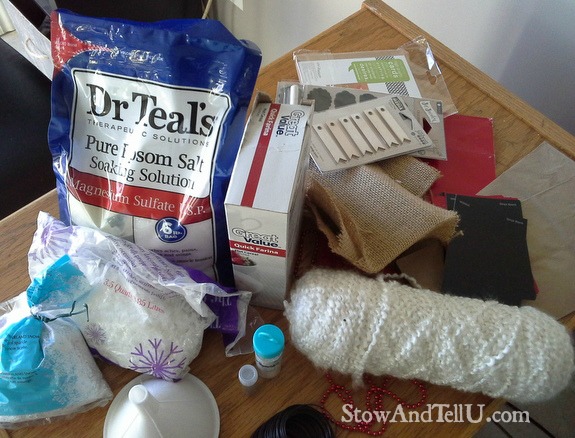
Supplies used for this project:
Small craft jars – Size: 1-1/2 oz to 3 oz jars, like these, will work best because they are light weight.
Fake snow, or Make your own faux following the recipes shown below.
Burlap
Yarn, twine, and black craft wire
Brown and black card stock for the labels
Black and white paint pens
Red craft paint
Stencils and pouncing sponge
Decoupage
Blue painters tape
Hot glue or this quick drying glue
Cardboard from a cereal box (to make lids for the jars that were without lids)
Try any of these faux snow recipes:
Recipe 1: 4 parts Epsom salts to 1 part glitter or iridescent flake
Recipe 2: 4 parts Epsom salt to 1 part glitter or flake, with a dash of corn starch and a dash of quick farina (Cream of Wheat)
*Recipe #2 has a really powdery, fluffy texture, but don’t leave out the farina if you use the cornstarch because the cornstarch alone will cloud up the jar.
*Give recipe#2 an antique snow look by adding several more dashes of farina (like the Blizzard of 1918 jar)
Recipe 3: Store-bought loose fake snow.
Sparkle it up by adding glitter or iridescent flake, if desired.
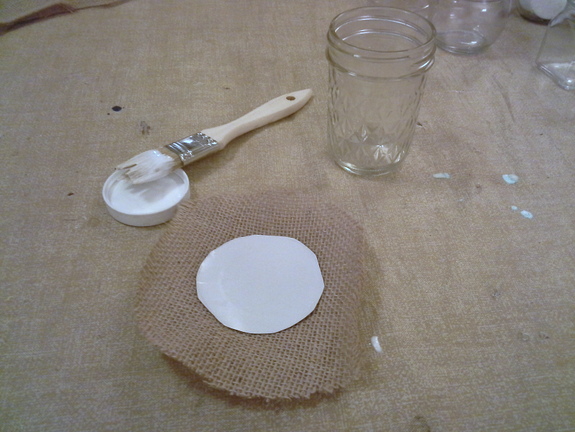
Make a diy jar lid:
Next, to make the lid. Lay the empty jar, upside down onto a piece of cardboard and trace around the jar lid onto the cardboard.
Cut out the card board circle, and attach it to a piece of burlap, fabric, scrapbook paper, etc… with some decoupage.

Fill the jar with the faux snow, and then run hot glue all along the outer edge of the cardboard circle, and then lay it onto of the jar.
Trim the fabric or paper down some and then glue the fabric or paper to the jar, while tucking it under the cardboard lid. Trim down any unwanted excess of fabric or paper.
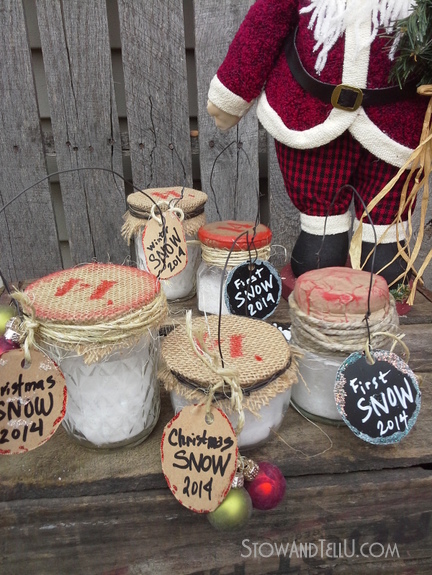
Fills the jars with faux snow and cover:
Cover the lids with decoupage and either fabric, burlap, brown craft paper, a piece of paper bag, wrapping paper or anything that you have around.
Add faux snow to all the jars. I did not fill the jars all the way up. I only added about halfway, thinking that made it look more like you had just a sampling of the snow falling outside. Shake the snow around a bit in the jar to make sure it looks how you want it to.
Before you put the lids on for good, test it out to see if the snow level looks right with the fabric/paper covered lid on top.

Making the hanger
NOTE: You only need to do this step if you have heavier jars. Lighter weight jars will probably only need a twine-tied hanger.
Once the lids are on, cut pieces of craft wire to about 10 inches or so.
Bend the wire to make a handle/ hanger.
Place it on the jar and hold it in place with blue painters tape.
Wind and attach twine, wire, yarn or whatever you prefer around the jar lid, securing it with a fast drying glue .
.
Remove the blue tape, and then fold the wire up and twist to secure it.
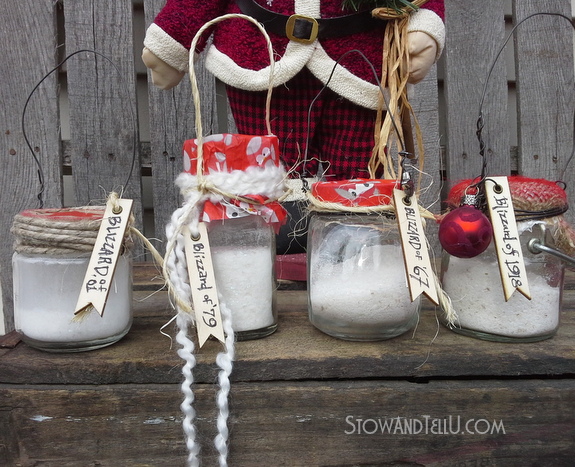
Hang small ornaments, tags, etc onto the wire before twisting closed.
Tip: You can also add those baubles by attaching them with twine. It helps to layer the baubles in height so that they hang at different lengths, rather than all bunched up together.
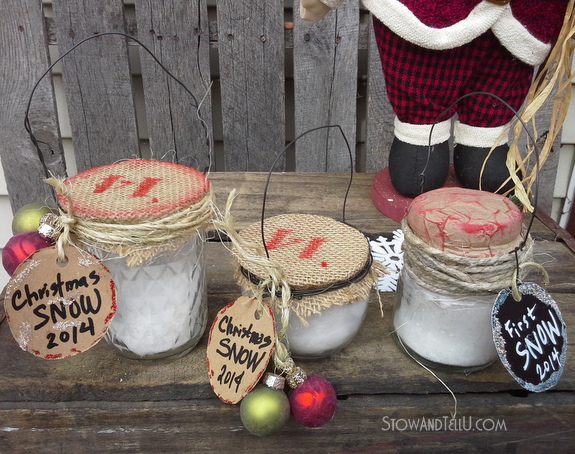
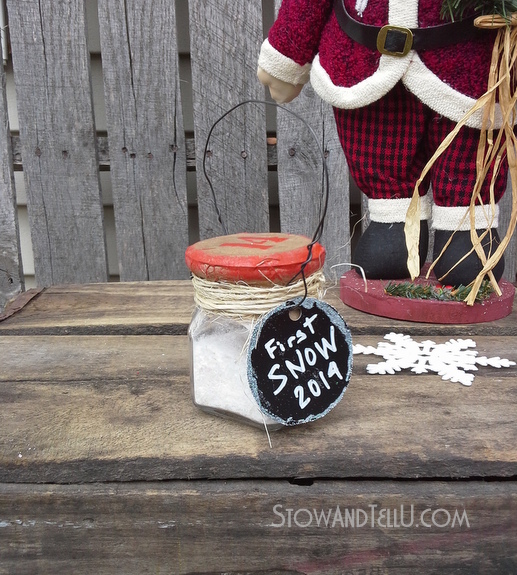
Add Christmas style tags
Finally, I used card stock to make most of the tags, but pre-made tags will do the job, too.
I edged the tags with a bit of craft glue and then sprinkled with glitter and let dry, but of course these are just a few idea for how to decorate them. I’m sure you can make these your own with ease.
Finish decorating
I stenciled the tops of some of the lids. Gave others a touch of red paint here and there with a sponge brush.
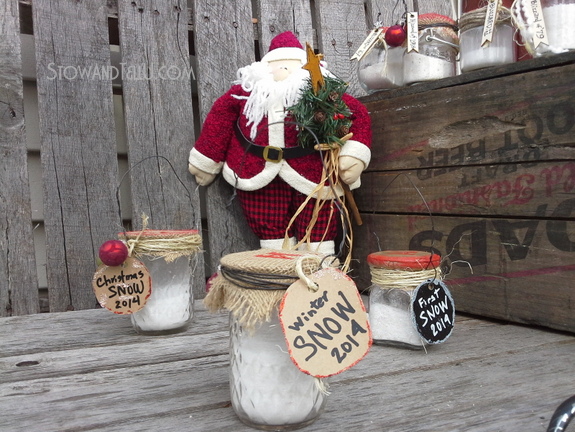
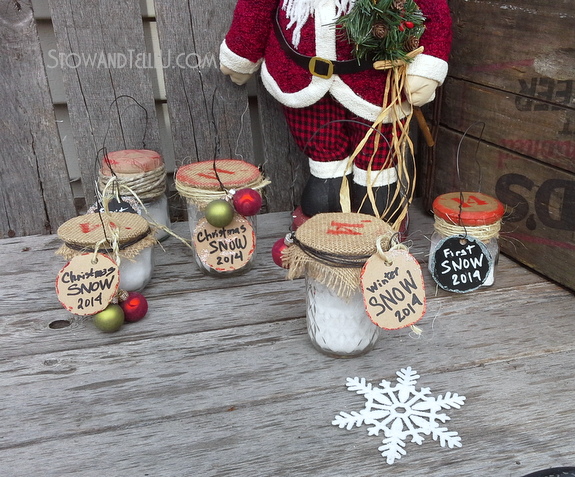
You know how people save sand in a jar from different beach vacations? That was my inspiration for making these.
A simple way to commemorate a Christmas snow, the first snow of the year, surviving a winter blizzard, or a particularly special winter.
I gave a few of these to some of the kids in my family and they loved the idea of carrying snow around in a jar, in the house. It was really cute to watch them enjoy.
Thanks for stopping by. Here’s hoping your days are snowy and bright ~ Amy
See more Winter and Christmas posts, here.
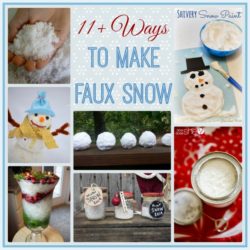
See these other 11 ideas on How to make faux snow, here.
Anne@DesignDreams says
That’s a very cute idea Amy! Love the labels!!
Heather C says
Thanks, this is a perfect gift for someone, and I have all the stuff to make it with, Merry Christmas
Feral Turtle says
What a fun and pretty idea Amy. I pinned this for next years craft festivities!! The perfect and quick project!
Sherry says
So cute Amy! I love this idea! Such a cute gift for those who never get snow. LOVE!
Christine says
Hi Amy, love it!! Pinned! Christine from Little Brags
SheilaG@PlumDoodles says
Cute idea, Amy, love it!
Danni@SiloHillFarm says
Well that’s just plain cute and way fun! Leave it to you to bottle up some winter memories!
Bliss says
Those are really cute and I pinned ’em but I do not want to bring the real stuff inside!
Heather says
I think you should make a bath friendly version of this with the epsom salt. I use Dr. Teal’s spearmint and eucalyptus or some such concoction and LOVE IT! This is a really fun idea to help remember 2014.