Welcome to Start with a Seed part 6. In part 5, I showed you some of the positive and negative results I’d had with my seedling growing project and a tip for keeping cats away from an indoor green house.
Negatives aside, I’m happy to say I’ve managed to keep some of these seedling babes alive, transplanted into larger containers, hardened off outdoors, and planted into the ground.
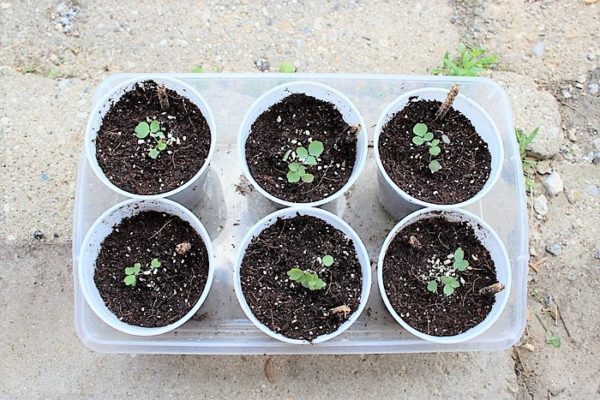
Transplanting seedlings into larger containers
For transplanting into larger containers, I used 2 methods.
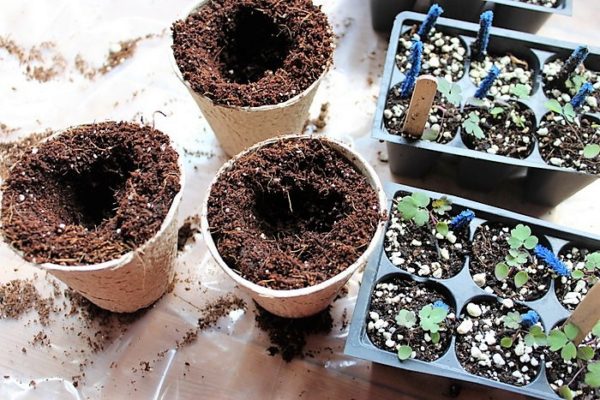
Method 1: Peat moss containers
One was larger sized peat containers filled with seed starter mix.
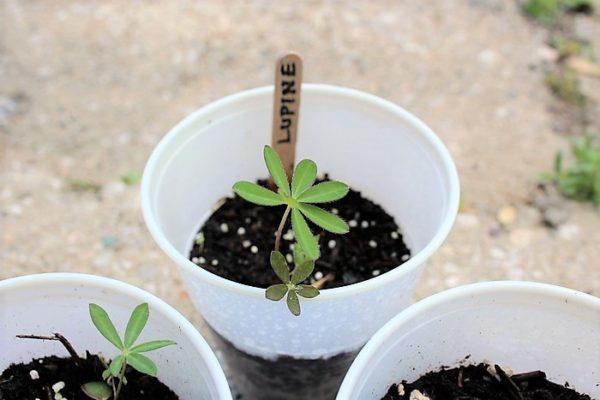
 Method 2: Plastic cups with drain holes
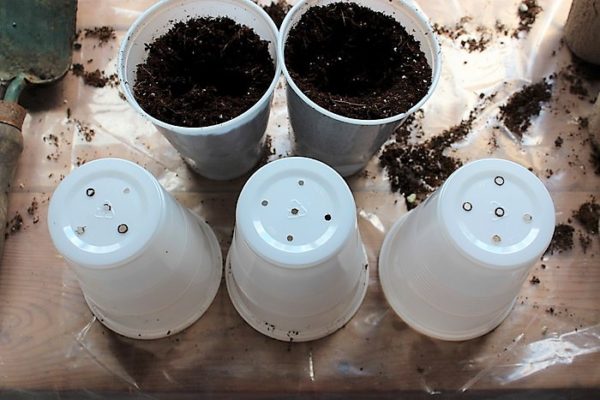 Method 2: Plastic cups with drain holes
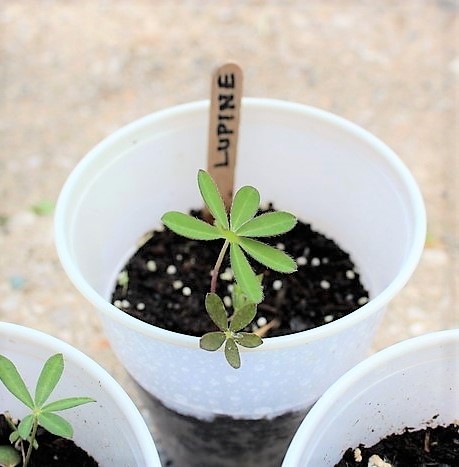
The other was plastic drinking cups with holes made in the bottom using a heated nail. Ken did this for me. He used a lighter to heat up the tip of the nail and then pokes several holes into the bottom of each cup.
Both of these larger seedling pots worked well; however, I found that the peat cups were harder to keep from drying out. The benefit of the peat cups, on the other hand is that you can plant them directly into the ground. I did use the peat moss containers for starting ornamental grass from seed, and the peat containers worked very well for that application.
Hardening off seedlings outside
For hardening off outside. I started by placing them outside during the day and taking them in at night. I only did this for a few days, then I started covering them up with a plastic tarp and leaving them out all night. This worked well, but there were barely any nights that went below freezing. If there were more of those nights, I don’t think it would have worked so well. Once I was sure the temp was going to be above freezing, I left the plants out without a cover.
Try placing the planters directly onto the ground
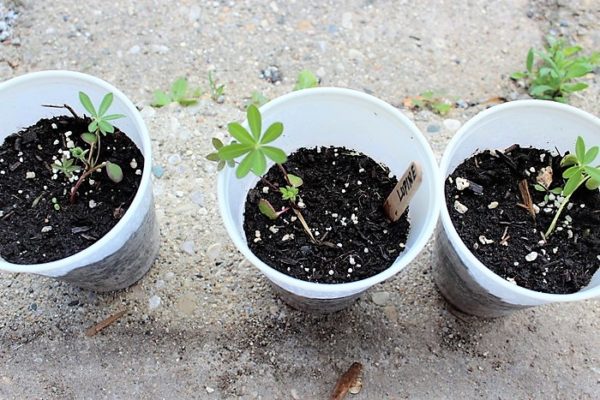
When I first put them outside, I kept them in groups in individual bins. I changed this up after the first rain storm. One, because the bins filled with water, and two because I found that the closer to the earth the seedling were, the better they seemed to grow.
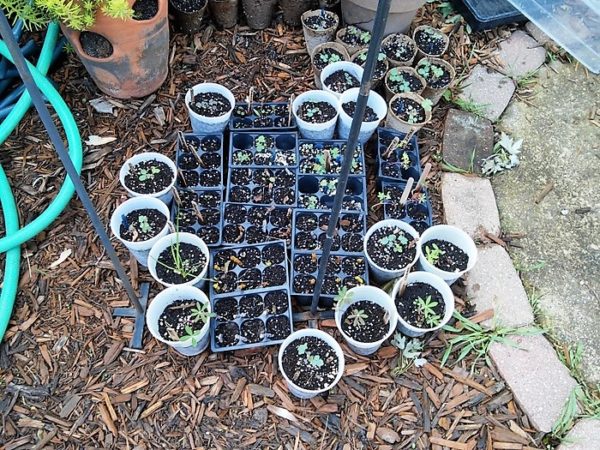
Try herding all the planters together in one big group
Here’s one tip that really seemed to help during the “hardening off outdoors” phase: Bunch all your pots and planters together as close as possible. I have found that the seedling don’t like to grow solo, but rather in good company. Most likely this keeps them from drying out. Either way, it seemed to make them happy and produce a better survival rate.
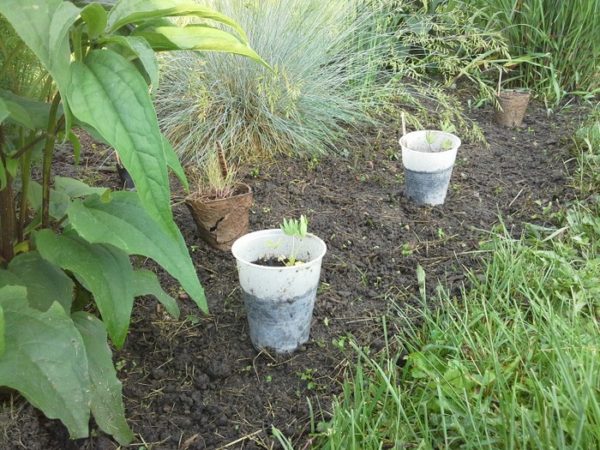
If some seedlings seem to delicate to transplant, try hardening them off in their original container.
There were some seedling that were so small during this transition that I didn’t even try to replant them. I just put them out with the others in their original seed starting containers and let mother nature dictate what would happen.
Guess what, many of the seedling plants that I thought were goners, came to life and have since been planted in the garden.
I’ve even been able to give some away to friends.
I’ll have more on my garden planting coming up soon, as well as before and after pics. If you are doing a garden project, make sure to take your own before and after photos. Being able to see the progress makes for great motivation to keep going.
Start HERE to follow the Start with a Seed Series.
[…] Transplanting and hardening seeds off outdoors […]