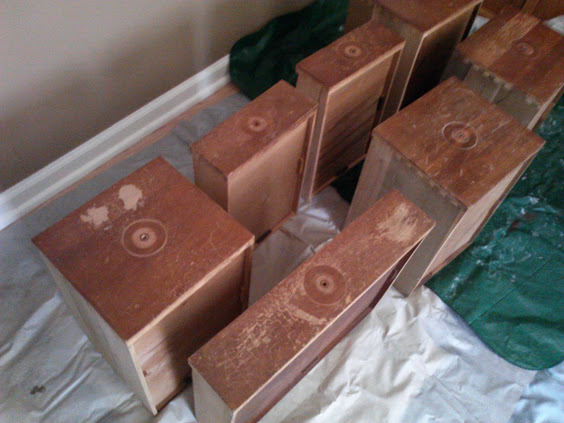
I have been working on a small desk that I swiped off my best friend’s neighbor’s curb several years ago. Yes, it’s been sitting in my house that long… waiting. Good news, though is that I’ve finally started on it, and part of the process is adding plaster texture, actually joint compound, to the drawer fronts for extra zing! This is kind of like a furniture appliqué with a twist. It involves covering the entire front of the drawer with a very thin layer of the joint compoundand then stamping a design into the surface. Once dried, primed, painted, glazed and sealed, the layer of joint compound becomes pretty durable and “one” with the drawer. It is a handy trick for added detail to small areas on furniture and such.
Supplies:
Drawer fronts
Small bucket of premixed/ all-purpose joint compound
White glue (Optional)
Putty knife
Large nail, screw, or drill bit to insert through the drawer pull hole
Texture design stamp, or other (I used bubble wrap)
Primer** Optional
Paint
Paint glaze
Sealer
Paint brush
Soft cloths
Bucket of water
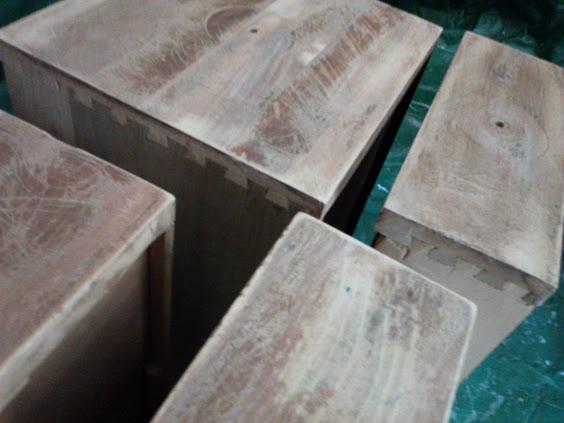
Sanding
Sand and scuff drawer fronts.
Wipe down with clean damp cloth
Allow to dry
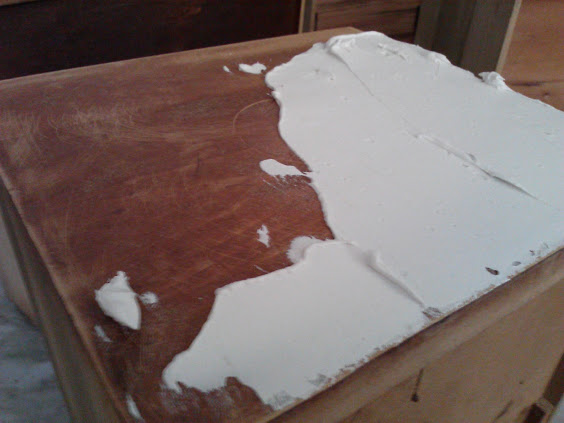
Apply joint compound
Tip: I suggest testing the drying time and texture stamping on a sample piece of wood or paneling, before you apply this to and furniture, to determine the drying time needed to get a good impression for you climate.
You will not need much joint compound. You can either apply directly from the bucket, or you can mix up a about 2-3 cups in a separate container and add a teaspoon or so of white glue. The premixed, all-purpose jc already contains some glue like agents, but you can add more if you would like a bit more flexibility.
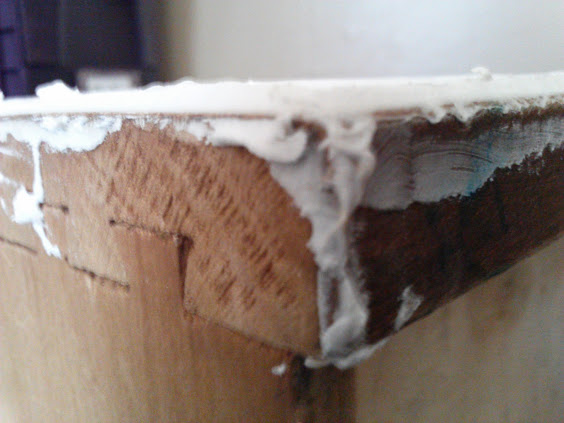
Apply joint compound with putty knife in a thin layer approximately 1/16” – 1/8”.
Make sure to wipe down spillage on sides of the drawer with a damp cloth.
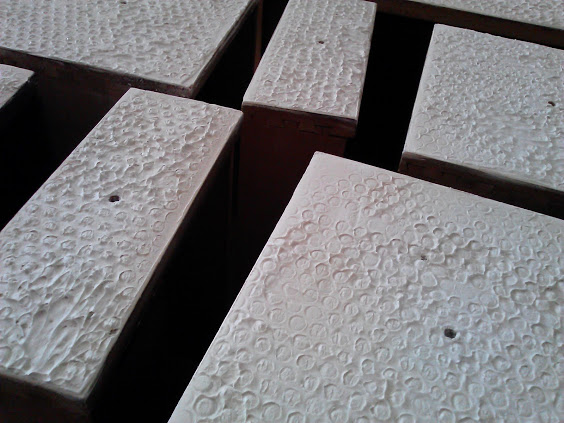
Clear drawer hole
Clear the drawer hole, by inserting either a large nail, screw or drill bit through the hole.
Allow approximately 30 minutes drying time, this will vary, but you want the compound to feel just dry to the touch.
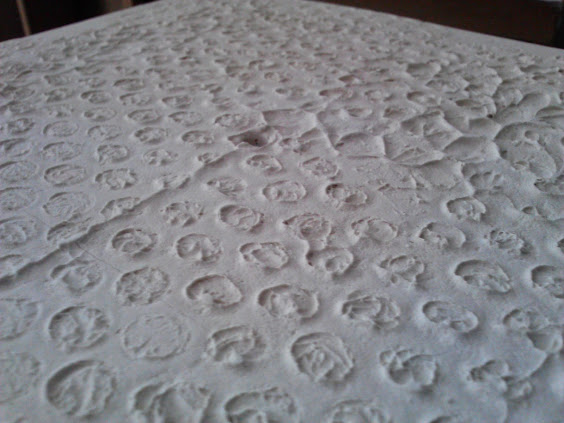
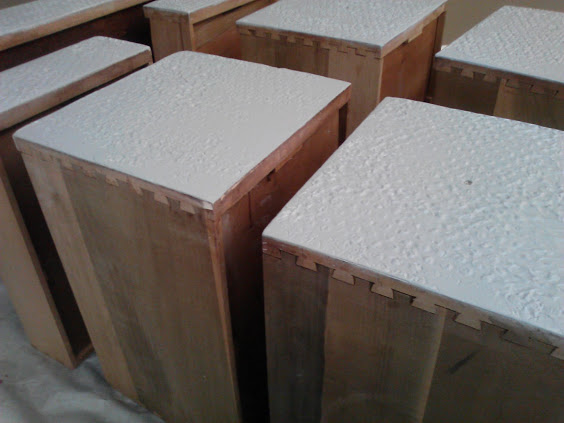
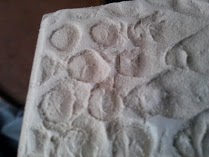
Apply texture stamp
Once your joint compound is setting, so that it will accept the stamp impression, apply your stamp over the surface and press lightly and then peel the stamp off right away.
If the design has not made a good impression, the compound is probably still too wet. You will need to scrap off existing joint compound and re-do the “Apply joint compound” step.
Tip: My stamping impressions did not come out perfect, and I did have some smeared areas, but the overall appearance of texture was accomplished, and that is what I was hoping to achieve.
Drying time after stamping
Once you have stamped all of your drawer fronts, allow the joint compound to dry for at least 48 hours or longer.
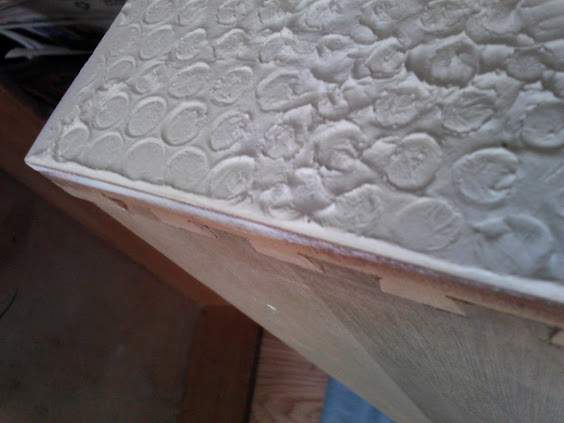
Sanding surface
Once dry, lightly sand surface. If you run your hand over the surface you will feel rough spots. You want to sand them off just enough that it doesn’t feel jagged. Most importantly round and soften all of the edges.
Vacuum off to remove jc dust
To remove all the loose joint compound sanded material, I recommend using a vacuum with brush attachment. Try not to use a damp cloth at this point.
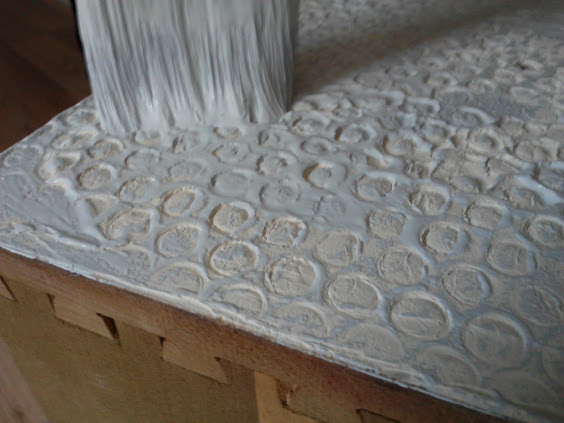
Apply primer and paint
Note** Applying a few coats of primer is optional. The primer will seal the plaster more, and not allow the paint glaze to soak in the same way, so it is a matter of preference. Test it out both with primer and paint , and just paint to see what you like best.
Apply 2 coats of primer (optional) and 2 coats of paint, allowing each coat the proper drying time.
Make sure to wipe down any spillage.
Tip# 1
Use paint brush to stipple primer and paint into all crevices, don’t miss any spots!!
Tip#2
I always mix just a bit of the paint into the primer, because it seems to take the paint color better whenever I do this.
Apply glaze
Paint on glaze with a brush and rub off as much or as little as you want with a soft cloth that is either dry or barely damp.
Apply a sealer
Apply 2 coats of sealer. I like to use MinWax Wipe-On Poly because it stays open longer and doesn’t schmear!
I’ve almost got this project complete, and promise I will post the finished product, soon.
Update: see finished piece, here.
Thank you for stopping by, tell me what you think!!
Rachelle says
What a cool way to add interest and depth to furniture! I can’t wait to see how it turns out
Amycha says
Thank you Rachelle. I’ll have it done soon and I hope you’ll like it!! Have a great night!
liona Shareing says
Aloha Amy, I am just getting into doing furniture redo’s and it makes me so happy to take a piece of furniture that is really in poor condition and bringing it into a new unique beautiful condition.
I got a small tv cabinet free from craigslist after turning it down once I saw it was press wood and had a big gouge on the top.
I’ve been trying to figure out what to do with it since I don’t think sanding and filling will be enough to just paint the top.
when I saw your post I considered doing a joint compoud top because that would take care of the unevenness but am concerned as to how well it will be hard enough to be used in everyday wear and not crack.
How well have the drawers done with daily use?
I also considered using non sanded grout mixed with white glue because it will be stronger.
Please get back to me to let me know the answers
thanks
Liona
Amy says
Hi Liona,
I wouldn’t suggest the joint/plaster option for the top of a dresser, but if you would like to paint it, I think you could fill the gouge with wood filler. You may need to fill it a few times as the wood filler shrinks once dry. When you fill it, use a putty or spackle knife over the gouge so that the filler doesn’t bulge over too much. Sand in between fills for the small bit of filler that does end up over the surface.
I ended up selling this piece, so I don’t know for sure how well it held up, but I will say that I imagine the plaster will get some wear as time goes by.
Once you fill the hole, you might also consider paper and decoupage, followed by a durable top coat, there may be other possibilities, too.
Good luck, I hope this has helped and let me know if you have any other questions.
Have a great weekend -Amy