• Home
  • About
  • Disclosure and Privacy Policy
  • Contact
  • Browse

Stow&TellU

  • Home
  • DIY & Crafts
    • Craft Projects
    • Home Decor
    • Furniture
    • Storage and Space Saving
    • Holiday Ideas
    • Seasonal
    • LIghting
    • Rooms and Redesign
    • Garden & Outdoor
  • Daily Life
    • Recipes
    • Travel
    • Route 66
    • Perspective
  • Faux and Tell U
    • Faux Round-Ups
    • Faux Techniques and Projects
  • Resource Library
  • Freebies
Home » Faux and Tell U » Faux Techniques and Projects » This Might Look Like Snake Skin… Plaster and Bubble Wrap Texture

This Might Look Like Snake Skin… Plaster and Bubble Wrap Texture

February 8, 2013 By Amy 10 Comments

8 Feb
500 shares
  • Share
  • Email

snake-skin-texture-plaster-bubble-wrap

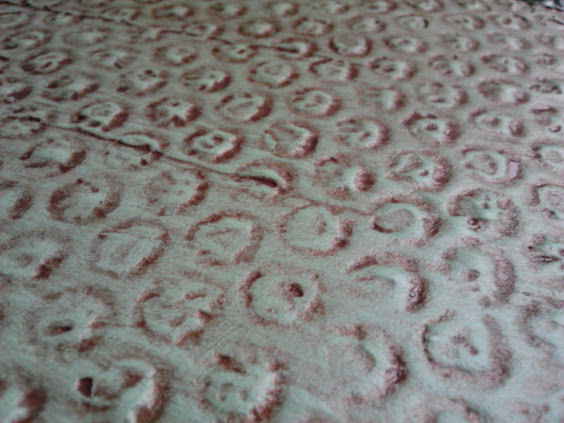
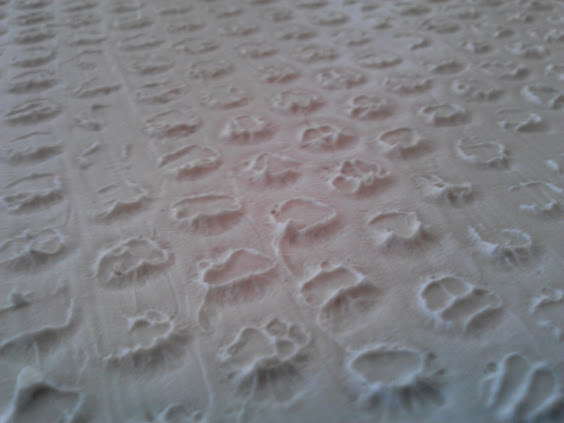
In the process of a furniture project, I wanted to add a little dimension to my piece, so I went looking around for ideas. I had it in my head to try plaster and bubble wrap texture. I didn’t see too much on the subject, although what I did find, such as alisonrachelreid.blogspot.com, was very impressive! Well, I figured I’d give it a try. I’ve done a few projects with plaster texture before, but I still wanted to test it out on some scrap wood to see what would happen. I’ll admit the results were a success, woohoo!! …and it looks a little like snake skin, if you ask me.

It’s pretty easy to do…here’s how I did it:
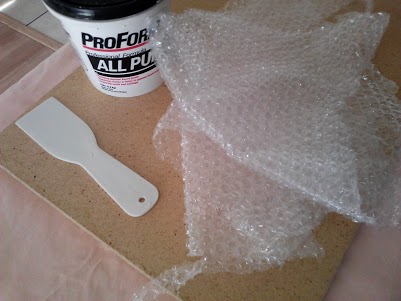
texture-with-paster-and-bubble-wrap

Supplies

Plaster (I used joint compound)

Flat surface

Spackle knife

Bubble wrap

Painting supplies

Sand paper or sanding sponge

Base coat paint – color of your choice

Top coat paint and glaze

Clear coat

There are a few small tricks to getting this right!!

Test on a surface such as scrap wood several times, because part of the trick is in the drying time of your plaster or joint compound, which will have a lot to do with the climate you live in.

This may work on a wall, but I have not tried that, yet.

apply-plaster-to-surface

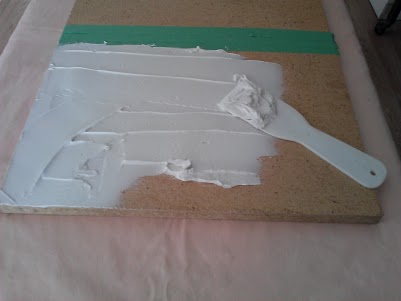
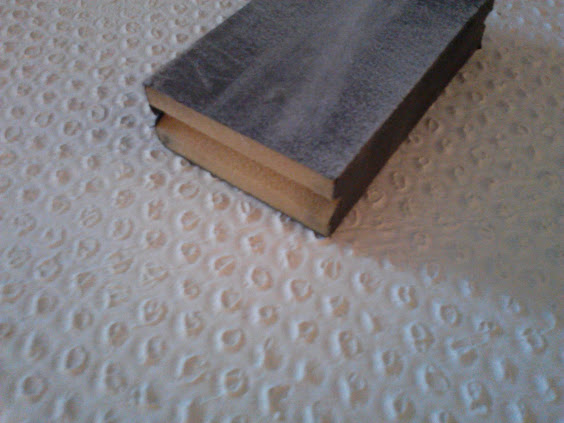
Apply the plaster to a flat surface with the spackle type knife, covering the whole surface at about ¼” thick.

smooth-plaster

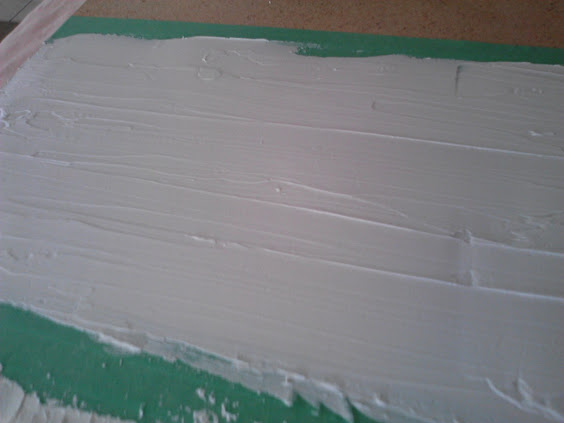
***Thin the layer of the plaster down to about 1/8”thick, trying to keep the coat as even as possible through out the surface.

Let plaster set for about 20- 30 minutes, or until the plaster is just starting to skin over. You will know when you touch the surface and it doesn’t goop right up on your finger like melted marshmallow.

lay-sheet-of-bubble-wrap-on-plaster

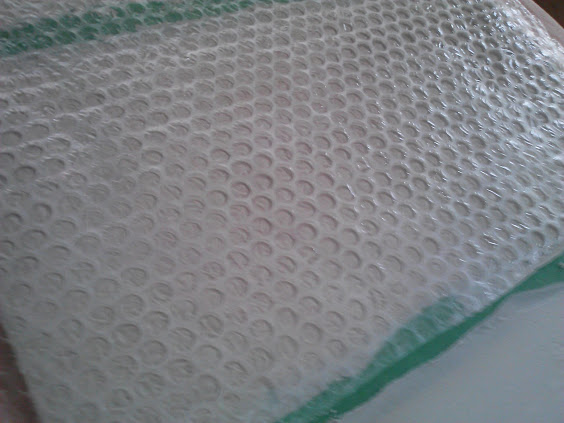
Gently lay a sheet of bubble wrap over the plaster and press down GENTLY.

plaster-texture-with-bubble-wrap

plaster-texture-bubblewrap

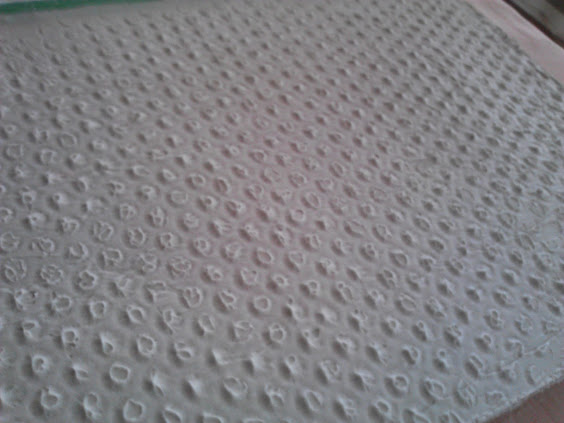
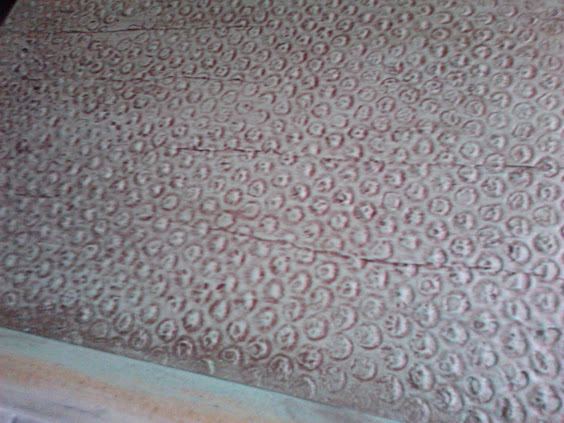
Peel the bubble wrap away, and you should have an evenly mottled look, like these pictures.

If it doesn’t look somewhat like pictures, then add more plaster texture and repeat all of the above steps, only this time, let your plaster set 10 minutes or so, longer, than before.

plaster-too-thick

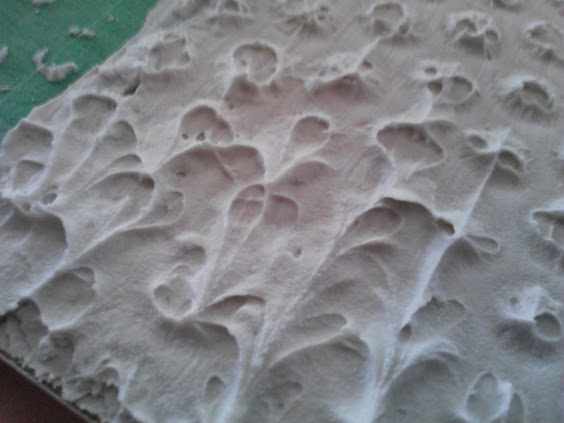
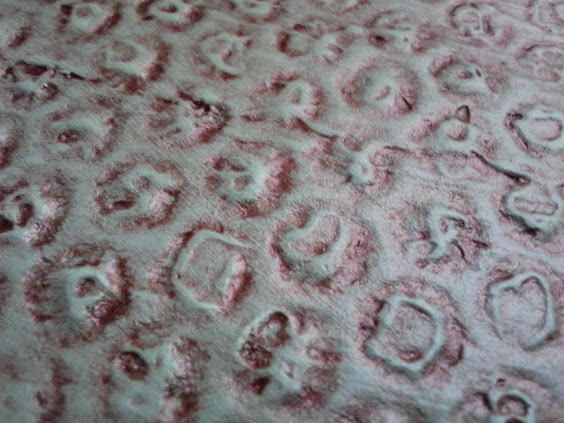
If you have any small areas that come out too thick and look like this, but the rest looks good, don’t worry,  you will be able to blend it later when painting, and it will add character.

Let dry 24 hours **

** I’m updating to  recommend letting this dry 48 hours or longer, refer to your product’s specifications.

sand-surface

Sand surface, very lightly with a sanding sponge.

Remove plaster dust with a barely damp, soft cloth.

how-to-texture-plaster-bubble-wrap1

Add Paint

Paint your base coat. Let dry completely.

Mix top coat color and glaze and apply over base coat.

Rub off excess with dry cloth, and a slightly damp cloth, as well.

Repeat these steps until you like what you see.

Add a clear coat, if desired, I like to use a wipe-on poly coat, such as Minwax.

how-to-texture-plaster-bubble-wrap-crocodile-skin


bubble-wrap-plaster-texture-snakeskin


plaster-texture-bubble-wrap-crocodile-skin

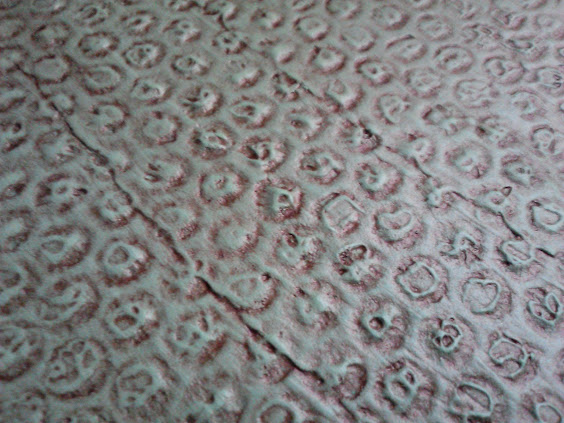
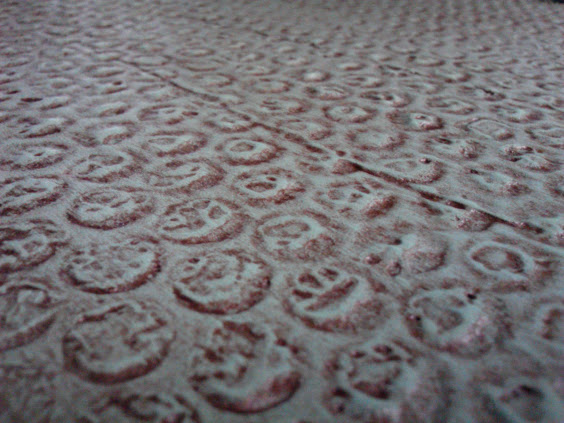
Snake skin, crocodile, call it what you will! How do you like this texture?


500 shares
  • Share
  • Email

Filed Under: Faux Techniques and Projects Tagged With: PAINT and TEXTURE

« Dune Buggy Memories from Silver Lake Sand Dunes
Speckled Easter… Hey Those Aren’t Eggs…Splatter Paint Texture »

Comments

  1. Thistle says

    February 10, 2013 at 9:08 am

    What a great texture! I have never seen this before! Totally pinning!

    Have a great day rock star!
    karianne

    Reply
    • Amycha says

      February 10, 2013 at 6:07 pm

      Thank you, Karianne. I’m so glad you like it, and WOW!…thank you for pinning:)

      Reply
  2. Mom of 3 says

    March 8, 2013 at 1:32 pm

    This is fabulous! Very creative.

    Reply
  3. Patricia Ann says

    September 6, 2013 at 11:08 pm

    ABSOLUTELY LOVE IT!

    Reply
    • Amy says

      September 8, 2013 at 8:41 pm

      Thank you, Patricia Ann !!

      Reply

Trackbacks

  1. How to Apply Plaster Texture to Drawer Fronts with Joint Compound | Stow&TellU says:
    February 25, 2013 at 8:35 am

    […] Texture design stamp, or other (I used bubble wrap) […]

    Reply
  2. Gearing up for the Warmer Weather Table Decor | Stow&TellU says:
    April 9, 2013 at 5:07 am

    […] painted piece of pallet wood; emptied and cleaned out some ancient spice jars from my mom; used the plaster-and-bubble-wrap-texture sample board in the center for height; pulled out the green decanter from my think spring-copper […]

    Reply
  3. Salvaged Wood Desk with Faux Leather Top and Bubble Wrap Plaster Texture | Stow&TellU says:
    December 27, 2013 at 10:30 pm

    […] To see how to make bubble wrap plaster texture, click here. […]

    Reply
  4. Featuring Amy from StowandTellU - Restoration Redoux says:
    October 19, 2014 at 10:23 am

    […] This is a texture I experimented with. It is plaster textured with bubble wrap. […]

    Reply
  5. How to Apply Plaster Texture to Drawer Fronts with Joint Compound | Stow&TellU says:
    July 15, 2017 at 2:31 pm

    […] Update: see finished piece, here. […]

    Reply

Leave a Reply Cancel reply

Your email address will not be published. Required fields are marked *

This site uses Akismet to reduce spam. Learn how your comment data is processed.

Looking for Something

Hey! We’re Ken and Amy and we’re here to help you inexpensively turn your home into a cozier living space one DIY project at a time. Read more

Browse by Category

Meta

  • Log in
  • Entries feed
  • Comments feed
  • WordPress.org
  • Home
  • About
  • Disclosure and Privacy Policy
  • Contact
  • Browse

Amazon Associates Disclosure

Stow and Tell U is a participant in the Amazon Services LLC Associates Program. As an associate, we earn from qualifying purchases designed to provide a means for sites to earn advertising fees by advertising and linking to Amazon.com.

Copyright

You’re welcome and encouraged to link to StowAndTellU.com or use a SINGLE image with a brief description and a visible link back to any post. Republishing posts in their entirety is prohibited. Please feel free to pin on Pinterest!

Disclaimer

We love sharing ideas and projects with you, however, we cannot guarantee everything will also work for you. As the reader, you assume any risks involved when completing projects seen on this site. We are not personally liable for projects that are completed based on the ideas and inspiration shared here.

Copyright © 2022 · Stow and Tell U

500 shares