Done up French Quarter style, these paper and wire flowers are much easier than they look to make. Spring is here, the weather is finally getting warmer and I am longing to go to New Orleans for this year’s Jazz & Heritage Festival. Knowing that I won’t be making it down, I pulled out my old French Quarter maps and brochures and made up my own fancy paper to make these paper and wire flowers. If you have scrapbook paper, thin wire and a lid from a jar, then you have almost everything you need to make your own paper and wire flowers:


Per flower, here is what you will need:
Thin gauge piece of wire 12” long
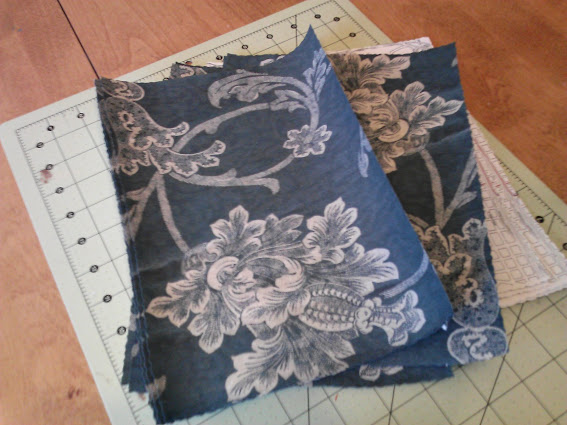
Six pieces of scrapbook paper cut to approximately 8-1/2” x 11”
2 pieces scrapbook paper cut to approximately 3” x 3”
1 lid from a pasta sauce type jar
1 strand ribbon, approx 10” long
Glue gun
Optional step: crumple up the six pieces of paper and then un-crumple the paper. This step can make the forming of the petals easier, but it is not required.
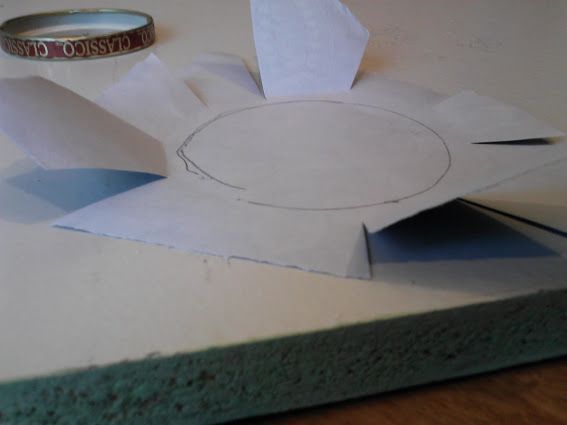
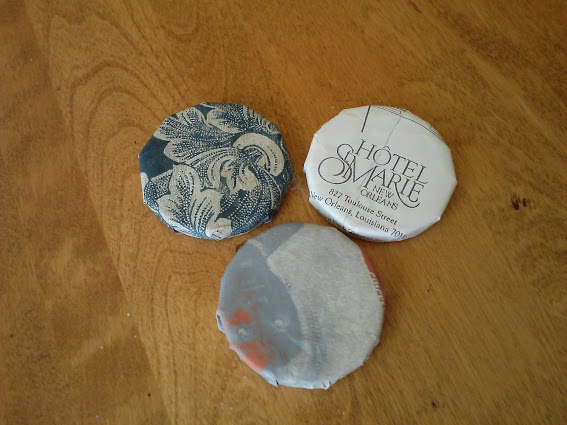
Take 1 piece of the 3” by 3” paper and lay the jar lid top side down on top of the backside of the paper. Trace the outline of the jar lid with a pencil. Cut slits in paper up to the pencil mark. Hot glue the paper to the inside of the jar lid, wrapping and gluing one strip at a time. Put lid aside.

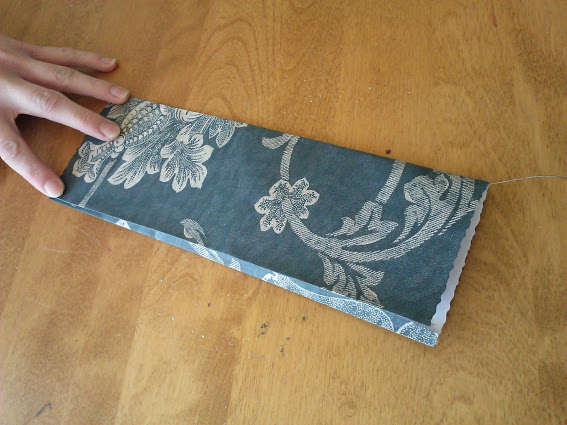
For the 8-1/2” x 11” paper, fold lengthwise ends over by about ¼“, and then fold each piece in half lengthwise.
Open each piece up and tape the piece of wire to the back side of the paper along the center fold, and then re-fold the paper down the center.
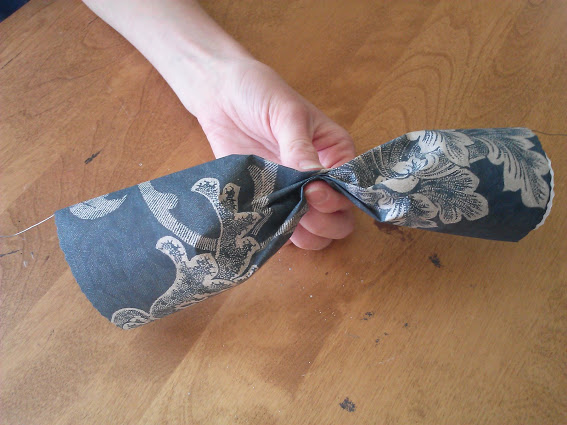
Accordion-fold each piece down the lengthwise center, starting at the bottom and folding toward the wire, and when you reach the wire, pinch together with your fingers.
Bend wire into a loop, making the shape of a petal, keeping the wire at the outer edge of the petal and folding the left side of the paper toward the back and the right side of the paper toward the front.
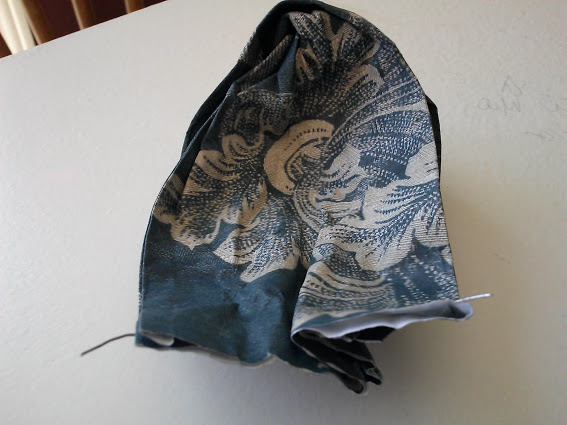
The left side of the petal should have the wire on the bottom flap and the right side of the petal should have the wire on the top flap.
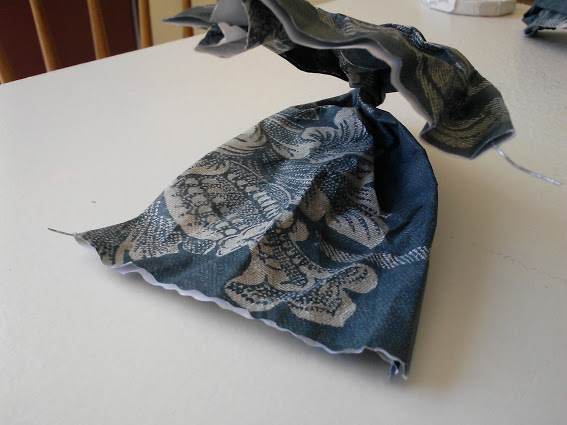
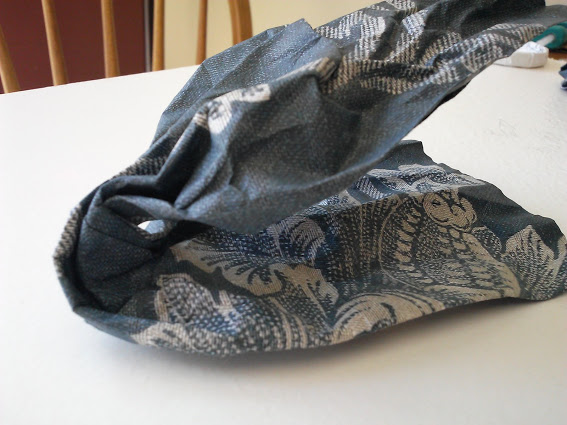
Push the paper of bottom side of the petal upward to form in inverted bowl shape.
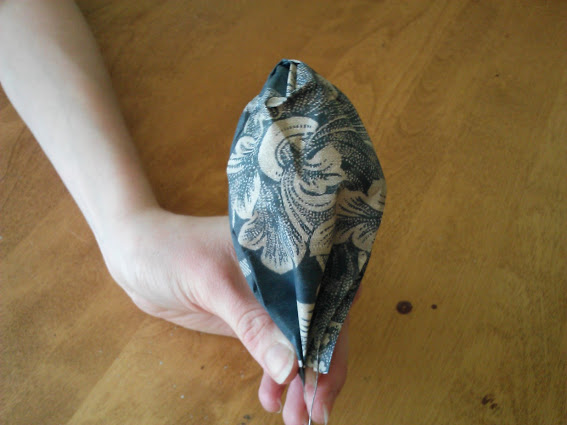
If you pinch the bottom together with your fingers and you should have a petal. Put that petal aside, and go on to the next, until you have made all your petals.

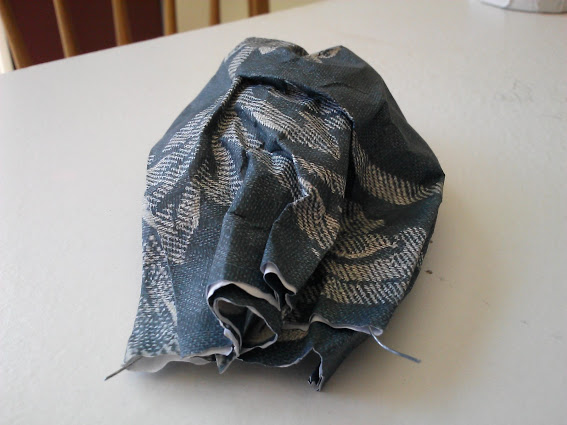
Before attaching the petals to the bottom of the jar lid, pinch and fold each petal down at about ¼” toward the backside of the petal.
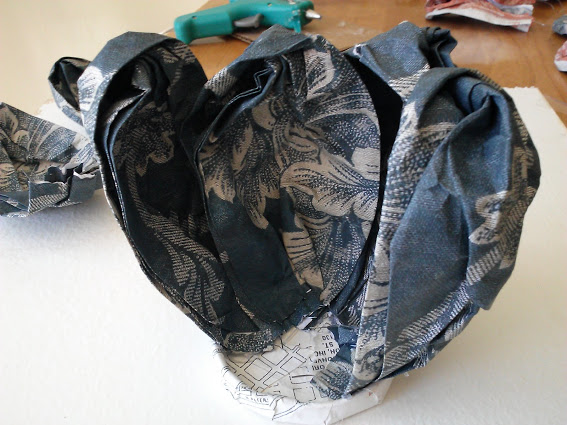
Attach each petal one by one, to the inside of the jar lid, with hot glue to along the ¼” folded strip.

Fold petals back and attach ribbon piece.
Cut the 2nd piece of 3” x 3” paper into a circle about the side of the jar lid, and attach it over the ribbon on the inside of the jar lid/ backside of the flower.
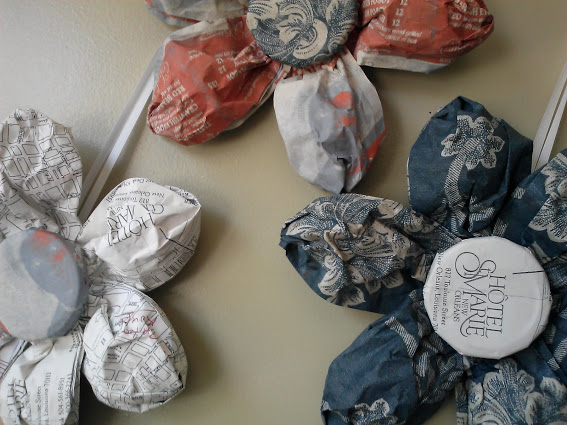
I went with a French Quarter theme, so that I could imagine myself in New Orleans for the Jazz Fest, but obviously you can make them in any color or pattern:)
Anne@DesignDreams says
How adorable Amy! So very cute!!!
Mel says
Oh they’re just so pretty Amy.
Rachelle says
Love these! And I love the French Quarter style- I also was dying to go to Jazz Fest this year but it was a no go for me as well. There’s always next year though!
Danni@SiloHillFarm says
Amy, I have never been to New Orleans, but I want to go so bad! (Just maybe not during Mardi Gras) I think these flowers are so cool, not to mention pretty. I pinned them so I have your tutorial when I’m ready to give them a go! Thank you!
Nancy @ Artsy Chicks Rule says
These are so creative and cute! Thanks so much for sharing the tutorial 🙂
Nancy