It may be gloomy outside, but whenever I see these little Cuties, it brings a smile to my face. Cuties seem to be taking on the picky eater’s population by storm. They’re simply delicious, and a parent’s answer to a healthy food choice that kids will eat. I’ve seen so many crates of Cuties in the produce section this season, could it be they’re reaching icon status? The packaging is just so darn CUTE, that I haven’t been able to bring myself to throw it away; so, I had some fun and pulled together a few craft ideas which some might call Cuties pop art and some (like my family) just call off the wall!
Having admitted that, doesn’t it kinda make you think spring?

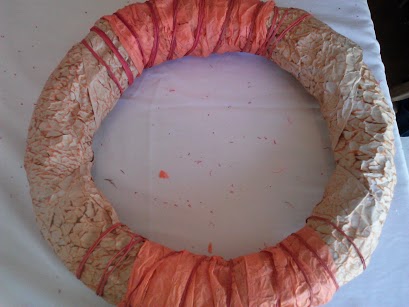
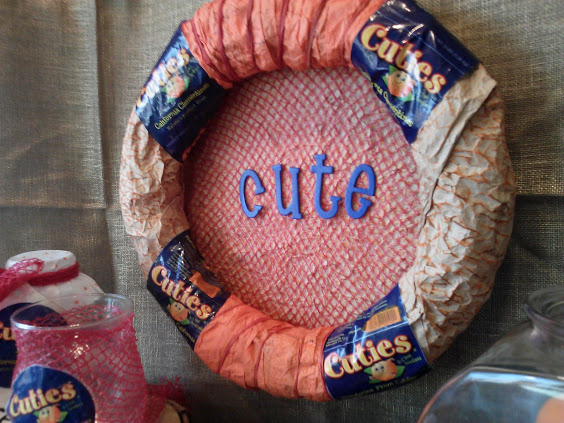
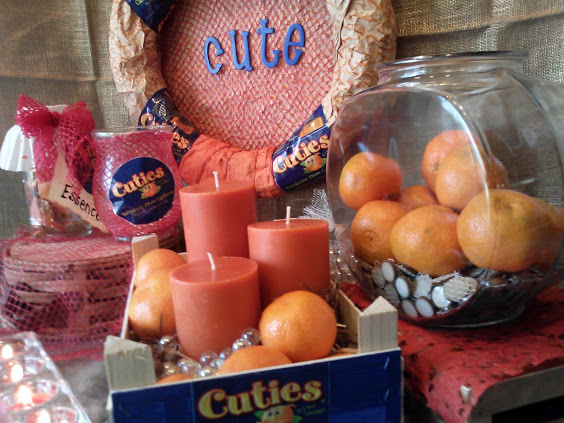
Cuties pop art wreath
Supplies:
Straw colored wreath
OR
Re-purpose an outdated wreath by repainting or covering with brown or tan craft paper
Orange tissue paper
Orange raffia cord
Cuties labels
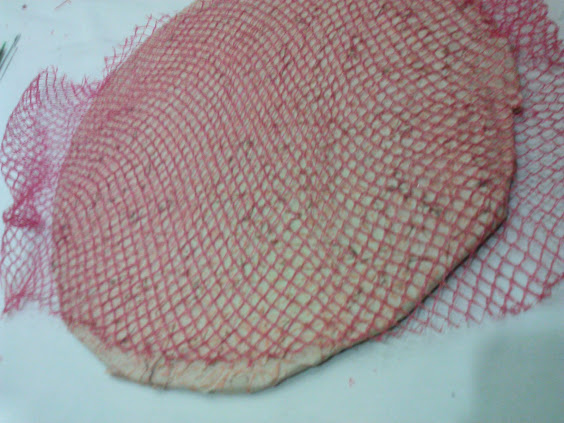
Red netting (a bag of Cuties is usually packaged in this netting)
Glue gun and glue sticks
Additional brown or tan craft or postal paper
Piece of cardboard large enough to cover inside of wreath

To make wreath:
- If you are using an outdated wreath, remove the outdated decorations from the wreath.

- Lay wreath on cardboard and draw a circle around the inside. Remove wreath from cardboard and draw a slightly larger circle around the first circle. Cut out cardboard along larger circle.
- If you already have a straw colored wreath, skip this step: Paint your wreath light brown or tan – Or – wrap your wreath with brown or tan craft paper and attach with a glue gun on the backside.
- Wrap the top and bottom portion of your wreath with some orange tissue paper and attach on the backside of the wreath with a glue gun.
- Wrap raffia cord around top and bottom portion of the wreath over the orange tissue paper, attach with glue gun on the back side.
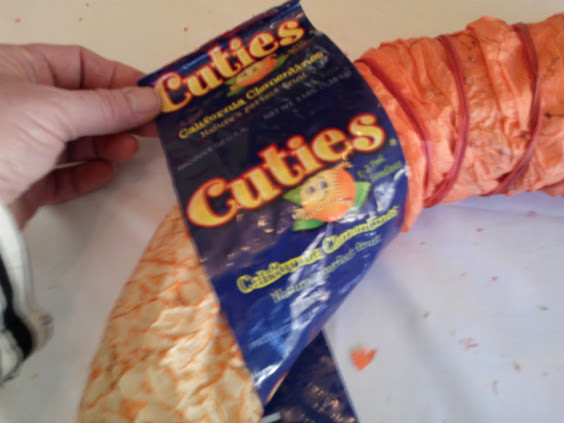
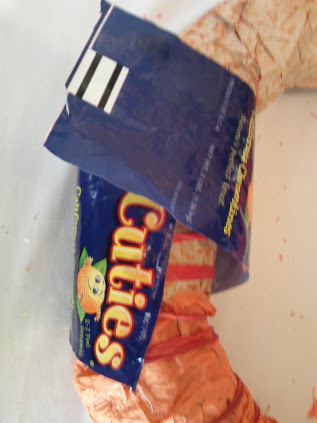
- Lay Cuties label one at a time around point where tissue paper meets your tan colored portion of the wreath. Take your time to place the label so you can see it well from the front. Once you like the placement, attach one end of label to back side of wreath with glue gun. Trim off excess label and glue the other end to back side of wreath.
- Run some wire thru the backside to hang the wreath.
- Wrap the cardboard, circle cut-out with some postal paper. To do this, lay the cardboard down on the craft paper and cut slits in the paper along the edge of the cardboard to make strips. Wrap and glue four of the strips first, one in each corner of the circle cut out, and then attach the rest of the strips.
- Wrap Cuties red netting around the cardboard circle, using the same method above, if needed.
- Flip your cardboard piece over and run hot glue near the outer edge of the front side, and then attach the back side of the wreath to the front side of cardboard circle, making sure to keep wire hanger outside of the cardboard circle.
- Center and attach letters with a fun statement if you prefer.
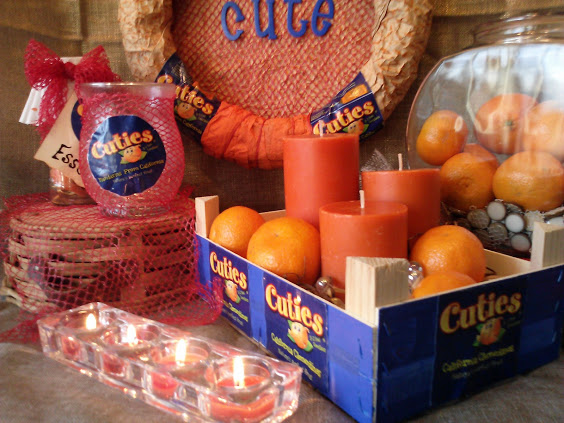
Cuties Centerpiece
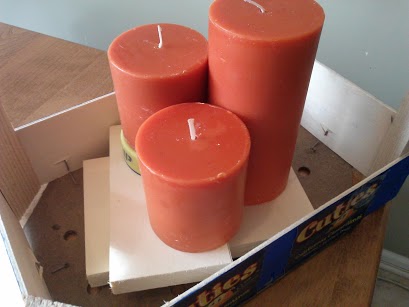
- Using a Cuties crate, place pillar candles in the color of your choice inside crate.
- If candles are too short, stack them on top of some wood blocks, paperback books, or jar lids.
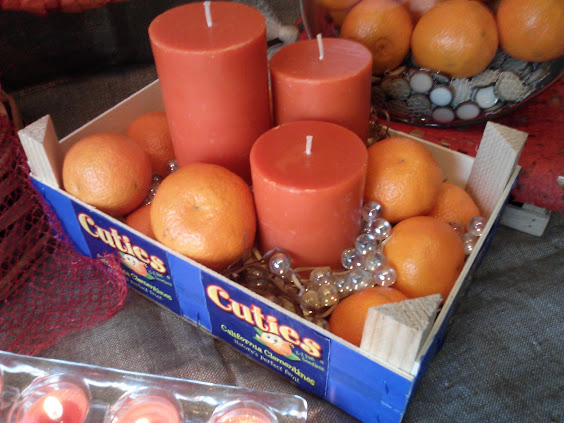
- Add some filler and add some Cuties, too.
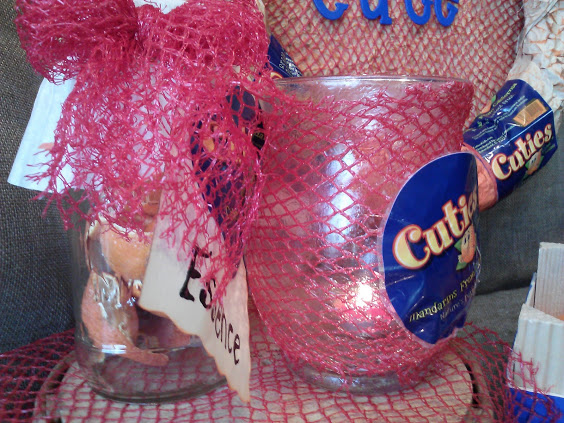
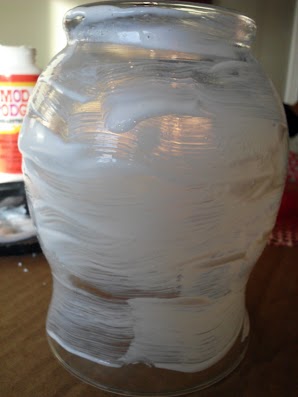
Cuties Glass Votive
- With a sponge brush, apply decoupage -I used Mod Podge gloss – on a small glass vase turned upside down.
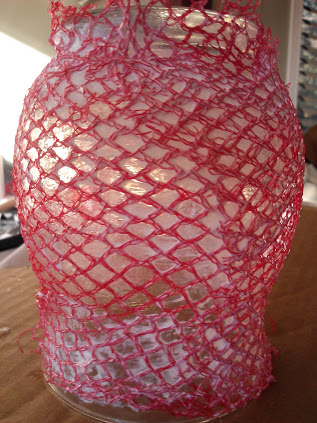
- Wrap Cuties red netting around vase and hold in place for 1-2 minutes. All of the netting may not adhere at once, but that is okay. Let decoupage dry.
- Trim off excess netting around vase, and then apply a second coat of decoupage, applying in a clockwise or counter clockwise direction, until all of the netting is adhered. Let dry
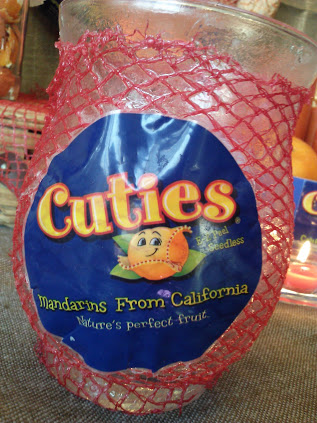
- Apply Cuties labels carefully with a hot glue gun.
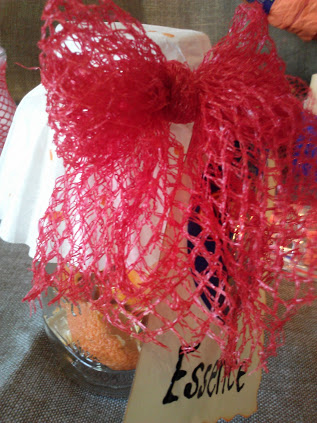
Cuties Essence
Aside from how cute they are Cuties taste and smell divine. If you don’t have time or interest in making Cuties crafts, you may want to make some Cuties essential oil. Here is an awesome recipe for making orange essential oil from Lisa at Condo Blues that will work for Cuties, too.
What do you say, crazy or crafty for Cuties?
Leave a Reply