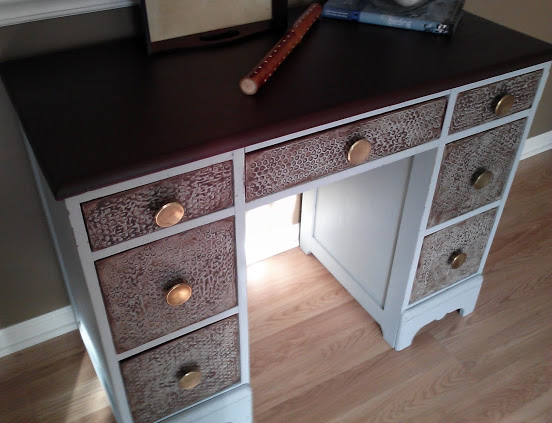
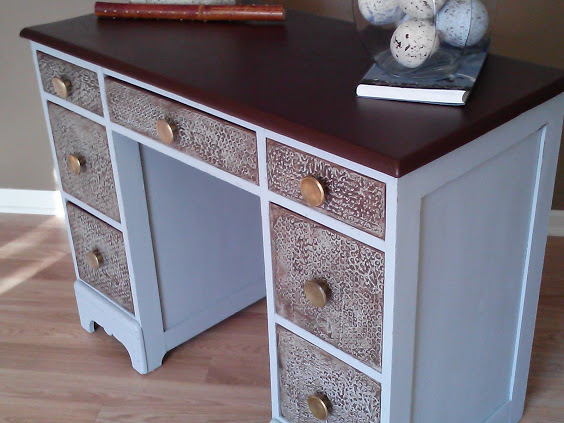
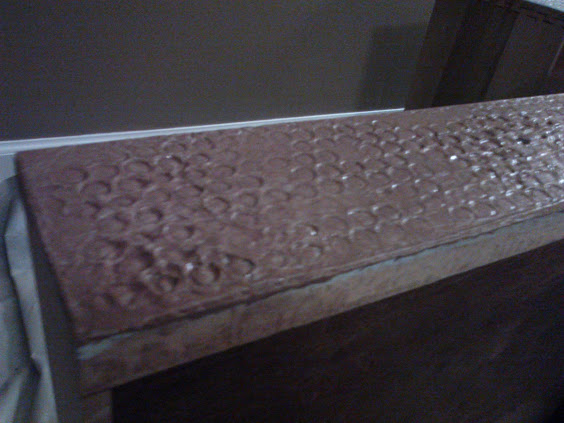
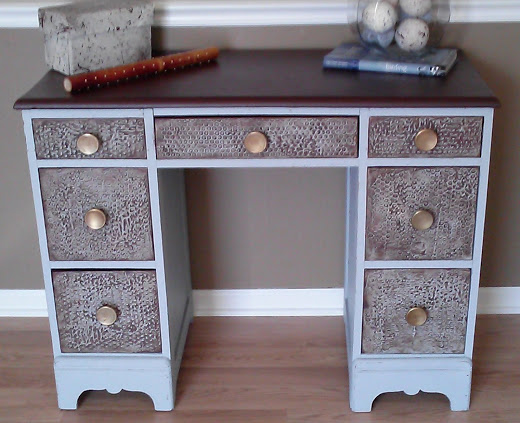
I have been going on for a while about a wood desk that I have been working on, and believe it or not, I wasn’t making it up. It’s finally DONE!! It needed lots of TLC, but doesn’t everybody? So with a touch of bubble wrap plaster texture on the drawer fronts, a new chalk paint finish and a faux leather desk top cover, this desk is ready for the world.
Faux leather top desk
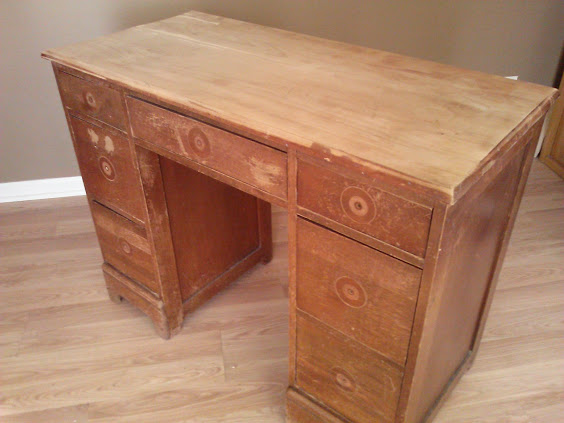
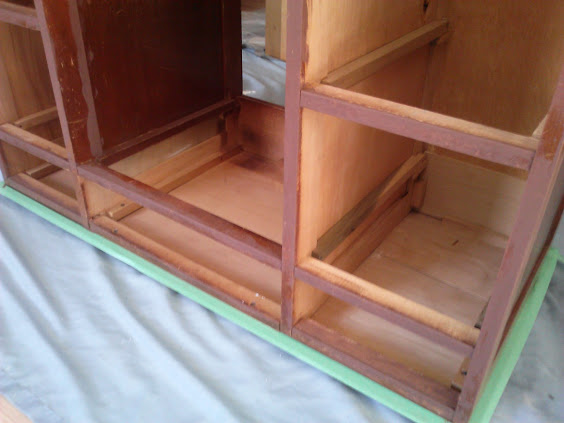
 Salvage or Garbage?
I found this desk curbside and waiting for the garbage man, “Hmm. What to do?” I thought to myself, and before I could think on it too long, I asked my friend’s son, Mikey, to help me load it in my truck and home it came= Salvage!!
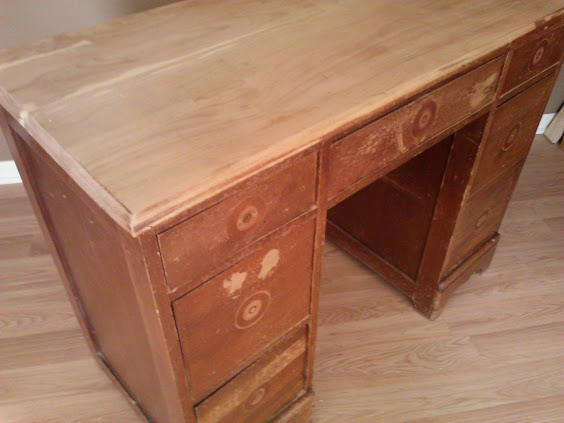
Upon closer examination, I found that the desk top had a crack in it and a little warpage. I was able to repair the crack and give it a heavy sanding to even out the top to make it work. I knew the top would still have to be covered somehow, because of the wood fill.
The finish also had a lot of wear and tear, so at this point I came to the conclusion that I would have to paint the desk rather than keep the wood finish. Shame, shame because I love this era of wood furniture in particular.
Supplies:
- Chalk paint (I used DIY chalk paint recipe from I Heart Naptime)
(Paint color: Winter’s Day by Martha Stewart Living)
- Regular paint in the same color (I didn’t put chalk paint over the plaster textured areas)
- Craft paint for the accent color under chalk paint
(Color mix of Coffee Bean, Tree Bark, and a dab of Burnt Umber)
- Craft paint and glaze for the accent color on the plaster textured areas
(Same colors as above mixed with glaze)
- Paste Wax (I used Minwax Finishing Wax)
- Clear coat finish for textures areas (I used MinWax Wipe-On Poly)
- Paint brush
- Clean cloths
- 120 or higher sand paper
- Leather or faux leather piece for desk top (measure +3-5 inches overlap per side)
- Staple gun and staples (I used ¼” staples)
To see how to apply plaster texture to drawer fronts click here.
To see how to make bubble wrap plaster texture, click here.
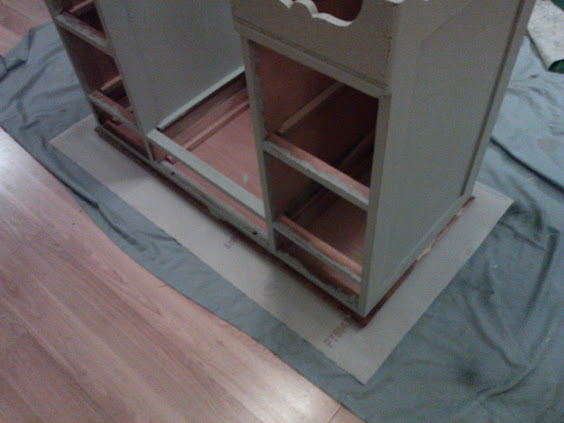
Painting Desk Frame (drawer fronts not included in these steps)
- I applied an accent color using craft paint, to the parts of the desk that I wanted to show through when complete. I focused on the areas that would have natural wear, such as edges and corners. Since this desk already had natural wear, this step was easy! I let accent paint dry over night.
- Next I applied just a small amount of Vaseline to the accent areas. Once again, I focused on the naturally worn pattern, trying not to overkill on this step. Just a little dab will do ya!
- To paint the desk, I used a diy chalk paint recipe from I Heart Naptime. This recipe worked out just great, and I couldn’t believe how easy it was to apply this paint. I let the first coat dry for 6 hours, then the second coat overnight.
- Next I took sandpaper and gently sanded accent areas until I liked the results.
- Finally I applied paste wax to the entire desk – EXCLUDING the desk top and textured drawer fronts


Applying Paint Glaze to Drawer fronts:
There are a few methods you can apply when painting and glazing on plaster texture. If you paint the plaster texture with out using primer first, the glaze will soak in more to the surface, but the plaster can soften a bit. If you apply primer over the plaster texture, you will have a better seal, but the glaze will take differently. I suggest trying both methods on scrap board to see which result you like better.
- After plaster texture was fully dry, I applied 2 coats of primer, then 2 coats of paint, making sure to get the paint into all of the crevices. Let dry completely
- Applied paint glaze mixture to the drawer fronts. Since the primer is such a good sealer, I had to water down the paint glaze a bunch, and let it dry for an hour or so on the plaster texture.
- Then I gently rubbed it off with a damp cloth.
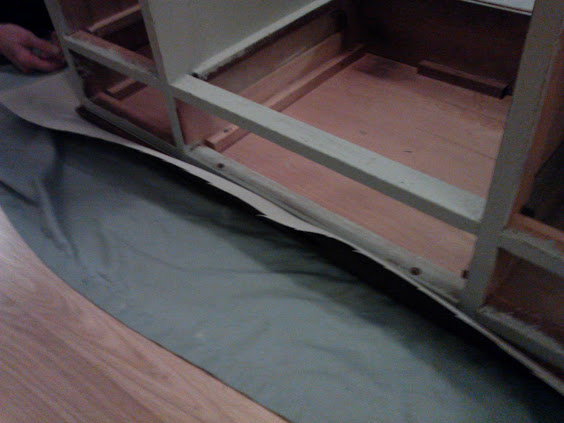
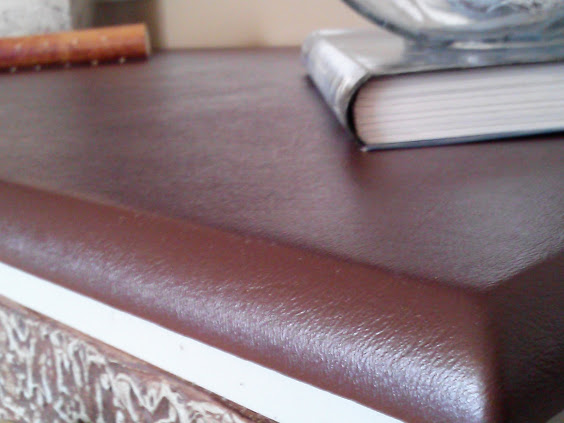
Cover Desk Top with (faux) Leather:
If you’ve ever written a letter on a leather top desk, then you know why they’re so coveted. The way the pen flows so smoothly onto the paper due to the cushioning from the leather, you won’t want to write on any other surface ever again…although, who knows how much longer pen and paper will be around, but as I digress, due to the slight damage on this desk top, I decided to cover it with faux leather, rather than leather (budget) and here is how I did it:
- Once I had the desk frame complete, I measured and cut a piece of faux leather, allowing about 3-5 inches extra for overlap.
- I flipped the desk over and laid desk top on faux leather piece
- I started with four staples, one at the center point of each side, making sure to pull taut.
- Next I started to staple on each side of the center staples working my way around doing about 5 or 6 staples on each side, and then doing the same to the other sides, making sure to pull fabric snug, working my way to the corners, finally folding and stapling the corners.
- Lastly I trimmed off excess faux leather.

I should call this one the “Plenty-o-TLC desk salvage”, but nevertheless, it’s not in a landfill. Tell me what you think?
Kevin O says
I’m a fan of traditional natural looking wood. However, it would get boring if you only ever did that look. I think it’s good if you choose to jazz it up like you did above. Great Job!!
Brenda Brown says
Hi Amy, I think the job you did on this desk is great. It is so adorable. My husband and I have a desk that we are putting a faux leather top on and we have it stapled on all the sides. We are having difficulty getting the corners done, though. How did you fold/cut/glue/staple the corners so that they are not bulky, wrinkled or tucked? They look so great and we would love to have ours look like that but, so far, have not been able to figure it out. Do you have any advice or photos on how to finish the corners off? Many thanks and nice job!