Last winter when my son was home visiting over the Christmas holiday, we have a few warmer days and he offered to do a little work for me. I don’t think he was extremely thrilled to start disassembling pallet wood skids, but he made the best of it and by the end of the afternoon, I had piles of pallet wood strips in a variety of shapes, wood grains and sizes.
I knew I had plans for the wood but it would have to wait until warmer weather to be put to use, so there it sat.
Well it’s been hotter than hates recently, and I finally have at least one pallet wood project out of the way.
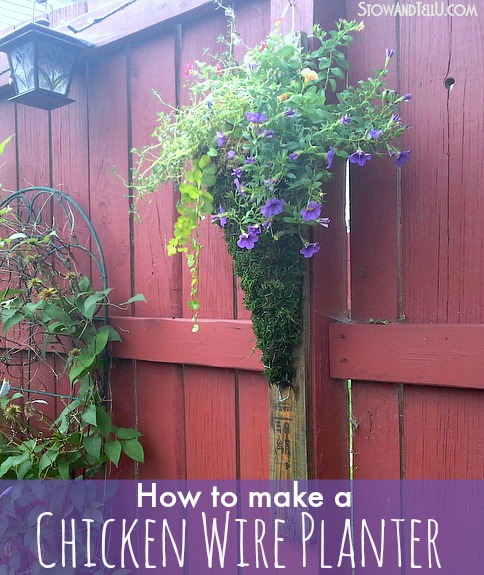
Vertical chicken wire planters attached to pallet wood
for my hanging flower basket pleasure…;)

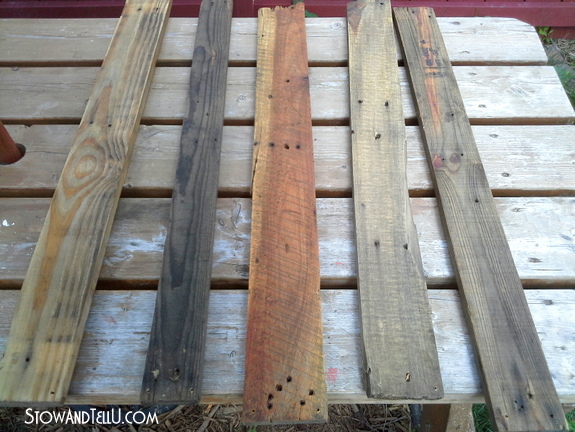
Preparing the pallet wood
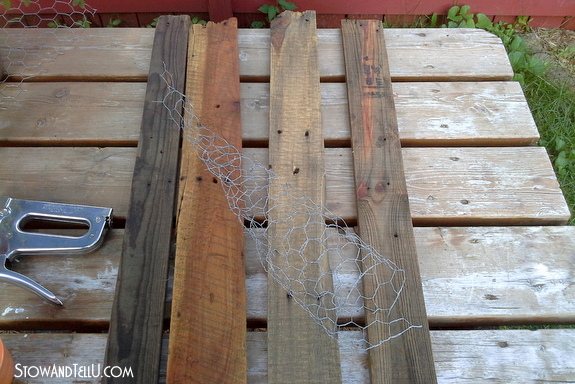
I started with several planks of pallet wood that were rather dull and beat up.
I lightly sanded the pieces, and then applied a mix of canola oil and vinegar to wood with a paint brush using the same recipe that I found on Hometalk, here. I gave all pieces 2 thick coats of the mixture with drying time of an hour or so in between.
Using stain and a clear coat would certainly have been an option, but I actually just wanted to bring out the natural color of the wood and nothing more for this project.
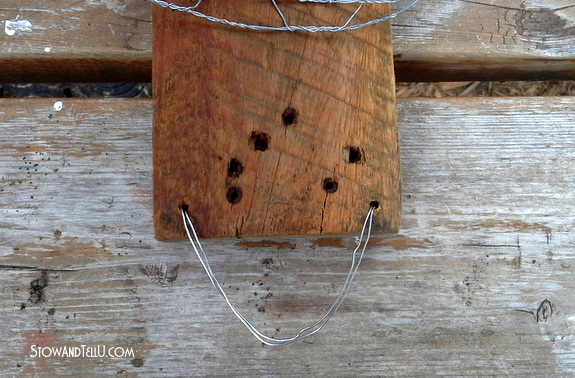
I also drilled two holes into the top section of the pallet wood piece, to run wire through later for hanging.

Making a vertical chicken wire planter
From there I gathered the following supplies:
2′ chicken wire roll
wire cutters
a staple gun
thin gauge wire (for hanging)
several clay planters (to weigh down the chicken wire while cutting out the pieces)
bucket (to collect all the scrap chicken wire pieces)
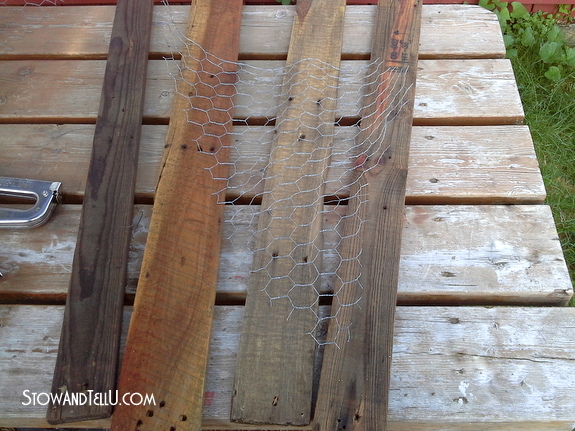
I rolled out some of the chicken wire and placed the clay planters on top to weight it down.
I cut several pieces of the chicken wire in a triangular shape, more or less. A perfect shape wasn’t required, but I did make most of my pieces about 2/3 length of the 2′ chicken wire roll.
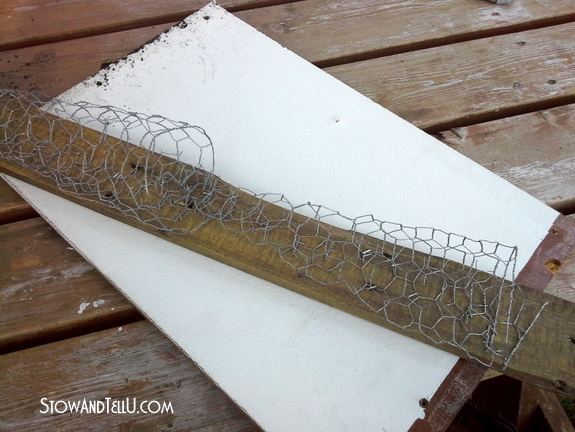
I rolled the triangle piece into a cone shape. Note: I did have some overlap and excess chicken wire that I snipped off after the chicken wire cones had been securely attached.

I laid the cone down along the piece of pallet wood and stapled one staple on both the top and bottom of the cone. On the bottom section, I made sure to fold and tuck the chicken wire ends up so that it created a closed end.
Next, I had to push down on the top part or layer of the chicken wire cone so that I could reach the staple gun down far enough to staple sections of the bottom chicken wire layer onto the wood. I wasn’t worried about crushing the chicken wire too much because it can always be formed back into shape.
Most of all, make sure the chicken wire is secure from top to bottom, by tugging on the wire from top to bottom.
Once I was sure it was attached to the wood securely, I molded the chicken wire back into its cone shape and snipped off the excess chicken wire (which went right into that bucket I mentioned earlier.)
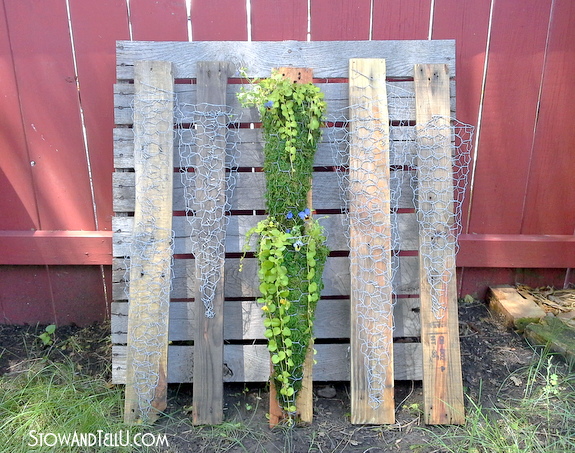
I made some with one larger basket and some with two chicken wire baskets in a tiered or cascading fashion.
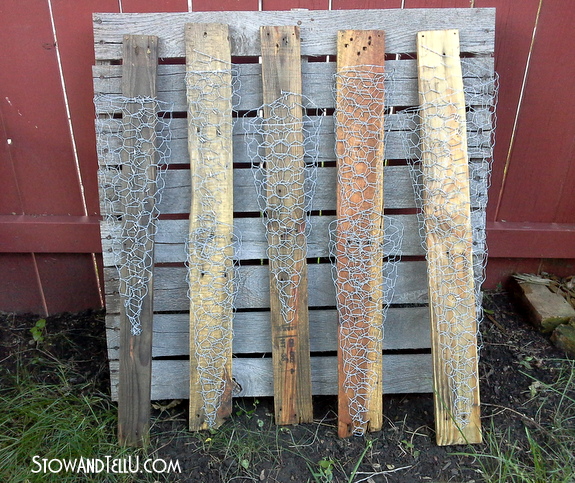

Finally I ran the thin gauge wire through the drilled holes for hanging. (Not shown in this picture.)
I was able to cut and attach all 5 planters shown in this photo in a matter of 4 hours, including clean-up and taking photos, which is better timing than I thought it would take.


I’ve seen plenty of moss filled chicken wire garden projects, so I’ve had this one on my bucket list for quite a while. I like the idea that it can hang just about anywhere, once all assemble. Of course, then there’s the task of filling it with plants or pretty flowers…
Click on over to see: How to fill a vertical chicken wire planter with moss and greenery.
You can also see more chicken wire projects, here.
Hope you are having a fabulous day! ~ Amy
Linking up at:
Confessions of a Plate Addict / The Scoop
Funky Junk Interiors / Pallets Only Club
Funky Junk Interiors/ Upcycled Moss Projects

Anne says
That’s a cute idea Amy! This would be the perfect strawberry planter!!
Amy says
Hey, I hadn’t thought of that, but great idea, Anne, thank you!
Feral Turtle says
This is genius Amy! I am sending the link to my sister! Pinning.
Amy says
Haha, you give me way too much credit. So glad you like it, thank you.
Sherry@Thrift My House says
Oh my goodness! You had me at pallet and chicken wire! I like how you brought the natural wood tones out. Great project Amy!
Amy says
Thank you, Vicky. That vinegar and canola oil mixture really did the trick, I’m glad I gave it a try.
Mel says
I crown thee the chicken wire queen! I really like this idea for a herb garden, great idea Amy
Bliss says
Pretty clever! And the title sounds like a new dance, you know along the lines of the Sprinkler & Lawnmower…. The Vertical Chicken
Amy says
Hilarious!! Love the way you think, Bliss! I’m going to try that one at the next wedding I go to!
Doreen@househoneys says
Brilliant Amy! And I love the color of the fence too 😉
Pinning this one!
(The other day we drove past a construction site that had a bunch of pallets…UNASSEMBLED! I was drooling lol)
Amy says
Please tell me you grabbed up some of that pallet wood, or were you only aloud to drool this time? I know the feeling, lol.
Mary Beth @ Cupcakes and Crinoline says
These are gorgeous, Amy! Pinning and sharing. 🙂
Amy says
Thank you so much, Mary Beth!!
chris aka monkey says
woo hoo amy this is one of my favorite post for garden thingys i read the original post but that was when i was skeered to reply cause i didn’t know how bloggy things worked angie at farmhouse knick of time featured this with other garden goodies today xx
Patsy says
Where do you get the sheet moss. I didnt know you could purchase it like that.
I love this idea, thanks. I will give this a try also.
Amy says
Hi Patsy,
I found mine at Michaels Craft Store
Some moss comes kind of like in clumps, but this stuff came attached to a netting.
Here is a link to one type that comes in a sheet: http://www.michaels.com/ashland-preserved-moss-forest-green/10204602.html?productsource=PDPZ1
Here is another link of a similar one that comes as a table runner found on Amazon (affiliate link): https://amzn.to/2jJtClD
The main thing you want for making this is that it comes with a netting on the back, rather than in natural clumps because it will stay together better.
Let me know if you have any other questions.
Thanks,
Amy