Hey all. I know. It’s been a while. But not for lack of not wanting to keep in touch. I swear.
Ken and I have spent the last 3 months rehabbing our townhouse rental to get it on the market.
When I say we have a rental property, it may sound hoity-toity, like we can afford multiple homes.
Not even close.
Bottom line, the townhouse was under water when we bought our current house, so we wanted to try and rent it out to wait for the market to go back up. And while the whole rental situation worked out great for the first few years. The last several months did not.
Long story short, at the beginning of March, we finally got the tenants to move out. The good news being the market had recovered enough that we could finally try to sell it now without losing our pants. The bad news being that the townhouse was left in, ahem, pretty bad shape!!
We had to clean, declutter, paint and fix up every area of the home with a goal of spending the least amount of money possible. In each area of the townhouse we were up against some kind of rehab challenge. Over the next few weeks I’m going to share the primary fixes that we accomplished in small budget fashion. All of which contributed to helping us get this townhouse sold in under a week after it went on the market!!
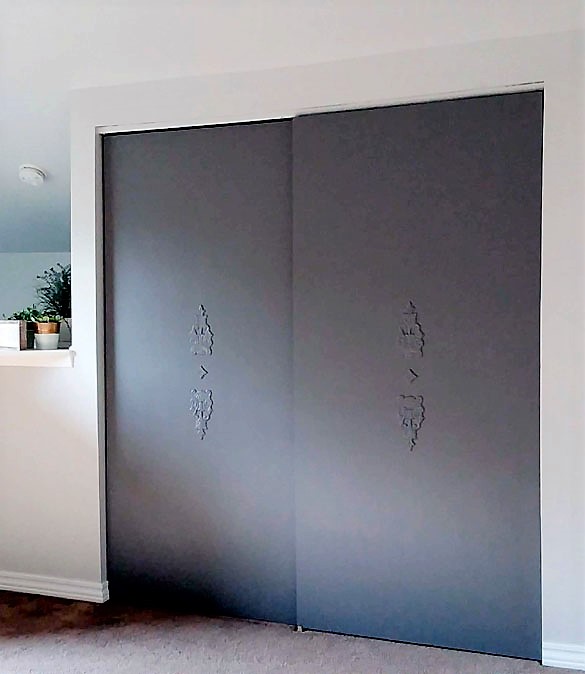
Budget Bedroom Makeover with Dark Gray Painted Closet Doors
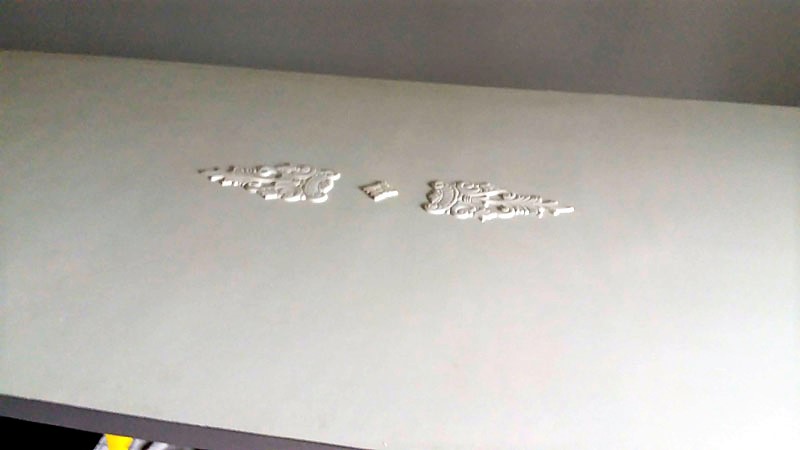
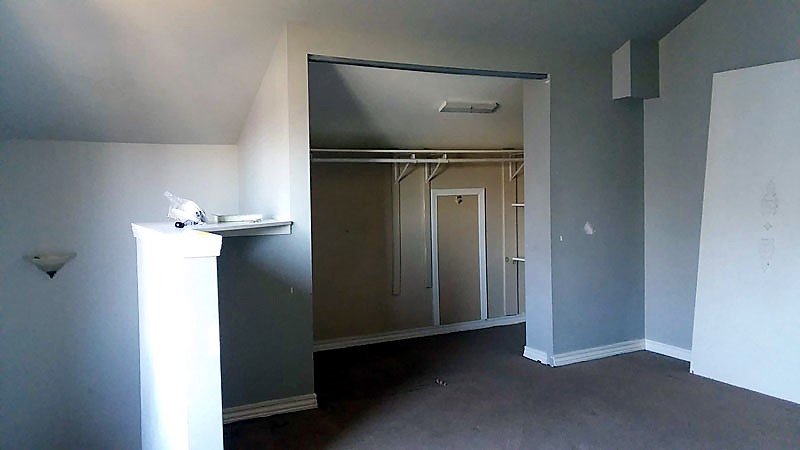
Today, I’ve got some before and afters of the master bedroom makeover. And aside from a massive cleaning, wall patching and painting, one of the bigger decisions was what to do with these appliqued shabby chic- styled closet doors.
Reusing Outdated Closet Doors
Note: If you want to reuse your outdated closet doors, make sure they are in good working condition, or that you can easily repair them with new closet door hardware, etc…
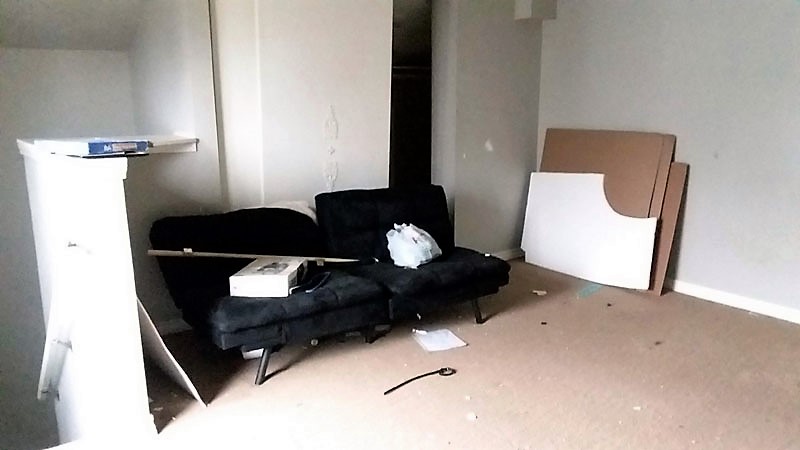
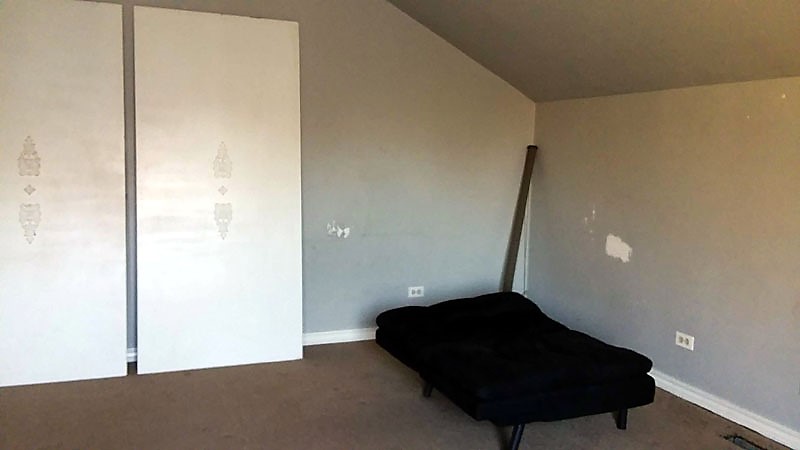
To start with the closet doors had fallen out our the track, which is why the tenants shoved the futon couch up against the closet. I wanted to try to salvage the doors because a new set of closet doors would be somewhere over $200. Annnd, that wasn’t in the budget.
Ken assured me he could fix the door track, but he couldn’t flip the doors, so that the appliques were on the inside. “Too much work”, he said. But, knowing they were still working meant trying to salvage them and update them, somehow.
To give you a visual timeline, in 2006, these doors were originally dark wood, basic flat sliding closet doors. I put the appliques on the doors and painted them white. Then I painted the accent wall around the closet a deep Paris pink with the rest of the walls in the master a beige tone.
In 2015 before we moved out, we painted all the walls in the master a gray color but kept the doors painted white.
This time around in 2019, we were going with a lighter gray than before on all the walls. But I just couldn’t imagine these doors looking appealing painted white again, as they were with the appliques.
I pondered a variety of possibilities and even came up with some ridiculous ideas, such as trimming out the appliqued area with wood strips, and then filling it in with spackle or wood filler… Lame. I know.
But then the simplest idea came to mind: PAINT.
Hello!
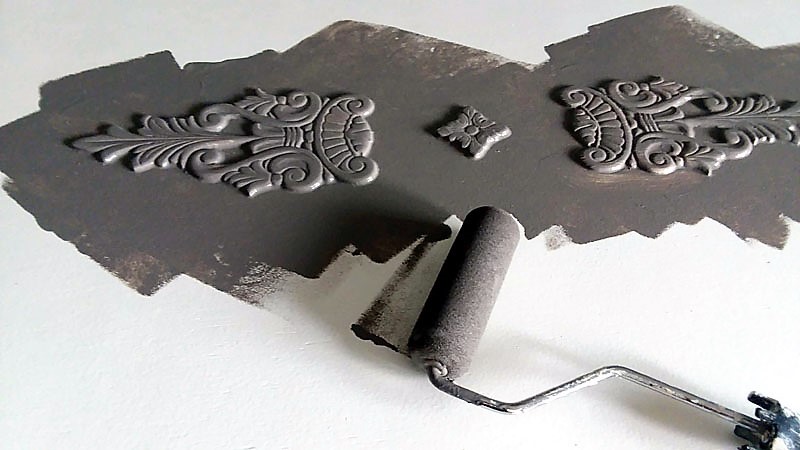
Why don’t I just paint the doors a different color? Something other than white? A color that’s a little more modern and dramatic? Something that would have enough impact you might not even notice the fancy applique or think they’re outdated? Which is really only a matter of opinion, anyway, right?
6 Simple Tips for Painting Closet Doors
- Lay doors flat if possible. We put ours on a set of folding sawhorses with paint tarps underneath.
- Use a paint roller, starting in the center of the door and working your way out to the ends. Watch for drips. I used a foam roller at first, but changed to using a 3/4″ nap standard paint roller because I found the coverage was much better.
- Decide if you want to paint both sides of the door, or just the fronts. If painting both back and front, paint the back sides first.
- Paint multiple light coats on the sides of the doors, so as not to hinder the way the doors fit back into the opening.
- Consider using a semi-gloss paint, or using a water based top coat for durability. I used an eggshell and no top coat, but it’s a matter of preference, and I do believer both options would keep the finish in better shape in the long run.
- Let the paint fully dry. Overnight preferably, before painting the other side, or re-installing.
BEFORE
AFTER
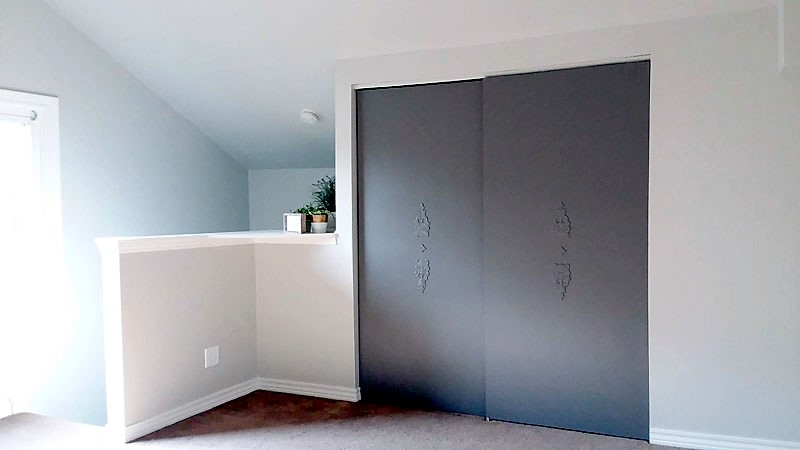
Budget Master Bedroom Makeover with Painted Closet Doors for $209
Upon this revelation and since I already knew that I had chosen a whole house color pallette from the Sherwin Williams line. I decided to go with painted closet doors in the SW paint color: Gauntlet Gray.
Note: Although due to budget, I did choose to have all the paint colors mixed into the Glidden Premium Paint brand in eggshell finish.
Paint colors in the master bedroom
Wall paint color: SW Repose Gray (Lightened 50%)
Closet door paint color: SW Gauntlet Gray
Trim paint color: SW Pure White
Master Bedroom Budget breakdown
- Total paint cost for the whole room- approx $70
Other updates and changes made to the master bedroom
- New stairwell light fixture – $30
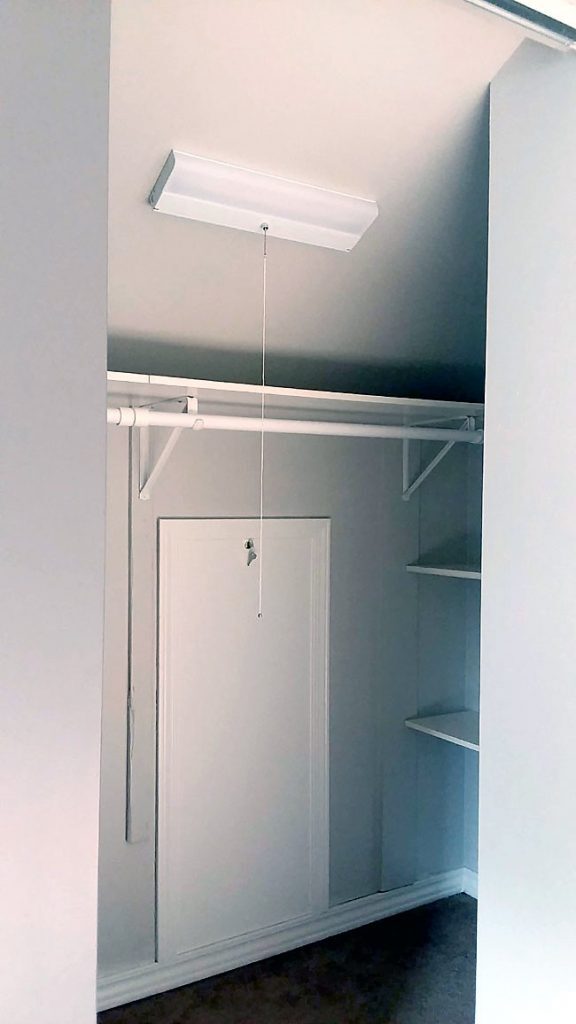
- New closet light – $19
- Carpet cleaning – $90
- Take down and clean fan light – $0.00
Total Cost for Master bedroom $209.00
More Townhouse Rehab Projects that we managed to pull off on a low budget
- Guest bedroom update with AMAZING looking Carpet Tiles for $200
- How to fix a broken fence post, for $100 – No digging required!
- Simple Laundry Room update with an Upcycled Laundry Folding Table
While this is a large master bedroom with vaulted ceilings, the real estate photographer homed right in on these closed doors for the photo of this room for the listing. And to think I was going to trash them and spend over $200 (that I didn’t have) for another set.
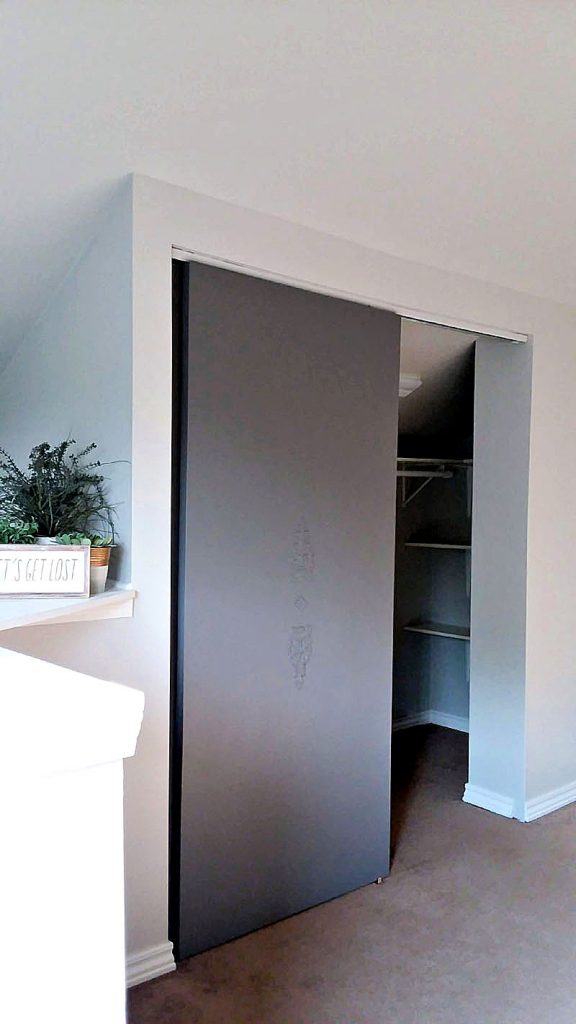
So, hey, don’t trash your dated closet doors, or any other door if you don’t have to. Deep, dramatically painted closet doors might be all you need to bring a boring set of doors back in style and get an updated look on a small budget.
Feral Turtle says
I am so sorry to hear that you had some bad eggs in your place. It makes being a landlord hell!! But I am so glad that you were able to fix up those gorgeous doors! The room looks great Amy! Good job you two.
Amy says
Thanks so much, Karen. We were happy with how it turned out (on such a budget)!!
Bliss says
20 years ago I enherited a house and became a landlord. While I was fortunate with tennents, we sold it last year and I haven’t missed it once!