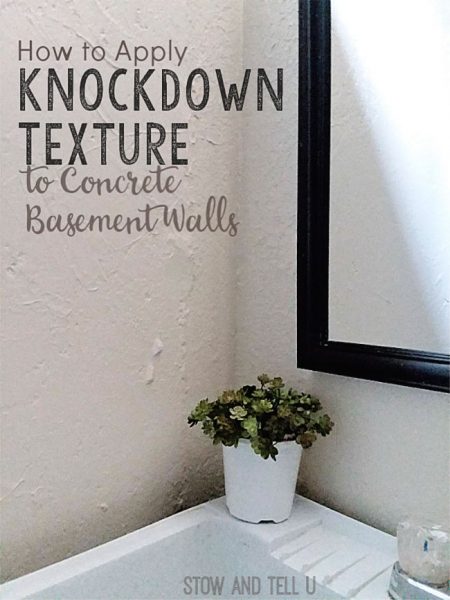
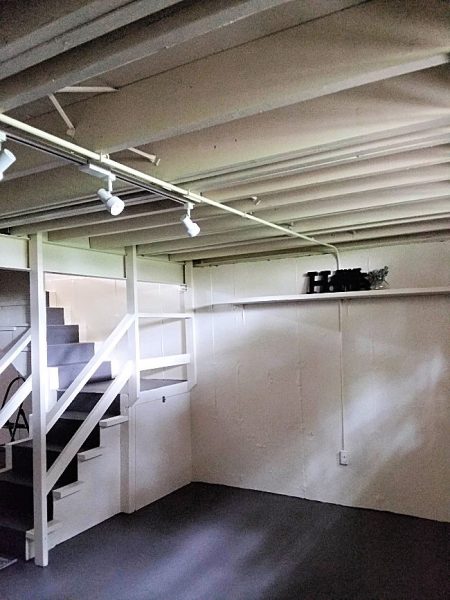
One of our goals for the townhouse basement update was to avoid using drywall or paneling on the walls. This, of course, meant we would be working with the long ago painted concrete walls. Instead of just repainting over the concrete, I decided to add a knockdown texture to the walls. I was aiming for the look of a craggy stone wall rather than look of popcorn or orange peel that textured walls often have. By using the knockdown technique, I was able to create a rustic, yet subtle stucco effect.
In all honesty, one of the main reasons we choose to add texture to the concrete walls, rather than putting up paneling or drywall was because it’s a super budget friendly option.
You can give your basement a finished, or partially finished look in a lot less time with a lot less cash.
This post contains affiliate links, see full disclosure.
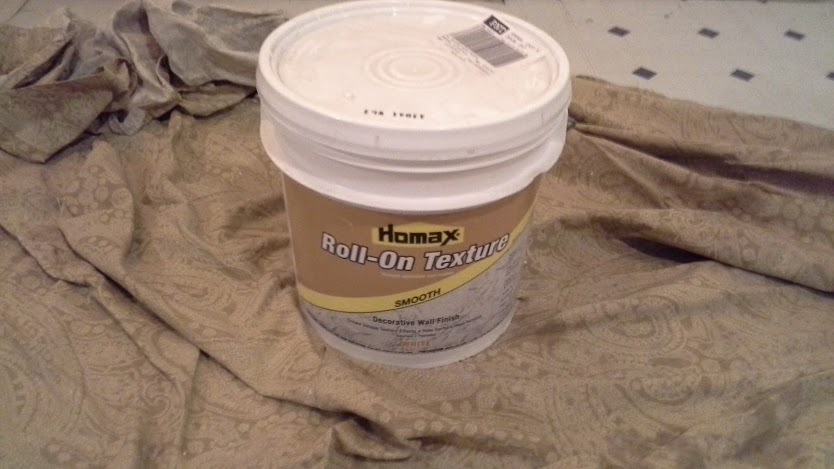
To keep it budget friendly, we used a product called Homax Roll-On Texture. This product was super easy to work with. It was non-messy and dries within 24 hours, so it’s ready to paint.
So now that you know what we used and why we used it, let me give you some information on how to easy it is to add knockdown texture to your concrete basement walls.
How to Easily Apply Knockdown Texture to your Concrete Basement Walls
Supplies needed to do a knockdown texture finish
- Homax Roll-On Texture in the smooth finish
- Power drill
- Cement mixer drill bit
- Water – several pints
- 5 gallon bucket
- Paint rolling tray
- Floor tarp
- Standard paint roller
- Lambs wool paint roller cover
- Or – Alternative: Paint roller cover in ½” size or ¾” size
- Knockdown texture knife
- Optional: Masonry Waterproofing Paint, such as Drylok
Follow these steps for prepping and applying knockdown texture
- Clean the walls. Make sure the walls are clean of dust, dirt, grease, spider webs and any other grunge. I found that using a broom to knock off all the clingies, followed up by a shop vacuum with the hose and brush attachment worked very well. Wipe the wall with a mild cleaning solution or degreaser if needed. Optionally you can prime the walls, as well. The idea is to make sure they are clean enough for the texture coating to adhere.
- Prime or paint the concrete walls (optional, but recommended if they are unpainted). If the walls are bare concrete, I recommend priming or painting them. Even taking it a step further with some type of moisture barrier paint. Do make sure to allow proper drying time for the paint before applying any wall texture.
- Prepare the texture mix: Texture product used: Homax Roll-On Texture in the smooth finish. Empty the texture mixer into the 5 gallon bucket. Add the required amount of water. Attach the cement mixer tool to your power drill. Blend to the recommended consistency which is close to that of sour cream.
A standard paint roller with a heavy nap can be used to roll the texture onto the walls
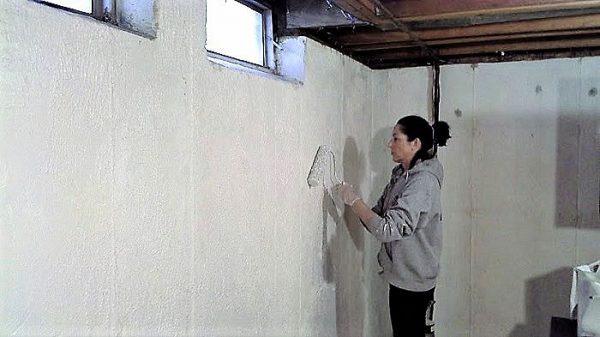
- Apply the texture onto the wall. Pour some of the mixture into a paint rolling tray. Dip the paint roller into the mixture and roll it onto the wall. Do this in 4 to 8 ft wall sections at a time.
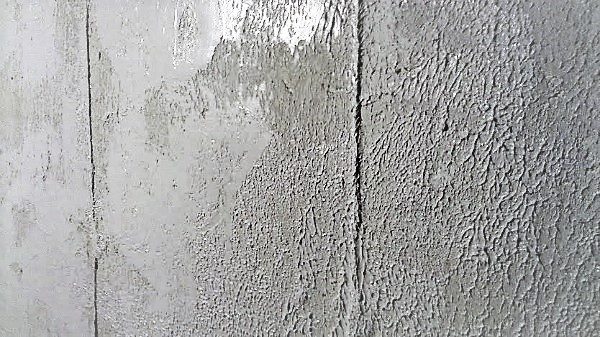
This is how the texture will look after it is rolled on but before it is knocked down
- Allow the mixture to dry for about 3 to 5 minutes.
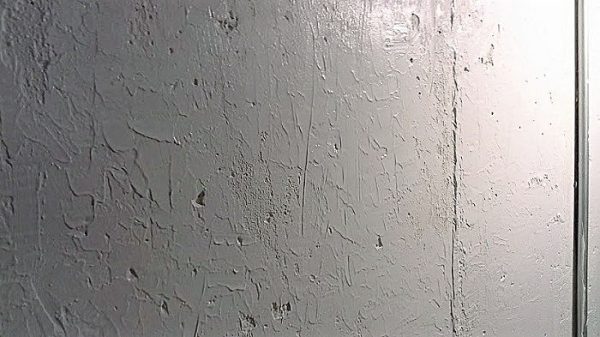
This is how the texture will look right after it is knocked down, but still wet
- Knock the texture down with a knockdown tool. Next use the knockdown knife or trowel to start smoothing down the texture. Don’t use a heavy hand, Apply a light back and forth, up and down motion. I tried to create the look of a craggy stone surface that would naturally have small divots and crevices. Optionally you can use other tools such as a wallpaper brush or a scrub brush to create even more definition and character.
- Repeat the above process for each wall section.
- Allow drying time.
What to do once you’re finished applying the texture
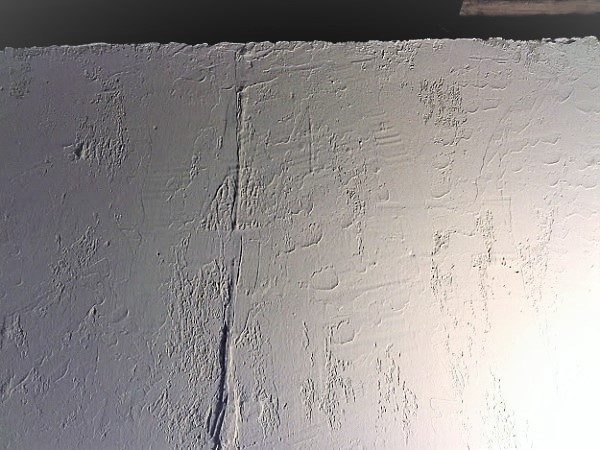
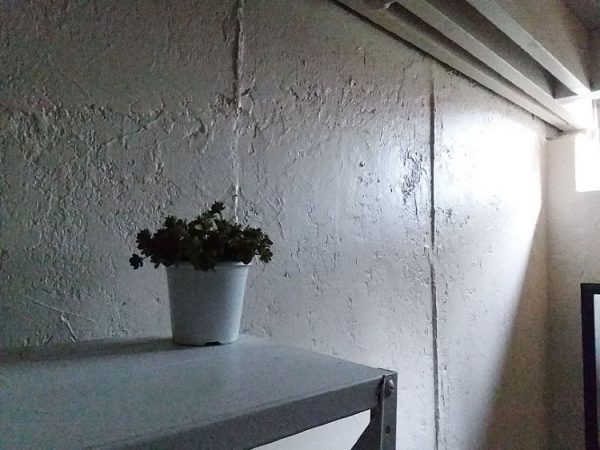
Photo #1 of how a thin coat of texture will look on the wall once dry
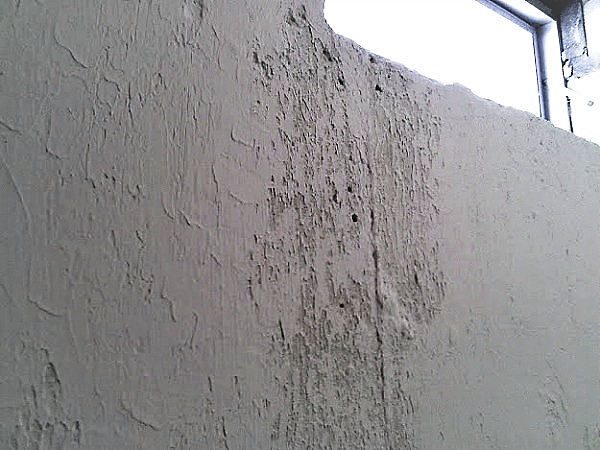
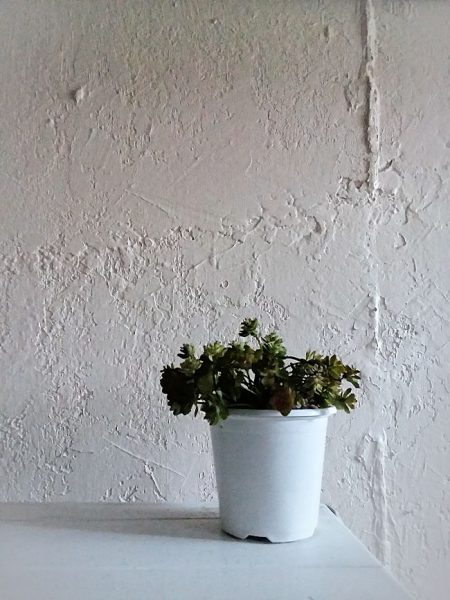
Photo #2 of how a thin coat of texture will look on the wall once dry
The Homax wall texture requires 24 hours for full drying time. At that point the walls can be primed, painted and/or faux finished with paint glaze.
Quick and easy clean up
We had very few spills and splashes and they were easily cleaned up with paper towels and warm soapy water. Most important is to do the clean up as soon as you’re done applying the product to all the walls.
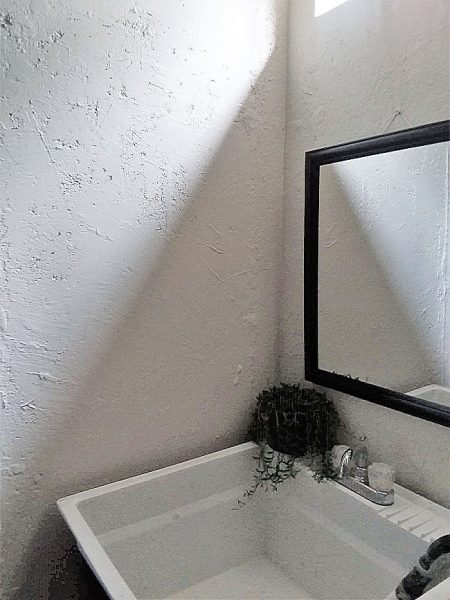
Textured and painted concrete basement wall.
Time needed to complete the project:
It took us approximately 4 hours per 700 square ft (2 person project)
Additional notes for applying knockdown texture to basement walls

For thicker application:
We did not apply the texture as thick as I would have liked. This allowed the basement seams to remain visible. If I did this again, I would have tried to apply another coat, or gone thicker in the first place in order to try and conceal the concrete wall seams.
Insulating factor:
I personally think that it added an insulating factor to our walls. Now, I don’t have any scientific proof of this. But I can attest to the fact that our basement is much less drafty now. The whole area stays cooler in the summer and warmer in the winter.
Can you put up drywall or paneling over this texture?
Yes, the texture is like a hardened plaster. You can easily drill through it. However, the wall thickness will change slightly depending upon how thick you apply the texture.
Why the smooth finish, not the sand finish?:
We used the “smooth” finish, but there is also I sand finish, and perhaps a few other options, as well. I choose the smooth because I didn’t want the walls to feel rough to the touch in any way. With the smooth finish, the walls remained soft to the touch and not catchy and snaggy. My main goal was avoiding dust bunnies and spider webs wherever possible.
Can you use a paint glaze?
Optionally, we could have applied a base coat and then a paint glaze over the base coat to bring out all the details. I really think adding a glaze would have given the walls more of a natural stone look. In the end we decided not too, but I would certainly consider it in the future.
What’s the best way to paint textured walls?
Because textured walls are not nice and smooth it makes it a little harder to paint them. One way is to use a paint sprayer like we did when we painted our basement ceiling and walls. The other way is to use a ¾’ nap paint roller cover with a standard paint roller. You may need to apply two coats, or do a few touch ups in a few spots, but the thicker nap on the roller cover will make it so much easier to paint over all the nooks and crannies.
Can Homax Texture be applied to more than just concrete?
Yes, the Homax texture can be applied to a variety of surfaces including painted drywall. Find complete list, here.
Basement Textured Wall Inspiration photo
This is the photo of a charming basement with a stone look on the walls and what inspired me to do the knockdown texture on ours.
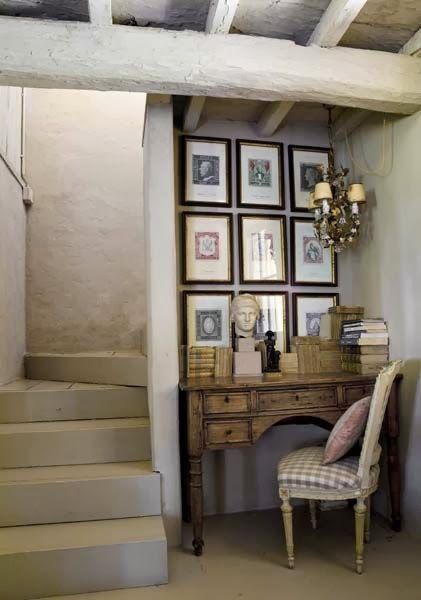
It’s from an amazing collection of European villas fond here.
While our walls ended up looking somewhat different, it was our first time trying it out. We were still extremely pleased with the results and hope to do the knockdown texture again with our next basement renovation.
In addition, I would use the same Homax product again, hands down. It was easy to mix, easy to apply, quick drying and created very little mess for us to clean up.
So if you are looking for an idea for your cement basement walls because you don’t want to put up drywall or paneling, consider applying a budget friendly cozy, rustic knockdown texture.
Like this idea! Pin or share on Facebook for later!
Thank you for stopping by ~ Amy
<< Read: 15 Tips for Painting an Open Beam Ceiling, here >>
Originally posted March 6th, 2014
Anne says
aww thank you for the shout-out! You’re a pretty talented lady all on your own!!
Love the textured walls, they look fabulous. Great work!!
Feral Turtle says
This is cool! I would love to do this in our old basement as the walls are pretty rough! I can hardly wait to see your finished walls! Looks awesome! What color of paint will you use?
Doreen@househoneys says
I so know what you mean Amy! Our storage room, which is uglier than ugly, is getting a face list and we painted the floor and it makes me so happy to look at it!
That sounds like an interesting product. Like you, I love texture, so anything that can help with that is ‘a good thing’.
Mel says
Umm my entire house is horrid but cheap for that reason I get exited about everything! Amy this room is going to be brilliant when your one texture is looking great I think glaze will make it look as though its been there forever.
Danni@SiloHillFarm says
Anne is such a rock star with her ideas and so are you! I can’t believe how fast this was! It looks great! Now if I only had a basement!!
heather f says
Oh yeah, much better! I love how quick and easy it was, too!
christine says
i love what you have done to your basement! We too have an unfinished ceiling and I hate it! what about all the dust you get with an unfinished ceiling? Seems like we get more dust in the cellar with an unfinished ceiling.
Amy says
Hi Christine,
Thanks so much for stopping by. You are absolutely right. Before we painted, there was so much dust coming form all the nooks and crannies. After we painted with the paint sprayer and the paint filled in all those gaps, we had a lot less dust. It really was worth it even years later. Good luck if you decide to paint yours. I don’t think you will regret it.
Have a great week!!
Thanks again,
Amy
Patricia says
I applied a thick brushed on finish over Dryloc sealed concrete block. Took a while. Then, painted it once dry. It has an old castle wall look. Did this for same reasons you did. Will be finishing the project with slat concealing walls around utilities and a slat ceiling with furring strips. Want to glaze and poly the floors. It has an industrial modern look.