In a small home, using vertical space is kind of like finding additional square footage, right? Hey everyone, it’s week 3 in the $100 Room Challenge. It’s coming down to the wire. but Ken and I were able to get a lot done this past weekend.
Allow me to brief you on the progress we made on our entryway stairway makeover. And remember to scroll on down to the linkup to see how my others $100RC friends are coming along.
Creating more entryway storage in the stairwell
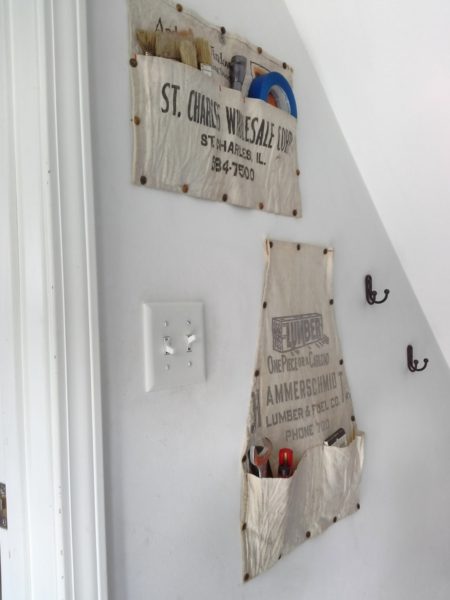
One of the main things I wanted out of this makeover was to add more entryway storage in the form of another coat rack wall. The two coat rack shelves I added last spring do come in handy, but as time went by, it dawned on me that the other wall wasn’t be used to it’s full potential. While the work apron storage was fun, it was a little lost on this wall.
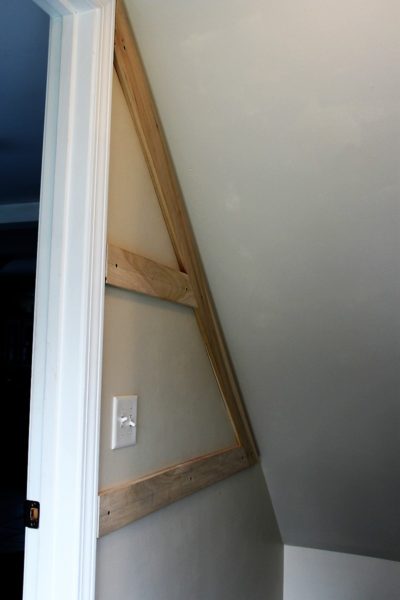
We purchased 2 pieces of 1″ x 4″ x 8′ poplar for a total of $15.30. Ken measured, cut and hung the wood for the beginnings of an angled coat rack shelf.
See finished wall coat rack, here.
Please, don’t mind the dirt 😉
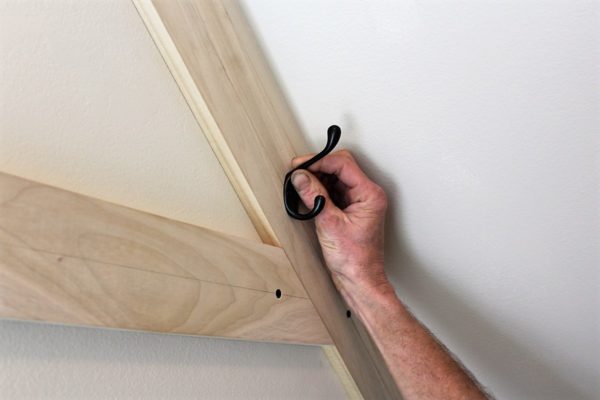
Next I purchased several packages of varying coat rack hooks $33.98.
I’ll be painting the wood white with paint I already have $0.00.
This post contains affiliate links for your convenience. See full disclosure, here.
Crawl space window gets faux shutters
And there’s more.
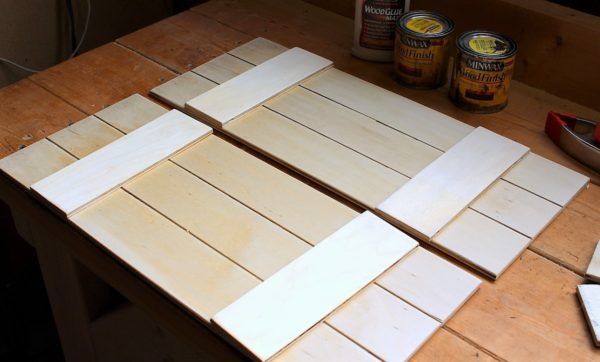
The stairwell includes an entryway into our crawl space. It looks like a window. I asked Ken to help me make two faux board and batten style shutters with some 1/8″ plywood from our scrap pile.
- He cut one large piece for the board and two smaller pieces for the batten.
- Two dado cuts were made on each board to make it look like 3 slats to a board. To dado cut, he ran the board over his table saw with the blade at a raised blade height of about 1/32″.
- I sanded all pieces, wood glued the battens to the board, and finished with stain in Mini Wax color: Early American. See finished shutter, here.
- Note: if you don’t have a table saw, you can use a scratch awl
 and metal ruler to obtain the same faux slatted shutter look.
 and metal ruler to obtain the same faux slatted shutter look.
I will be attaching the shutters so that they can be removed at any time when the stairwell needs to be cleared for moving furniture, pinball machines and so on. Find my solution for attaching wood, photo frames and more to cement basement walls, here.
Combining the wood, wood glue and stain, all of which we already have, the cost for this project is $0.00 (so far).
Coat rack shelf gets and update
Wait, there’s still more.
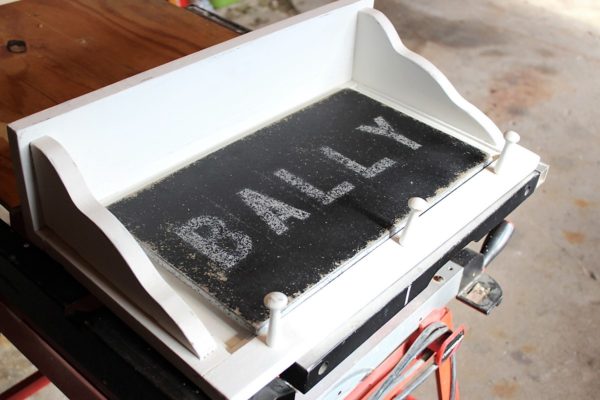
While I like my bicycle graphic shelf, it doesn’t work with every season. I looked through our stash and found this Bally pinball machine sign I made for Ken a few years ago. With a little trimming down and paint, it will cover the bicycle graphic. But once again, it will be removable, so I can show off the bicycle graphic when ever I feel like it.
Cost for this project $0.00.
Cost for materials week #2
Wood for coat rack ——-$15.30
Hooks for coat rack ————–$33.98
Wood, glue, stain for shutters ——-$0.00
Reusing Bally sign ———-$0.00
Paint ————————$0.00
Total spent week #3 ——-$49.28
Spent week #2 ————$34.85
Total spent so far ———-$84.13
Remaining ——————$15.87
Do you think I can pull it all together with another $15? Crossing my fingers over here.
I cannot tell you how motivating it is to work in a group setting to get a home project done. You don’t have to be a blogger to join in on one of these challenges. Check out the $100 Room Challenge page at Lemons, Lavender and Laundry for the details.
Thanks so much for stopping by ~ Amy
Let’s go see what everyone else is up to —->
Anne says
looking good Amy!!
chris says
looks good amy. knowing you, you’ll have 13 bucks leftover ha ha, tell ken that i used to be a pinball freak, in this old pub in the old neighborhood a long time ago, the owner held a contest on the 2 pinball machines, that whom so ever had the highest score won a case of beer and a lot of weeks i had it on both machines, but usually at least on one, and i don’t even like beer, i kept some but gave a lot away, ahhh the good old days xx
Erin @ Lemons, Lavender, & Laundry says
I cannot wait to see those shutters in this space! Everything is coming together so nicely. Is it (next) Wednesday yet? I am so excited to see everything come together… and you’ll absolutely make it with your remaining $15.
Deborah says
This space is right up my alley!!! Love what you have done so far
ashley@biggerthanthethreeofus says
Lovely update! Can’t wait to see the finished area.
Brittany says
Great update! Under-the-stair areas can be so tricky to make functional.
Tracy says
Those shutters are awesome! I love the extra coat hook area too!
Kathy says
Cute, cute, cute! I just love what you are doing with this entryway!
Zografia | Bisozozo says
Vertical storage is our friend too. Can not wait to see it all together next week.
Patti says
It never occurred to me to make fake shutters but I love the look. Can’t wait to see it all come together next week.
Maria says
Wow, what an impressive look and the workmanship is so good.
Maria
Angie @ Postcards from the Ridge says
Sounds like you’ve been busy. I can’t wait to see the final reveal next week!
Natalie @ A Turtle's Life for Me says
That coat hook area looks amazing so far! I can’t wait to see it all come together!
feral turtle says
Not many reveals this time and a lot of teasers…… I am so excited for your next post. Those shutters have me intrigued!
Colleen says
I love love love the aprons, but I can see how the wood will add more practical storage options. It will look great!
Maureen says
So many great ideas! The aprons were really fun, but I can appreciate the need for coat storage! I must just copy the apron idea for my husbands work shed though! I am really excited to see the whole space completed. The progress so far has been amazing!
Kristen says
Oooh I can’t wait to see those faux shutters all done! Also am loving the looks of the new coat rack!
Doreen@foxdenrd says
You’re killin’ it Amy! Love what you’re doing to create more storage, and you’re doing it in a very stylish way. Win-win!!
Bliss says
You are always clever, so yes I think you can.