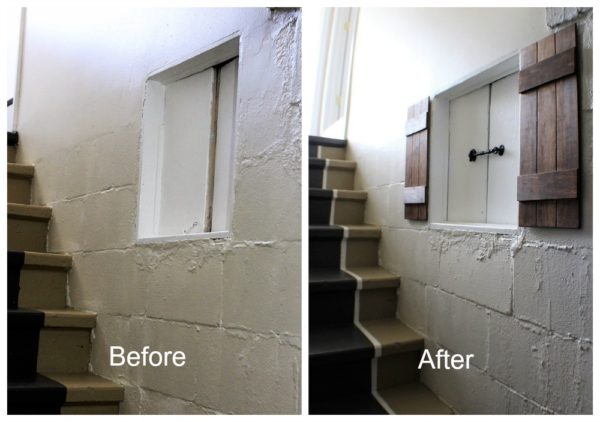
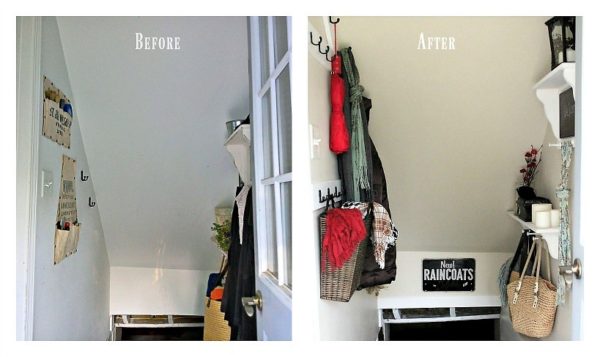
The objective was to update a room on a budget of 100 dollars. And I’m excited to say, we’ve accomplished just that in our entryway stairway. Now it’s fresh and clean with a touch of gatehouse inspiration, too boot!
Welcome to the final reveal week in our $100 Room Challenge. I’m going to show you how we got this space in shape for about $100 and there is a linkup at the bottom with all of the other reveals.
Gatehouse inspired basement entryway and stairwell update
We made changes to complete this update
- Made a shutter for the crawlspace entry
- Adhered the shutter to a cement wall with specialty moisture proof hanger
- Installed an angled wall stairwell coat rack
- Updated a coat rack shelf with a faux grain chalkboard
- Painted the cement stairs with a stair runner
- Added a rug to the entryway landing
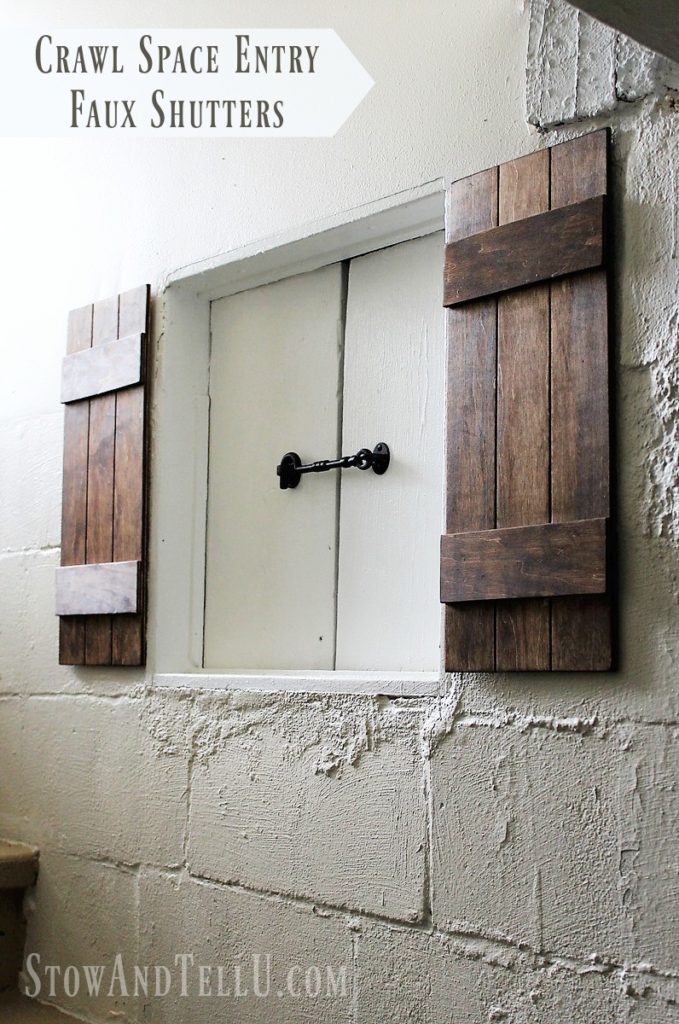
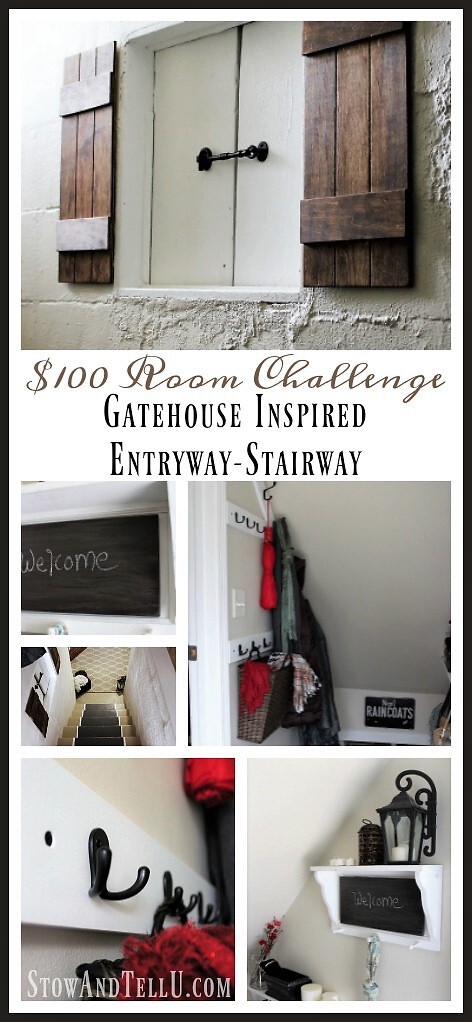
Board and batten faux shutter for crawl space entry
The basement walls are cinder block. Which is the closest I’ll get to a stone wall of any kind in the near future. But these cinder block walls always make me think of a dungeon, so I thought I’d have some fun with a gatehouse theme.
Some of the images that came to mind were of Gothic stone walls, candles, lanterns, keys, rusty locks and latches, and rustic wood. While I don’t have all of those, I have made a few changes that give this space a hint at an old gate house. So I hope you enjoy.
There is a crawl space entry on one of the stairwell walls. And I’m hoping I never have to crawl through that little door but since it kind of looked like a window, I thought a set of rustic wood faux shutters would be ideal.
We used 1/8″ plywood and made dado cuts with a table saw to faux the slats. The slats could also be cut in using a scratch awl and metal ruler.
And after the shutters were put together, I stained the wood with Miniwax color: Early American
See more detailed directions of these plywood board and batten shutters, here.
Cost $0
This post contains affiliate links for your convenience. (See full disclosure, here.)
How to adhere decor items to cement basement walls without screws or nails
The Shutters were attached to the wall with Scotch 1″ x 1″ Extreme Fasteners.
These fasteners work on cement walls even with moisture. (I bought this 6pk count and they work great.)
Cost for fasteners $ 3.77 (at the time of purchase)
A black decorative hook and eye latch was attached to the doors. (I choose this Gothic style latch.)
Cost for latch $ 6.97
Cost $ 10.74
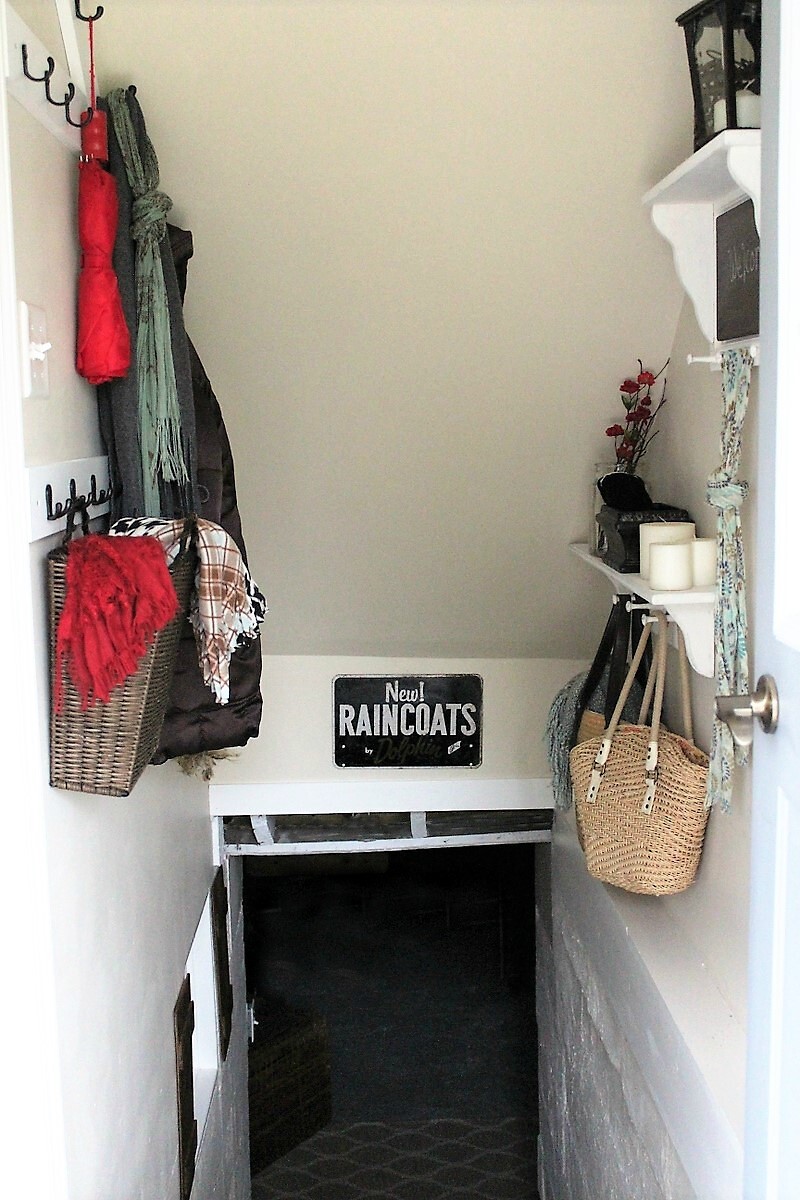
Stairway wall coat rack
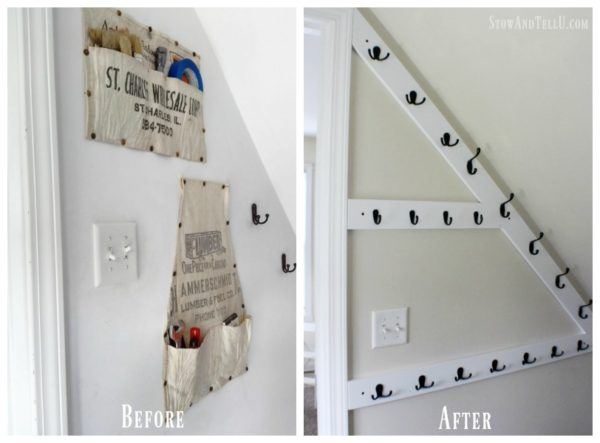
Holy coat rack Batman!!
Related: DIY Vertical Wall Mounted Coat Rack
Do you think I over did it with the coat hooks? I just may have, but I don’t doubt that at certain times, every hook will be in use.
Wood $ 15.30
Coat hooks $ 33.98 (at time of purchase)
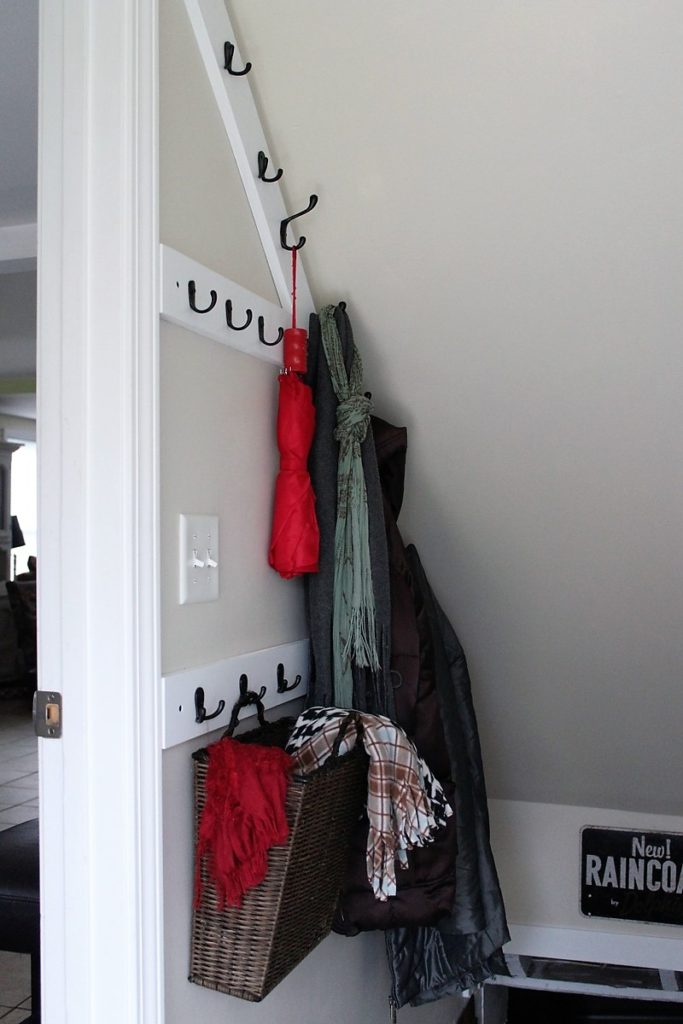
I used single and double flat black robe hooks (like this one and this one.)
And a 3-1/2″ coat hook pack in black (like this one.)
Wall paint $20.86
Cost $70.14
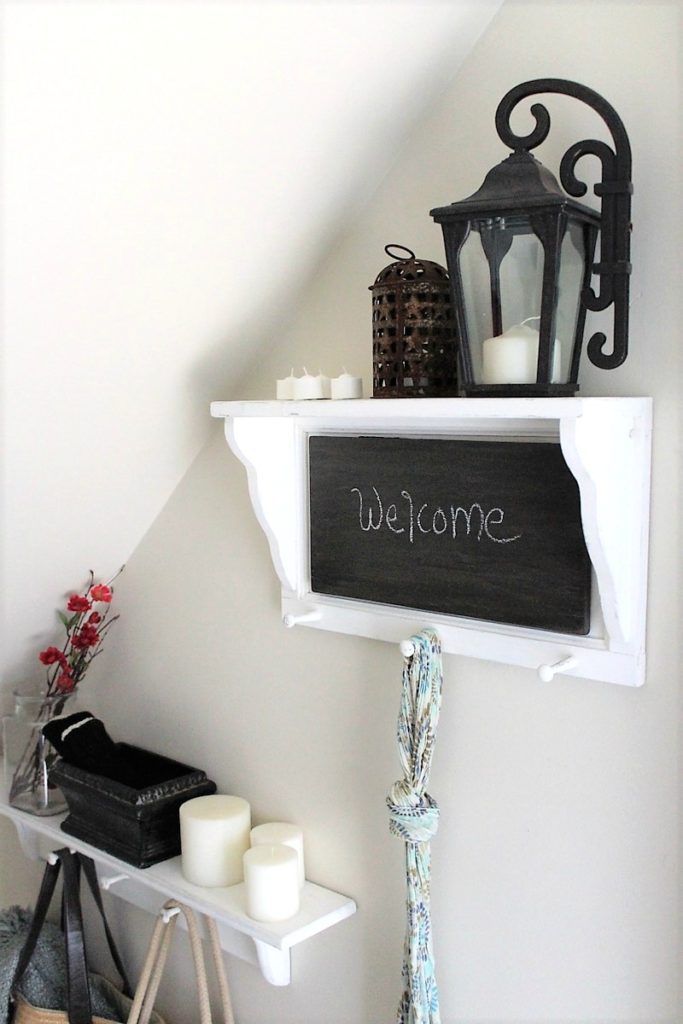
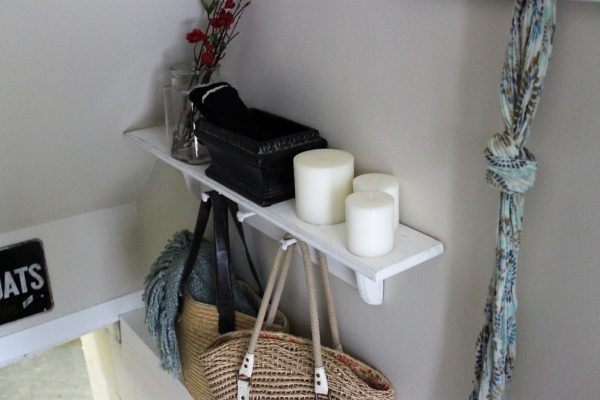
Coat rack shelf update with a faux wood chalkboard
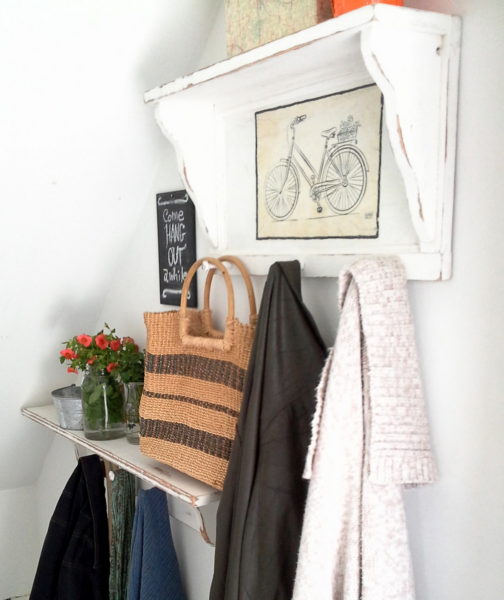
A while back, I updated these two 1990’s coat rack shelves with chalk paint. One of the coat rack shelves has a bicycle print that I wanted to cover up temporarily during colder seasons.
In week three I showed you what I salvaged to cover it up.
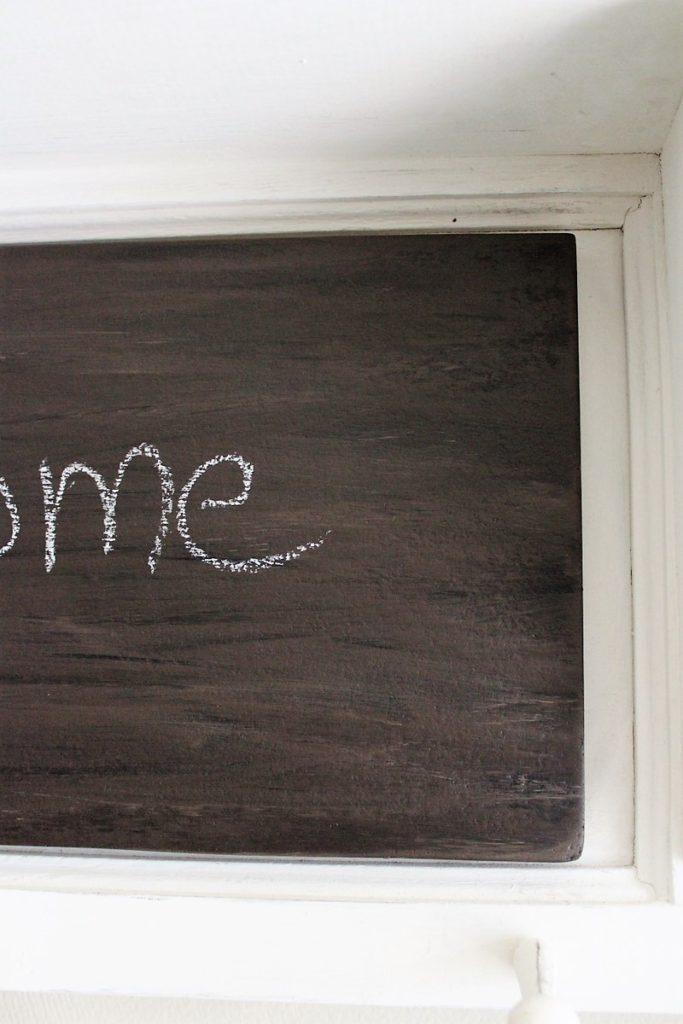
I painted the piece with a couple coats of chalkboard paint, then I brushed over that with a mix of dark brown/chalkboard paint and a few dabs of beige to get a faux wood grain look.
For more on this topic check out my DIY Woodgrain Chalkboards
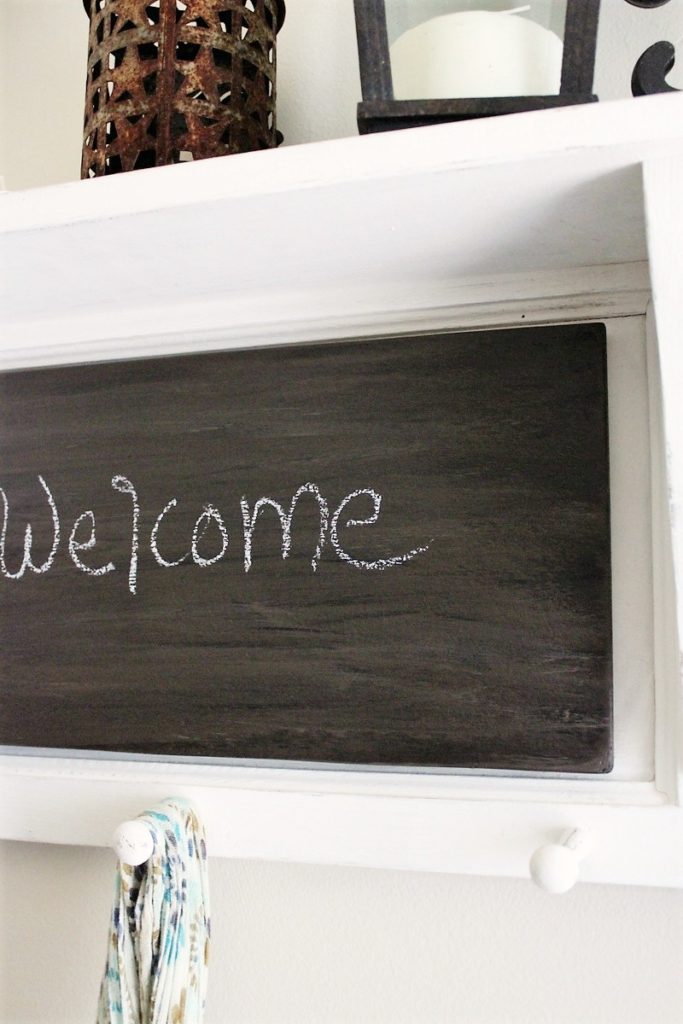
I attached it with 3M command strips, so it can be removed at any time.
It still works as a chalkboard but in keeping with my rustic gatehouse feel, it’s just a little more subtle than straight black paint.
I already had all supplies for this update.
Cost $0.00
Painted stair runner
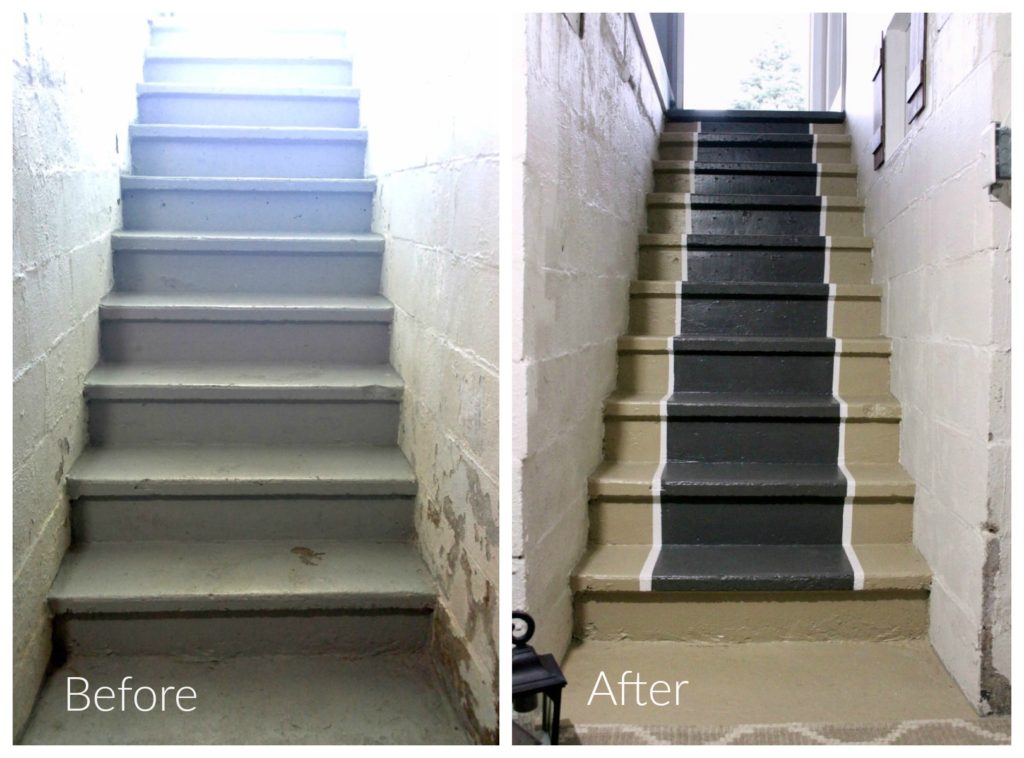
I’ve always wanted to try painting a stair runner.
Read the tips and details for the painted stair runner with paint trimmed edge: week 2. I’m not a perfectionist but as you can see. The runner came out pretty straight with a little bit of concentration and a few touch ups.
I used some paint I already had, but purchased the dark gray floor paint.
Cost $13.99
Bottom of stairwell
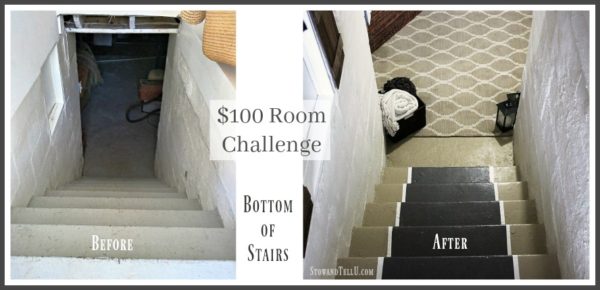
I place a rug I already had at the bottom of the stairwell. Along with a basket of blankets for keeping warm around the fire pit.
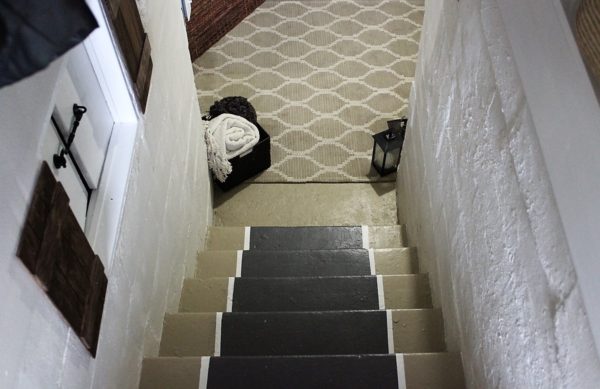
I borrowed a few lanterns from several outdoor projects I did last summer.
The white and blue throw blanket were thrift store purchases.
Also purchased were several thrifted pillar candles and the black planter catch-all.
I shopped my home for everything else.
Cost $10.92
Entryway rug
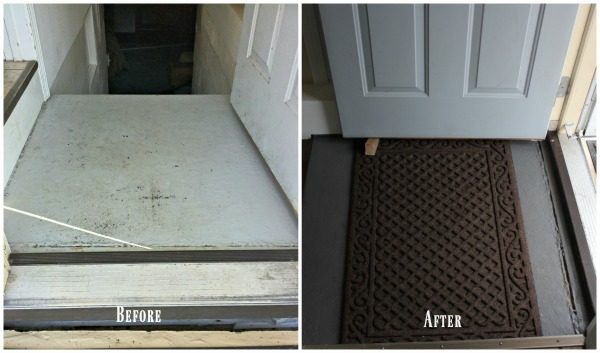
While I wanted to get one of those industrial strength 3′ x 5′ rubber mats and cut it down to fit the entire square footage of the entryway floor.
I settled for this 2′ x 3′ rubber entry mat that was under $6.00 and kept me on budget.
When I look at the before and after of this entry floor alone, it makes me so glad this space is finally cleaned up.
Cost for mat $ 5.88
Total Cost for the entire room $ $111.67
Now this space if fresh and clean, rustic, welcoming and full of hanging vertical storage.
I’ve managed to keep the over-clutter down.
I’ve accomplished the goal of attaining full clearance at anytime by making the shutters and the coat rack shelves removable.
And I only went over budget by about $11.67
Full disclosure. I stared working on this space in the fall, right before the holidays. So this wasn’t a one month makeover for me. I do think a space like this is doable in 4 weeks, but we all work at our own pace. Working with a group to stay on budget and get the job completed could not have been more helpful. Thank you, again, Erin for including me.
Stayed tuned for future $100 Room Challenges by following Erin at Lemons, Lavender and Laundry.
Thank you so much ~ Amy
Other basement projects:
How to paint an open basement ceiling
How to spray paint a plastic laundry tub
$1200 Open Floor Basement Remodel
On to the rest of the room reveals —>
Donna says
Hi Amy, That looks soooo much better. I have Stairway Mess to Deal with too. It is one of the Top Projects on my To Do List. I love the runner, at first I thought it was real. You really did a good job! When I do mine, I know I will have a little four legged problem. We have cats(a lot more then One!) So I know I’ll probably end up with Cat Tracks up and down the steps. I guess it will fit in, we call our Place the Funny Farm. Thanks for Sharing. Have Blessed Day.
Maria says
I so impressed with the stair space turned out! Love all the special details, like the little crawl space entry door. Very cool.
Maria
Zografia | Bisozozo says
The stair runner is beautiful and the basement looks gorgeous with the rug and baskets. Beautiful changes!
Erin @ Lemons, Lavender, & Laundry says
I love this space. Those shutters are perfect… maybe my favorite part 🙂 And I hear ya on the coat rack. Can you ever have too many coat hooks? We have 6 in our mudroom, and could use about 12 more. Love everything you did! So fun to have you as part of the challenge!
Patti says
Hi Amy,
You did such an amazing job with this entry. I love it all. So much store and all with style. It has to be good to see when you enter the house.
Meredith @ The Palette Muse says
I love those shutters! What a perfect touch for that little door. And you can never have too many hooks in an entryway! The whole thing looks amazing!
Sharleen says
WOW just awesome.. well done. love your crawl space shutters and the coat rack is really great.
Kathy says
You are so creative! Love all the DIYs you did to this space. You turned an eyesore into a charming and welcoming space. Beautiful job!
Kristen says
What a transformation! Love those cute little shutters and the pretty decor you added 🙂
Feral Turtle says
You really did a good job Amy. Love the shutters! They add so much charm. You can never overdo it with coat hooks. Hats off to your makeover.
Maureen says
Amy, I just love your little makeover! Those shutters are genius. The entire entry is just so much brighter and welcoming now.
Carrie says
Great job! You really turned this functional space into something much more welcoming! I think my favorite part is the wooden shutters.
Bliss says
Well….you know I loved the apron storage, so I gotta know what you are doing with those?
Erin says
I am seriously blown away with the level of creativity you used for this space. It is absolutely amazing!
Natalie says
Those shutters are the perfect touch! Great job on the whole space!
Kim says
This is adorable! You are so creative! I love it!
Amy says
Thanks sooo much for the sweet comment, Kim. Hope you are having a great evening – Xo Amy