Have you ever gone on vacation, bought a souvenir and found yourself admiring the gift bag it came in? Okay, you are probably not as weird as me, but if you actually look at some of these souvenir bags, they often sport some pretty crafty artwork. I’ve saved several over the years, but there has been one in particular that I have been wanting to frame.
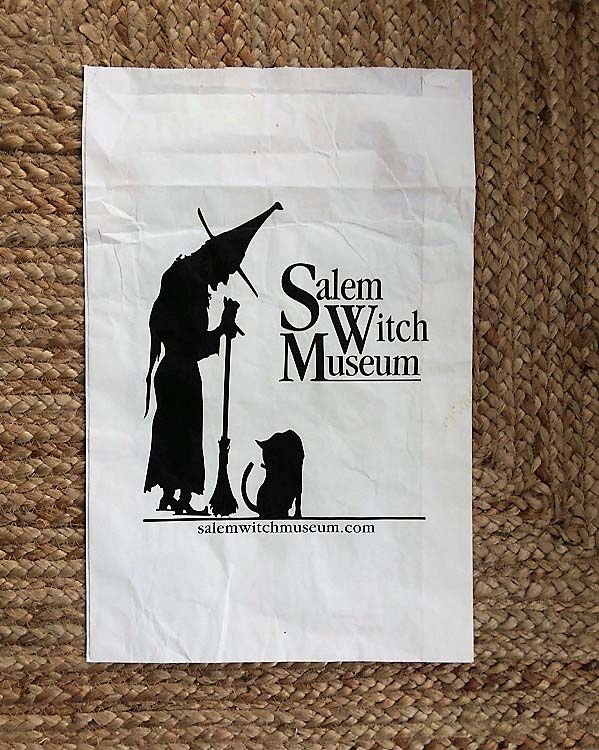
It’s the souvenir bag from my trip to New England with my son in 2014. And in particular, our trip to Salem, Massachusetts and even more specifically our visit to the Salem Witch Museum, which was quite a learning experience and nothing like I expected, by the way.
Funny story is that I’ve been storing this gift bag in the large zippered outer compartment of our suitcase up until just recently. So, yeah, this bag has gone with us on several additional vacations. Gatlinburg, TN, Philadelphia, PA, Tacoma, WA. This bag has been quite the traveler.
But where it really should have been is hanging out in my house somewhere between two large books for the best flattening effect.
Needless to say, this bag has also become quite wrinkled. Although, it had little hope of staying unwrinkled for long even while we were still in Salem Mass.

(Look at photo above) See the guy in the red jacket on the right, carrying a Salem Witch Museum souvenir, in one of the Salem Witch Museum’s souvenir bags? Yeah, that’s my son. I asked him to hold the bag while I took photos. You can see the creases already forming.
<< Get the full tour of Salem Massechusetts (on Halloween), here >>
Follow these EASY steps to centering and framing souvenir gift bag art
Anywho, I finally got around to framing this souvenir bag. Of course I had to try to iron out the wrinkles first. Yes, you can iron paper.
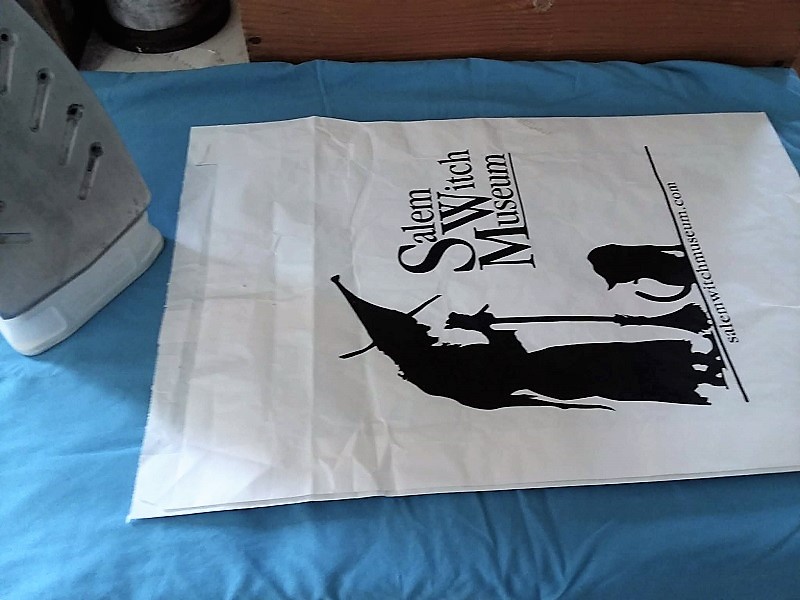
If the souvenir paper bag has wrinkles and creases, here is how to get the wrinkles out
You can find how to do it, here on YouTube, see How to Iron paper bags from Nancy. I made sure to start with the lowest heat setting, and worked my way up to the highest.
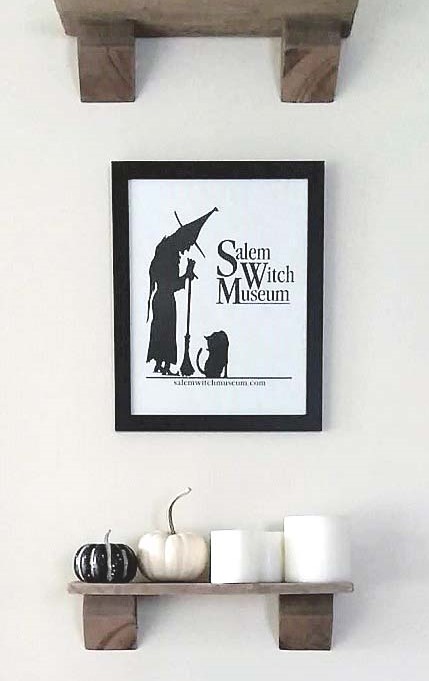
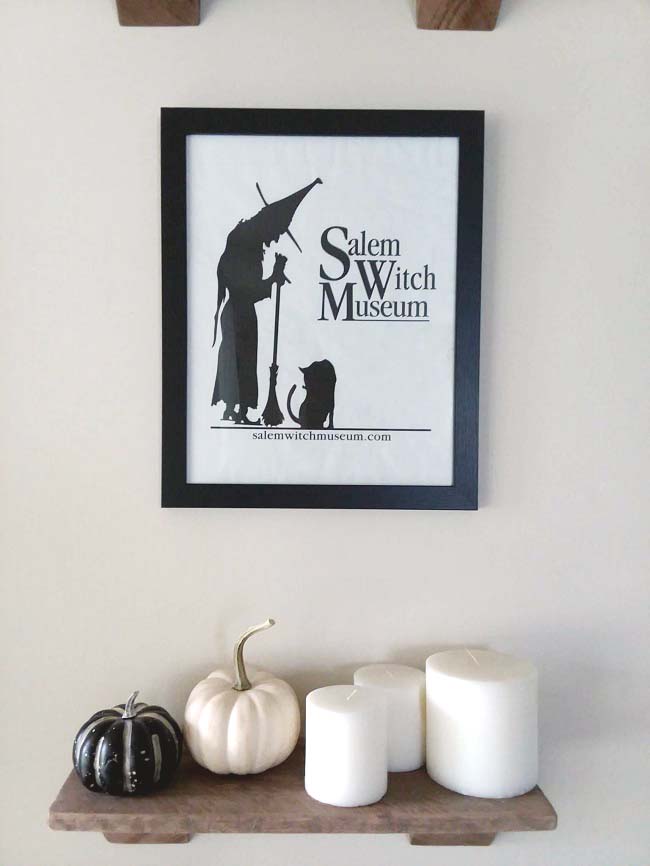
In my case, I still didn’t get all of the wrinkles and creases out of the paper. But I was okay with that.
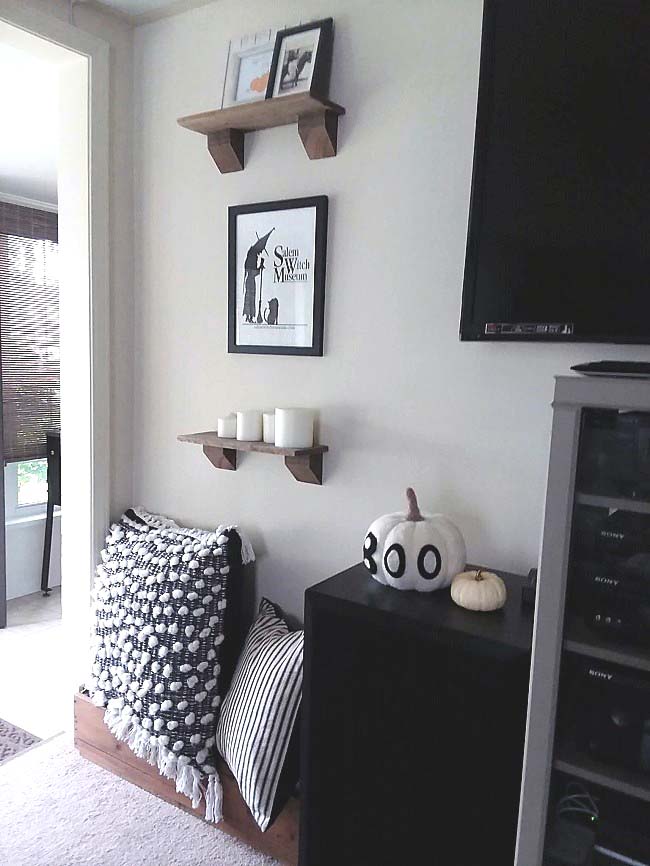
Once it was in the frame the wrinkles didn’t show enough to bother me.
Decoupaging the paper bag to the picture frame backing is another option
Now, I’ll state here, that if the wrinkles did bother me, and I had the time, I could have painted the backing piece of the picture frame white (to match the background of the souvenir bag,) and then mounted the souvenir bag to the frame backing with decoupage. This would have smoothed out most of the wrinkles by giving the paper something to attach to. (I may still do this when I have time.)
Easy method for how to center an image or design into a picture frame
But since a few wrinkles in the bag didn’t bother me for the time being, here is the easiest way I’ve found to center and mount a souvenir bag into a frame.
Note: This centering and framing method will also work if you are trying to frame book pages, posters, engineer prints or any other type of artwork into a smaller or non-matching frame size (to the artwork.)
- Cut out the part of the paper bag you want to frame, but leave several inches of excess around all four sides.
- To center the image, so it will look great in your frame, lay the paper bag over the backing piece of the picture frame. Press down on the bag along the edges of the frame backing. You should start to see where the backing is in comparison to the image on the bag. Move the bag until you’ve got it centered over the backing, and then press down on the bag along the edges of the frame backing to create a crease mark. Do this on all four sides of the bag. The crease marks will give you a guide of where to cut the paper bag down so it’s small enough to fit into the frame.
- Last step, Cut the bag out about 1/8” inside the crease marks. Place it inside the frame to make sure it fits. Trim it down a little more, if needed. You want it to be about 1/8” smaller then the frame backing (or the back side of the frame opening) on all four sides.
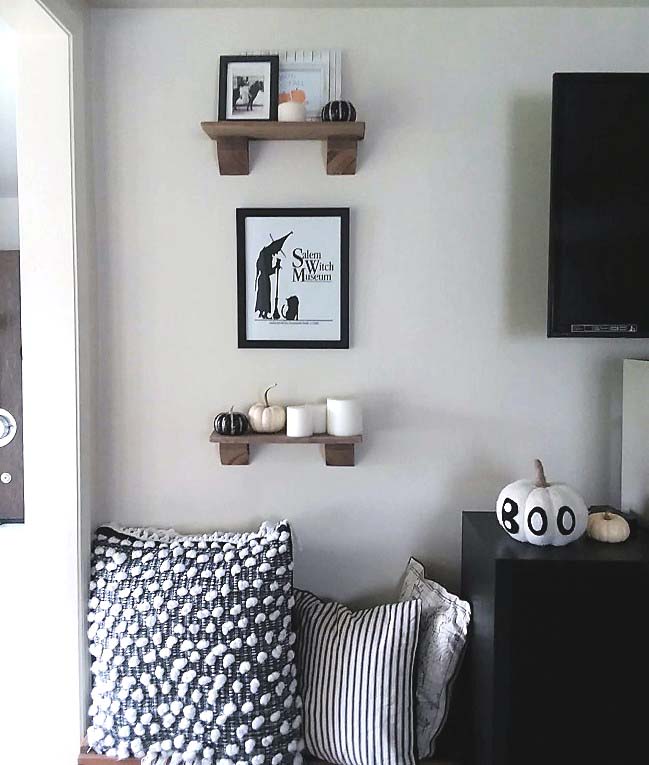
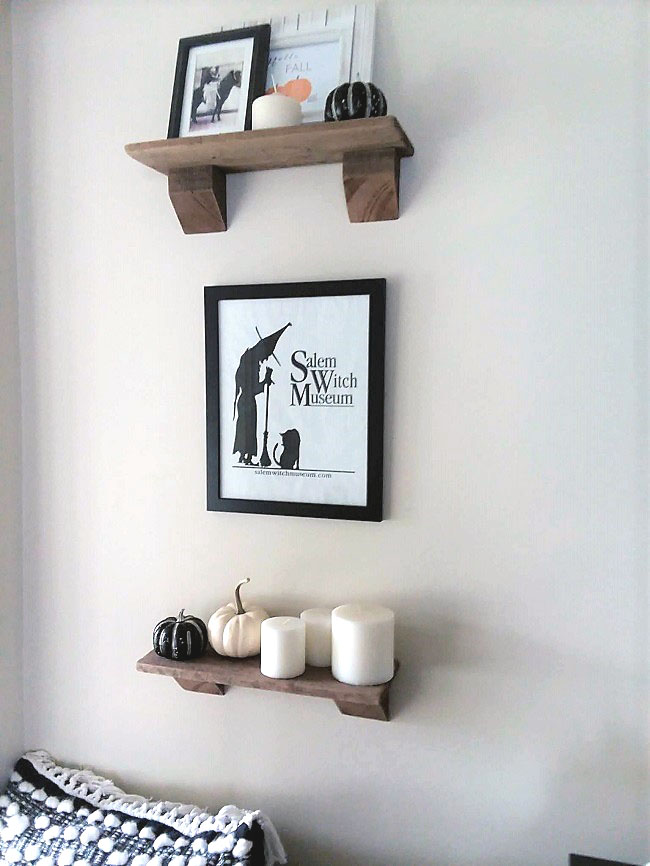
Now I’ve got a really cool memento of our trip to Salem Massachusetts. And it’s one I can pass down to my son. While this particular souvenir gift bag art most definitely has a Halloweeny vibe, I could see it staying up on a wall year-round in the right location.
Related: DIY Christmas sign made from a gift bag
Next time you’re on vacation, or a road trip, or a day trip, and you happen to buy something, take a look at the bag the item came in to see if it’s frame-worthy. I’m sure that there are plenty that are not. But if you see one that strikes your fancy – and – reminds you of what a great time you had on your trip, consider keeping your travel memories alive by framing it as artwork.
A quick recap of simple steps for centering and framing souvenir bag artwork
- Place the bag between books or two hard surfaces to flatten it out.
- Iron the bag, if needed.
- Cut out the frameable part of the design, making sure to leave some excess.
- Center the image/design into a frame by using the technique I mentioned above.
- Adhere the souvenir bag to a similar colored frame backing with decoupage, or simply trim it down small enough to fit inside your frame.

feral turtle says
I love this project Amy. Would have never thought of framing a bag!!
Amy says
That’s so funny that you saw this because, the gift that was in that bag was that list of potions that I sent you. Remember that? This bag has so many cool memories tied into it. Thanks, so much, Karen!!
Bliss says
That’s a great idea Amy, and now I know how to get wrinkles out of my bags too. I just need to buy a souvenir someplace. wait, I also have to go someplace I want a souvenir from!
Amy says
Go to New England, next fall (Mid October). If I know anyone who would love and appreciate New England (anytime of the year, but the fall especially), it would be you, Bliss. If you’ve never gone, you must go. And of course, find a souvenir paper bag to frame while you’re there 😛