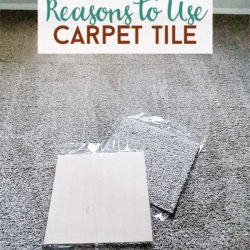
The wonders of self adhesive carpet tiles. How do I count the ways? I fell in love with this peel and stick flooring option as we were working on the back bedroom during the townhouse rehab. We were so pleased with the end result that I decided to make a list of pros to share with you. I included the cons, as well. But while there is potentially some challenges to using carpet tiles, in the end, they are definitely a worthwhile option to consider.
Pros and Cons of Using Self Adhesive Carpet Tiles
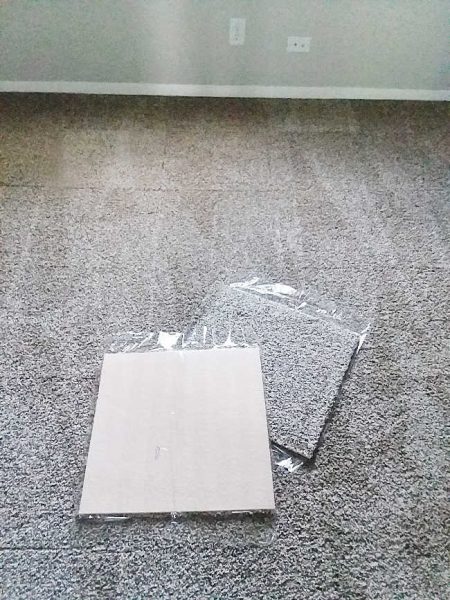
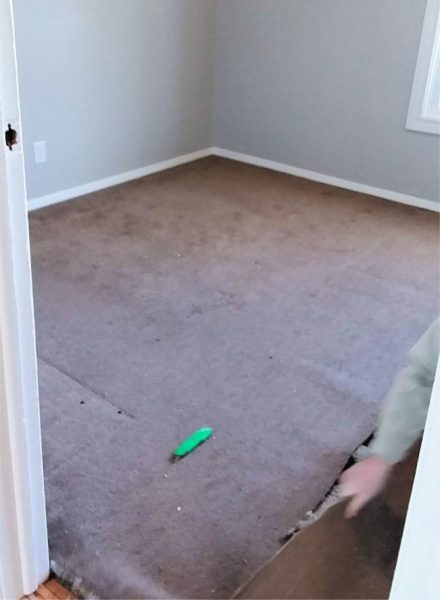
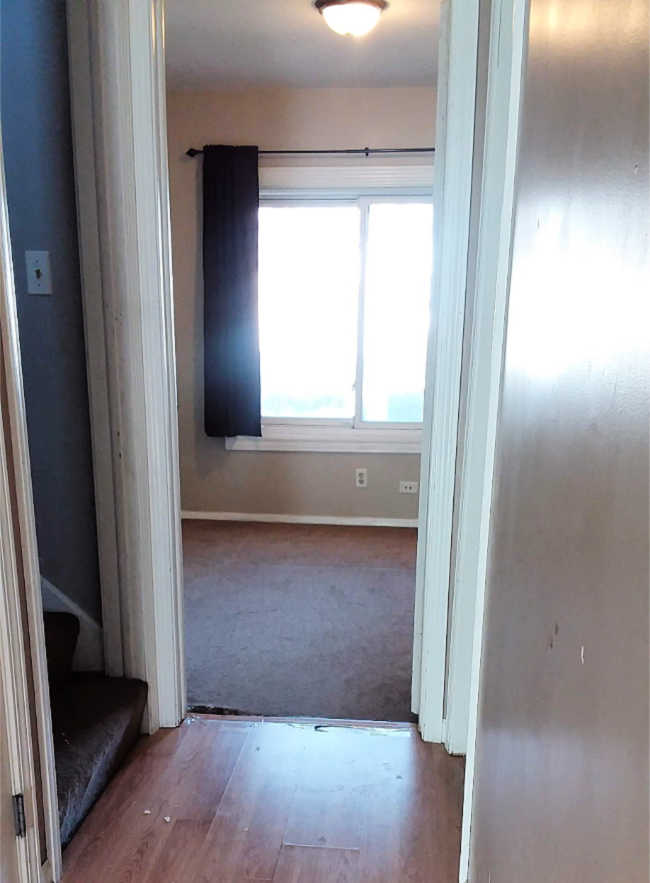
Before I jump to the list, let me quickly show a before shot of the back bedroom and what we were up against.
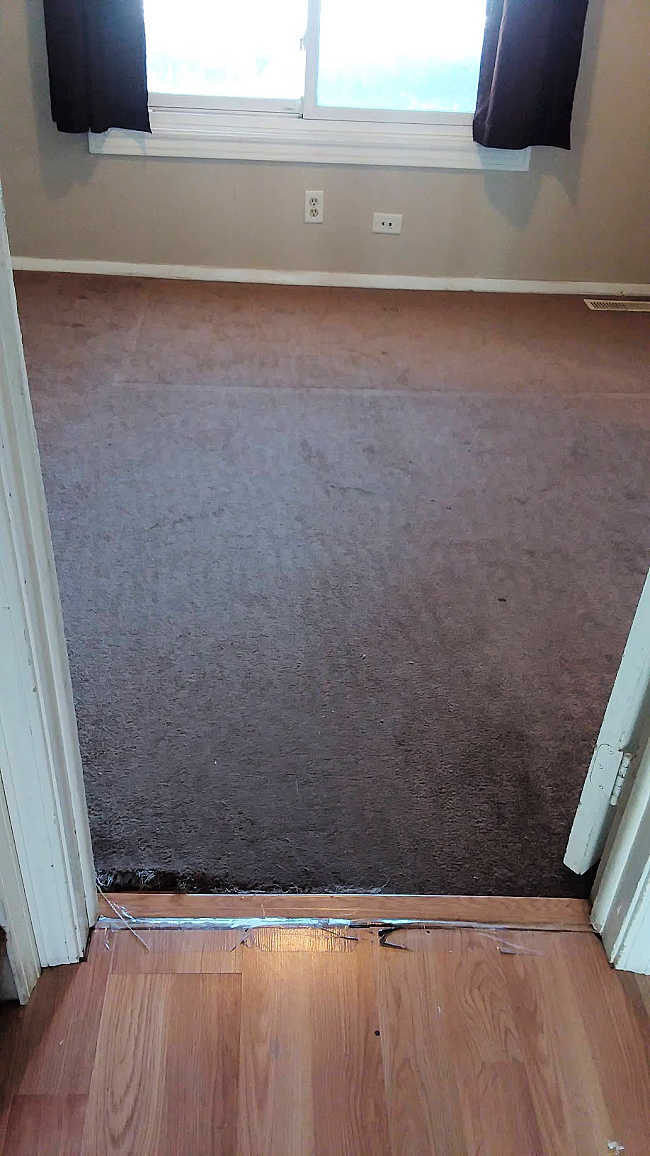
Carpet Before Room Update
We had new carpet installed just a few years ago when we started renting out the townhouse. Somehow, unfortunately, the carpet right near the threshold had worn away by about 4 inches. This was not salvageable. And in case you hadn’t noticed, the carpet was pretty grungy, anyway. We had to make a decision bearing in mind time and budget. We did some research and I ended up choosing carpet tiles.
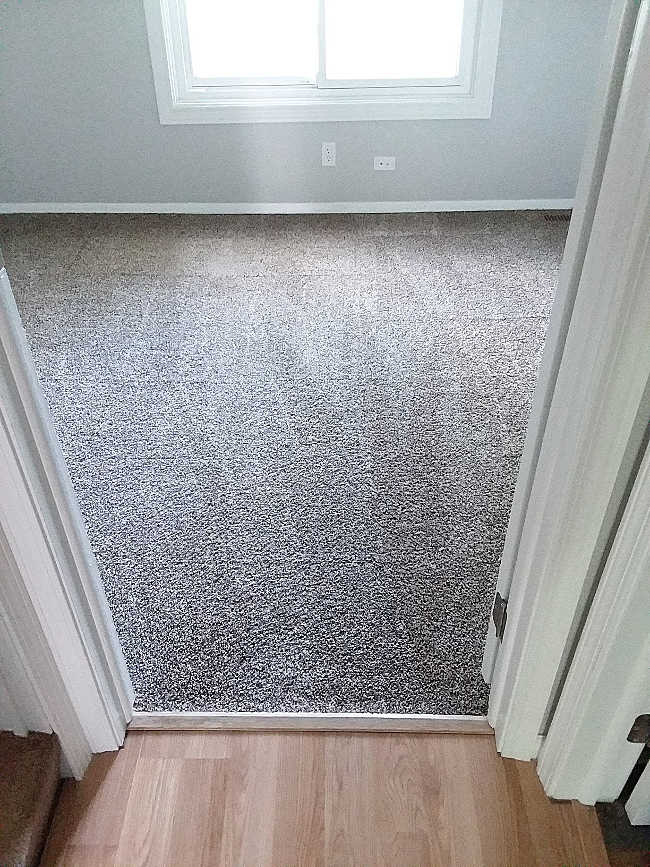
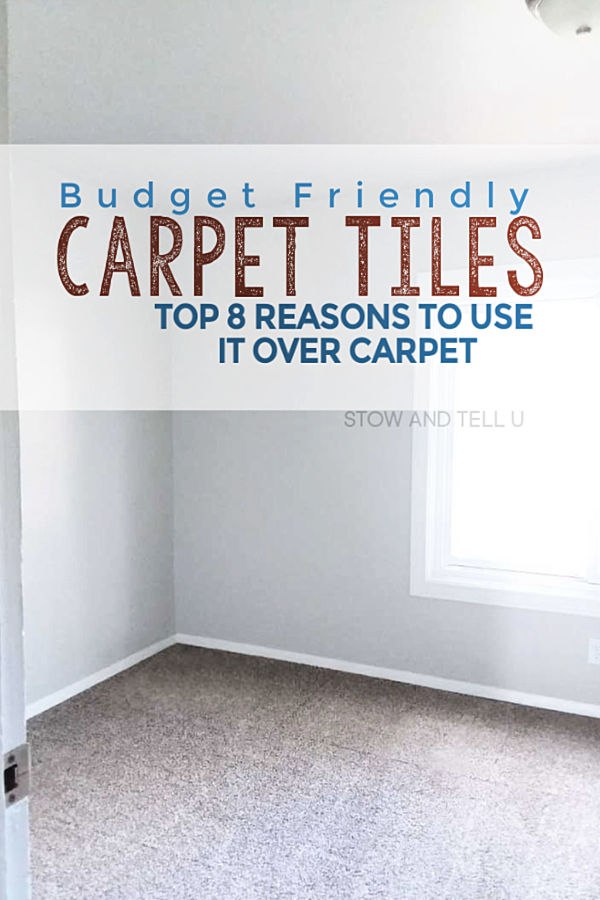
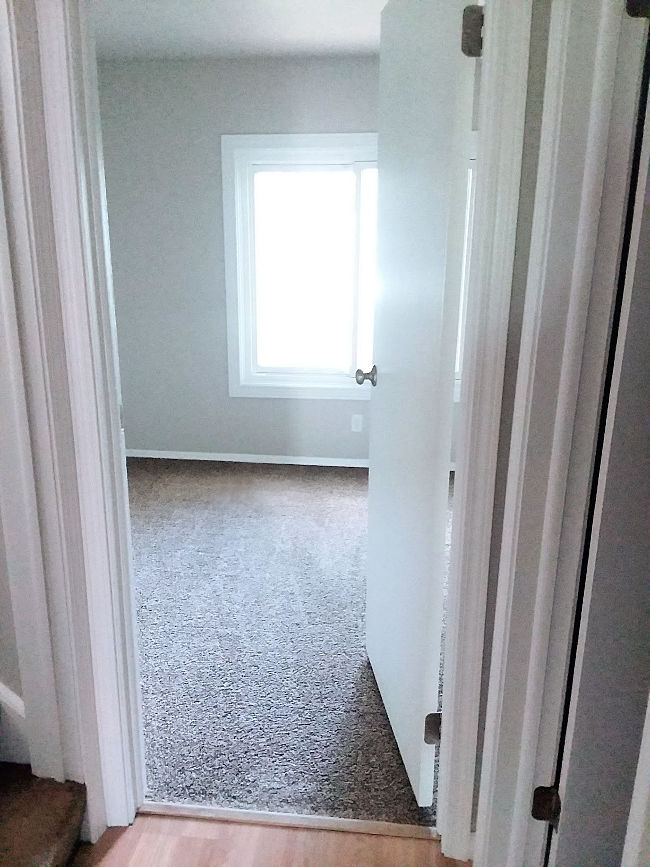
Bedroom After Makeover with Self Adhesive Carpet Tiles Installed
Here is a photo after painting the walls and installing carpet squares, which by the way is just another name for the the same. And now that we’ve installed it, I’d be hard pressed to ever consider using standard broadloop carpet again.
Some of the items below are affiliate links. If you purchase any of these products through the links, there is no extra charge to you; however, I may receive a small commission. Read full disclosure, here.
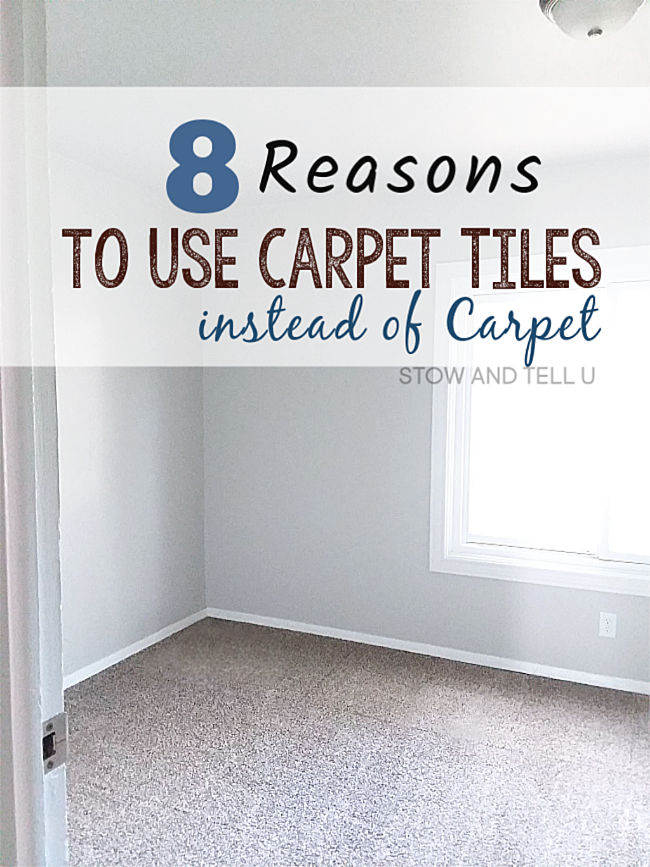
8 Reasons to Use Peel and Stick Carpet Tiles
1) Self adhesive Carpet tiles are budget friendly
The price per square foot for carpet tiles starts on the lower end of the flooring market options. To put it bluntly, you find a lot of great choices for cheap. While the price is per square foot, many carpet squares are manufactured in 18” or 24” sizes and sold in box lots of 8 to 10 pieces per box. Flooring retailers offer online square footage calculators, so you can figure out how much square footage you need with the length and width measurements of the room. From there, multiply your price per square foot to find your cost.
2) Low or no carpet delivery costs
Standard carpet comes in a big roll that is often tool large to carry home yourself. As I mentioned, carpet tiles are often sold by the box. You can cram a lot 2’x 2’ boxes into your own vehicle, meaning you’ll save money on delivery costs.
3) DIY Friendly Installation
It is very doable to install carpet tiles yourself. Once you figure out the placement, you basically peel off the backing and lay the tiles down one by one right next to each other. Of course there is a little more to it than just picking any old spot on the floor and haphazardly plopping down carpet squares, but for all intents and purposes, it is a very diy friendly option.
Most are made with a self-adhesive or peel and stick type backing. The basic installation requires finding and marking a center point of the room on the floor and starting the installation from there by adhering down your tiles and working your way out toward the walls.
See video How to install self adhesive carpet tiles
4) Only a few supplies needed for installing self-adhesive carpet tiles
This list is short, but so is the supply list you need. The basic tools needed for installation, you’ll be surprised, include a chalk line tool, a T-Square, and a sturdy utility knife.
5) You can say goodby to tack strips and stapled subflooring once and for all
In my opinion, tack strips are like sharks out of water. If you know what these are, you probably fear going anywhere near these things because they are basically strips of wood with dozens of sharp, angry nail ends sticking out with guaranteed purpose!
Broadloop (standard) carpet requires tack strips to hold the carpet down along the perimeter of the room. As we’ve established, tack strips are extremely sharp and difficult to work with. And I believe one of the reasons most of us hire a seasoned carpet installer to just reinstall a brand new roll of carpet right back over the old tack strips. Because we’re all afraid of them!! In addition, standard carpet requires a separate foam underlayment or padding which has to be stapled to the subfloor before the carpet goes down. Carpet squares, on the other hand come with a foam or rubber backing attached, so there is NO MORE NEED for tack strips, padding and all those staples.
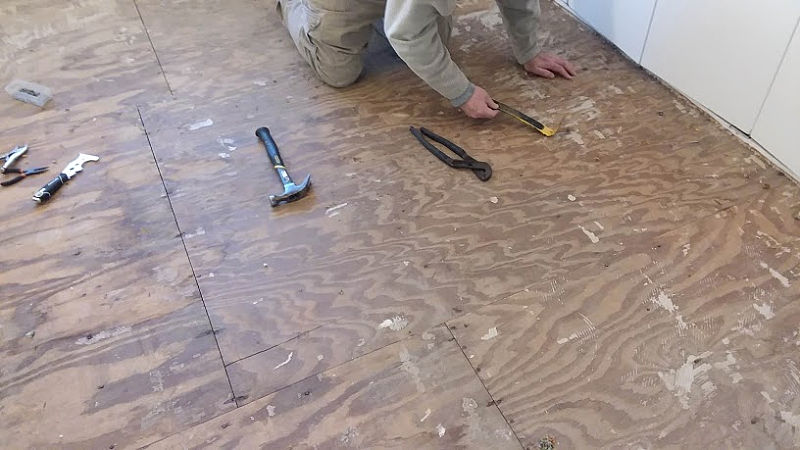
For the record, my brother and I removed all the tack strips and staples in this back bedroom in about 3 hours time. Hard and dangerous work, yes, though not nearly as difficult as I first imagined. But a dirty job? Oh, ya. That it was.
Bonus: once the floor has been de-stappled and de-tack stripped, you’ve got a nice flat subfloor. Almost like new. Let’s say you want to eventually install hardwood or wood laminate, but your not there, yet. Then budget friendly carpet tiles could be a great option for the in-between.
6) Carpet tiles collect less dirt and debris than standard carpet over time
When we removed the layer of carpet on this floor, I almost gagged at the amount of dirt and dust trapped underneath the padding and all around the tack strips…
Whereas, peel and stick style carpet tiles, have a built in cushy backing that adheres right to the floor underneath. Each tile is installed right snug up to the next. This leaves a lot less room underneath for collecting hidden dirt, dust and debris.
7) Singular carpet tiles can be replaced with having to redo the whole floor
Another bonus with using carpet tiles, is if you get a stain on just one or a few of the squares; or if the carpet is worn in just one place, you can pull the individual squares and replace them with having to replace the entire room of carpet.
Read: Removing carpet tiles
8) Cozy to Lux-worthy Carpet tile style options
In the past, I’ve associated carpet squares with the drab and scratchy feeling office flooring that says, “Get a little comfortable, but not too comfortable. There’s work to be done!” Can you relate?
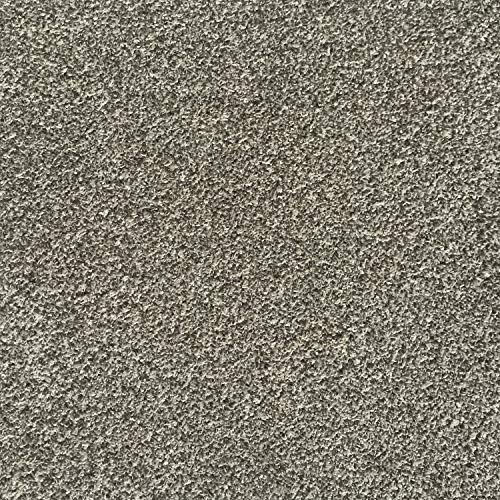
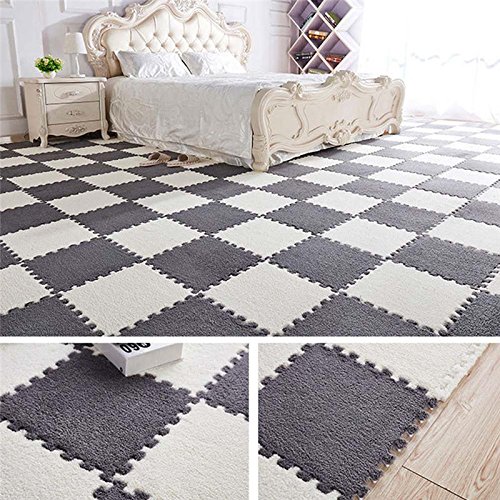
But such is not the case these days as there are way prettier textures, colors and styles now to choose from. We purchased ours at a local department store, and it’s very similar to this plush-piled gray carpet tile. The texture is basically the same as real carpet you wouldn’t hesitate to put it in your home. Another style I was looking at was this multi-toned plush style in the color: fog. Price points range from low end, which is all I can afford to high end and completely luxurious options.
60 sq.ft. Do-It-Yourself Installation Peel-and-Stick Carpet Tiles – CrochetAll American Carpet Tiles CAREFREE 23.5 x 23.5 PlushInterlocking Foam Mats,Foam Mat,Fuzzy Area Rug – 9 Fluffy

Several disadvantages of using self stick carpet tiles
So you’ve heard some of the pros of self adhesive carpet tiles, here are some of the cons that we ran across in the process. While there weren’t as many, they are still noteworthy.
1) More possible waste ~ if not paying attention during installation
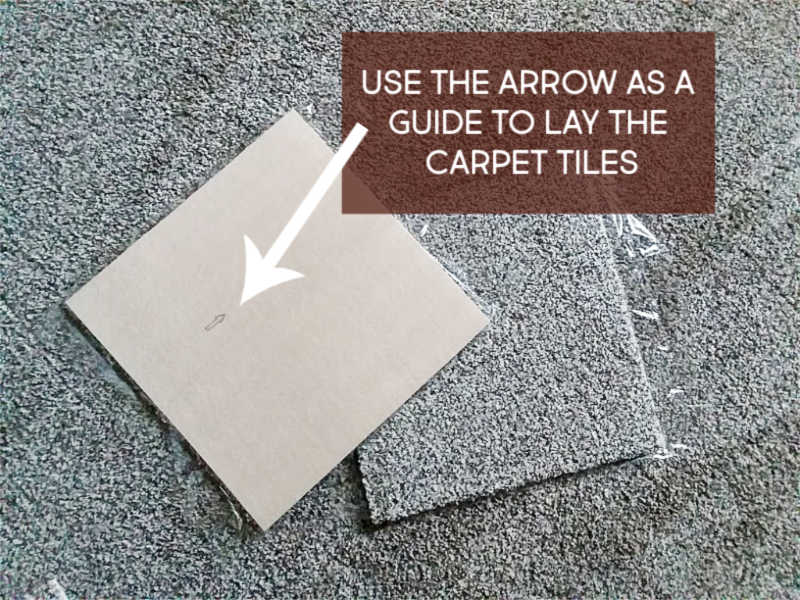
This is a big one, and we screwed this up a few times, ourselves. Each tile has an arrow on the back. The package directions will tell you how to use the arrows to install, ie: point all arrows in the same direction. This takes paying attention and you could screw up until you get the hang of it. The good news is you can remove that tile, and place down a new one. The bad news of course, is that you could end up having more carpet waste.
2) Removing carpet/tack strips/staples
If you currently have standard carpet installed, then the process of removing the carpet, tack strips and staples yourself is going to be a task. But not even close to impossible.
As I mentioned above, my brother and I removed all the tack strips and staples in this 12 x 14 ft room in about 3 hours time, working as a team. It was not nearly as hard as I thought. Although, it did take a lot of sweat and we had to be pretty darn careful with those pointy tack strips.
3) Prepping the floor before installing carpet tiles can take extra time and energy
Just like trying to apply tape to a less than clean surface can mean the tape won’t stick for long, the same goes for applying peel and stick carpet squares. You really need to have a ready surface for the best results. This means getting the floor as smooth and clean as possible. After we pulled up all the tacking and staples, I probably vacuumed this floor about 5 times with a shop vac. Then I gave it a really good mopping with a degreaser, like this one. Vinegar and a few drops of dish soap are also recommended, but I didn’t want to use regular floor cleaner that might react against the self-adhesive.
4) Peel and Stick Carpet Squares are not recommended for stairs
Carpet tiles can be limiting in that you really cannot, or at least should not install them on stairs. I have seen others install them on stairs. However, from what I understand the manufacturers only recommend using the non-self adhesive (the type that requires a layer of glue for installation) for a stairs application. One option for stairs if using carpet squares would be modern and homey feeling carpet stair treads, like these.
Painting a stair runner is another option. Get the diy friendly directions, here: How to paint a faux carpet runner on stairs
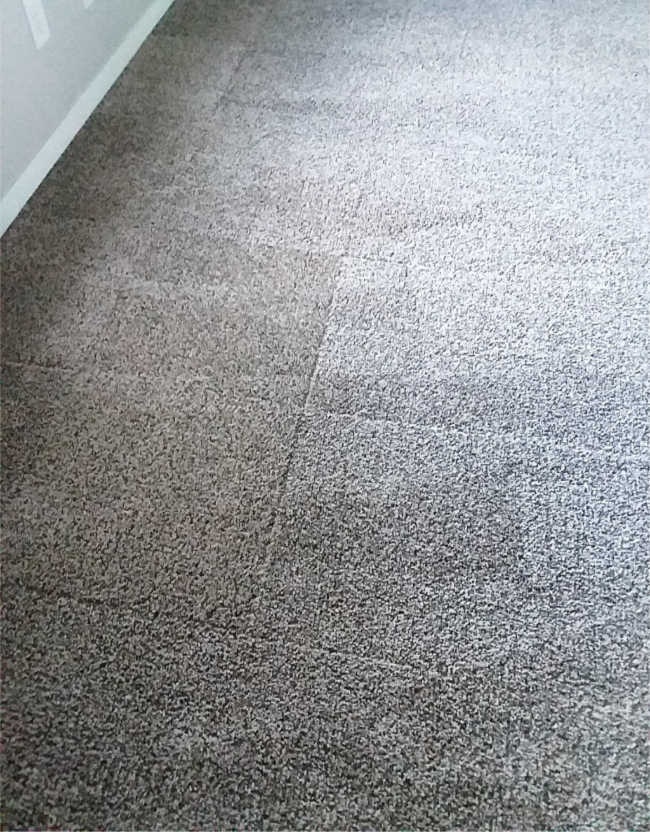
5) The carpet squares might be visible to the naked eye
Let’s be real. While some designs and styles may hide the square pattern. Some may enhance the square pattern. Some designs and styles (like the one we choose) will not be able to conceal the fact that they are not all one piece of carpet but a bunch of squares. This may bother you. It didn’t bother us, provided that we got them all going in the proper direction. And apparently it didn’t bother the new home owner when he made us an offer.
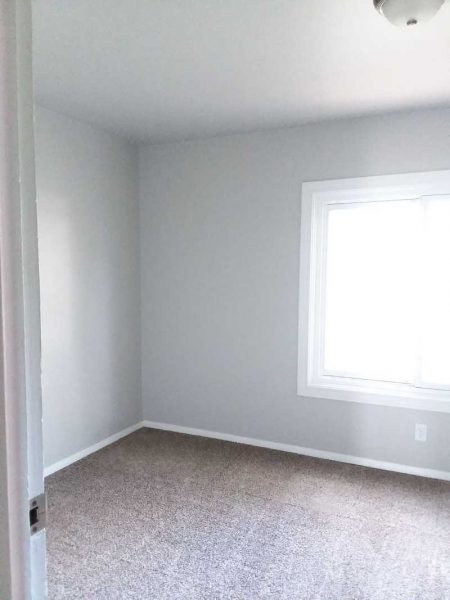
Even with a few wonky carpet tiles, we were more than pleased with how the flooring in the townhouse back bedroom turned out. My brother who was not a fan before hand was very impressed. The style option I chose was nothing fancy at all. But it was definitely cozy when all said and done.
Bedroom Before
Bedroom after installing carpet tiles
Not just for the office anymore. The benefits of carpet tiles have come a long way. You can install them yourself, there’s lots of cozy-for-your-home styles to choose from and you can’t beat some of the price per square foot options.
At the cost of about $200 to carpet this 12’ x 14’ foot bedroom, this was yet another budget friendly success for our townhouse fixer-upper.
Watch this short video to see how easy it is to install carpet tiles:
Like this idea? Share it now, so you have it for later reference!
Other Quick and Budget Friendly DIY Ideas
The Quickest Way to Paint Your Stairs
Robert says
Hey thanks for the great feedback on carpet squares, I am a consumer looking to redo a few rooms and your advice was just what I wanted to hear. I appreciate the photos as well. Thank you
Amy says
Hey Robert,
I’m so glad this was helpful to you. Good luck with your room makeovers. I think you’re really going to like these.
Have fun and let me know if you have questions!
Amy