I’m going for a faux hammered copper look again, this time with soda cans. Some of you may remember my faux hammered copper attempt on the dish pans. Well that one didn’t work out as well as I had hoped, but since I’ve had a little success with the soda can labels I made last year, I thought I’d try salvaging soda cans again.
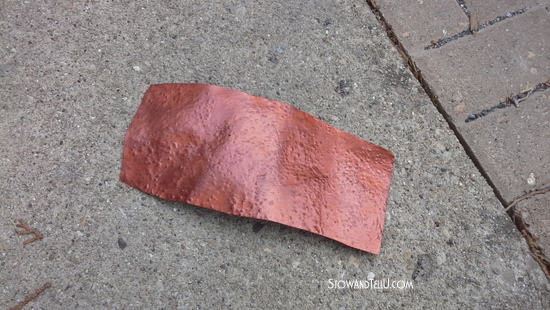
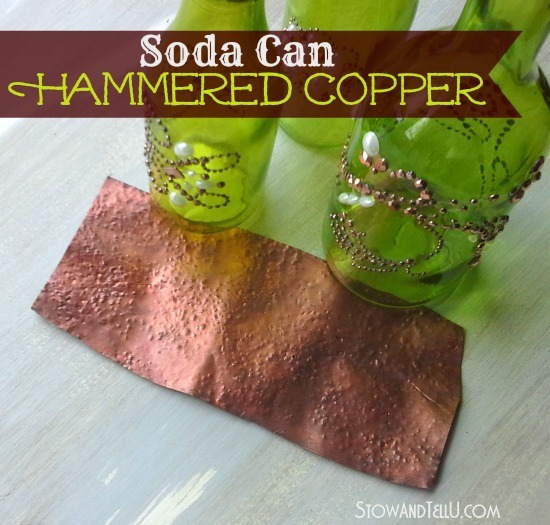 Now, it is in it’s earliest stages, but after a bit of cutting, banging, sanding and painting on a soda can; I ended up with something that I think resembles hammered copper.
I haven’t actually made anything with the so called faux hammered copper from a soda can, but my mind is already abuzz with possibilities. I’m thinking labels, scrapbooking, jewelry, hmmm?
Supplies I used:
- Soda can
- Sidewalk (yes, as in a square of cement, outside)
- A rubber mallet, or something that works in the same fashion, see what I mean below.
- Rust colored spray paint primer
- Copper metallic craft paint
- Black or black metallic craft paint
- Paint glaze medium
- Sponge brush and a few clean cloths
- 220 grit sand paper
- Extra fine steel wool (#0000)
- Scissors
Note: you can do ONE or BOTH sides of the soda can. This example only shows ONE side.
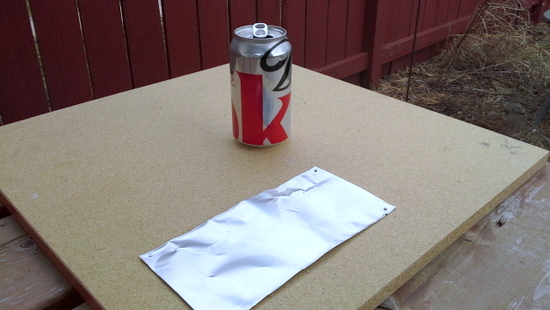
Step 1) Cut top and bottom off soda can
Cut off the top an bottom of the can and then trim off the jagged edges. Using gloves will keep your hands protected.
(This picture shows the piece nailed down, that is just for show, nails are not needed).
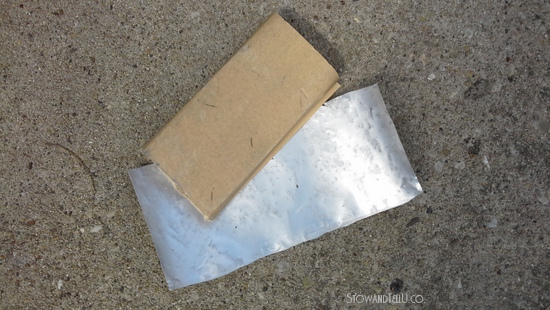
Step 2) Sand with 220
Lightly sand both or one of the sides down with the 220 grit sand paper. I wrapped mine around a block of wood.
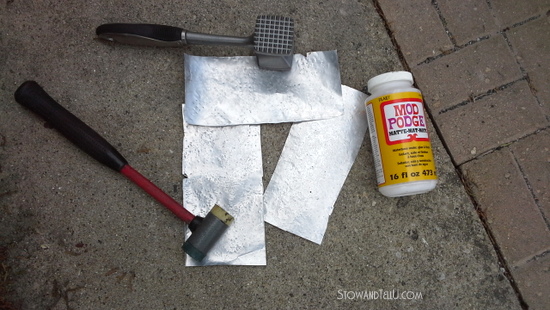
Step3) Lay the soda can down on the sidewalk and faux hammer
Lay the soda can piece down on the sidewalk and hammer lightly with some type of tool that works in the same fashion as a rubber mallet. I had a rubber mallet, so I used that, but I also tried a meat tenderizer and even a full bottle of Mod Podge.
The idea is to create an imprint of the bumpy sidewalk onto the soda can using a tool that has a little give to it. By give I mean “rubber mallet” type give. That is why I tried using the bottom of a (full) decoupage bottle. It is heavy enough, but it has some give, as opposed to a standard hammer head. I didn’t think of this but covering a hammer head with a cloth may have been a useful tool, as well.
I found that the meat tenderizer caused very severe imprints.
The bottle of decoupage caused lighter imprints than the rubber mallet, but it still produced a faux hammered effect.
Note: I hammered mostly on one side of the soda can piece and then a little bit on the opposite side. This gave me mostly outies on one side and mostly innies on other side.

Step 4) Prime, sand, and apply copper paint
Sand the entire surface with the 220 grit sand paper. Try to flatten down the impressions that you just made (this will help when applying the paint).
Sand entire surface lightly with the steel wool.
Apply several coats of rust colored primer, lightly sanding with steel wool in between coats.
 Apply several coats of the copper metallic paint, and lightly sanding in between coats with the steal wool.
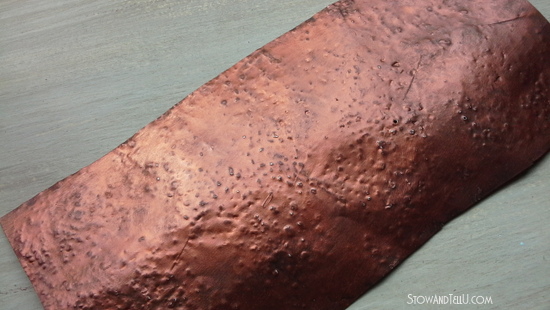
 Apply a coat of black or metallic black craft paint mixed with glazing medium, let dry for a few minutes and then lightly rub off with a soft damp cloth. Repeat process until desired look.
 I thought my green copper beaded bottles looked like just the thing to pair this soda can concoction with.

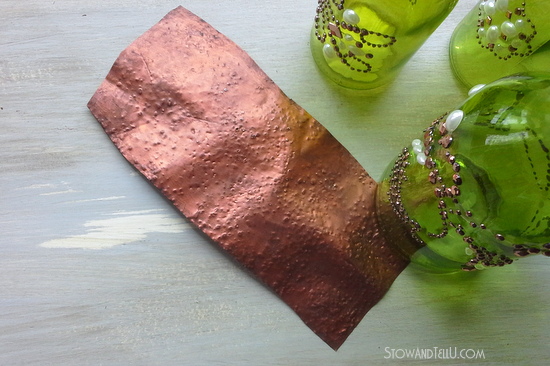
 Paint both or either sides. I painted the side that had mostly “outies”. The other side with mostly “innies” could have been painted and intended as the main side of the project, as well.
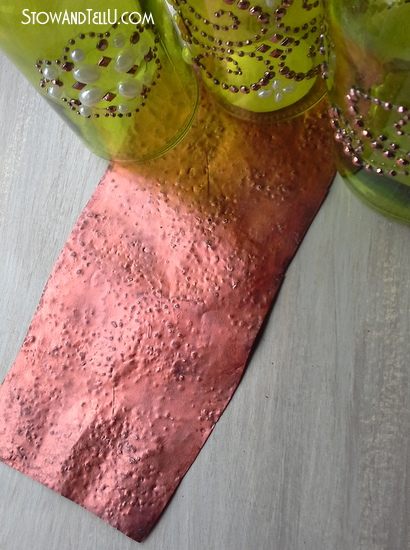 There are so many variations of real hammered copper and there are plenty of variations of faux hammered copper, just the same.
I think that creating this look on an actual piece of metal, albeit aluminum, gives it a more realistic dimensional look. But then again, once upon a time, I tried to make plastic look like hammered metal, so what can I say.
Thank you so much for stopping by ~ Amy
Linkng up:
Feral Turtle says
A cool idea Amy. I need to shingle my birdhouses and am gonna use tin cans but I might paint them copper like your pop cans. Very pretty!! Cheers!
Amy says
Looking forward to seeing those bird houses, sounds like some warm weather fun! Thank you, Karen
Shanna Gilbert says
Such a cool idea! You always come up with the most creative projects! Great job girl!
Amy says
Thank you, Shanna 😉
Mel says
That is a beautiful idea how awesome would it be in the garden too.
Bliss says
There may well be variations of making faux copper, but neither have I seen them or actually realized I could make faux copper. Pinning!
Caroline/Nymla says
It looks great! Wondering if the paint adheres well to the metal? Not sure if I can find that perfect looking primer here in Sweden ^^
Anyways, good job!
Caroline
Amy says
Hi Caroline, I didn’t have trouble with the paint adhering to the metal after I sanded with sand paper and steel wool, but I did find that when sanding and rubbing off some of the paint during the aging process, it caused the paint to rub off on some of the raised sections. I haven’t tried applying the paint to the other side yet, the side that has more of the inward “dings”, but I’m thinking that would help with this issue. I’ll have to try that next. Flat paint would probably work in place of primer if you cannot find the right primer color. Thanks so much for stopping by ~ Amy
heather f says
I am thinking jewelry!!! you might have inspired me to give something a try…maybe. I cannot confirm nor deny if maybe I will try your technique and make something jewelry-esque.
Amy says
I promise I won’t hold you to it, but bring on the jewelry-esque 😉
CeCe G says
This is soooo cool! I have been making faux copper like this and running it through my Sizzix for imprinting…sometimes works but also sometimes the aluminum is too thick and won’t quite make it through. I have also used a rubber mallet with the embossing folders…
I’m using the sheets for my birdhouses too. Oh yeah – and picture frames.
Thanks for the post!
Amy says
Hey CeCe,
I’m so glad you like this project and it sounds like you are coming up with some really cool ways to put it to use. I don’t have a Sizzle machine, but I would love to see how it turns out after going through one of those, not to mention, I really want one of those machines, too!!
Thank you so much for taking the time to let me know it’s working out and have a great week. ~ Amy