• Home
  • About
  • Disclosure and Privacy Policy
  • Contact
  • Browse

Stow&TellU

  • Home
  • DIY & Crafts
    • Craft Projects
    • Home Decor
    • Furniture
    • Storage and Space Saving
    • Holiday Ideas
    • Seasonal
    • LIghting
    • Rooms and Redesign
    • Garden & Outdoor
  • Daily Life
    • Recipes
    • Travel
    • Route 66
    • Perspective
  • Faux and Tell U
    • Faux Round-Ups
    • Faux Techniques and Projects
  • Resource Library
  • Freebies
Home » DIY & Crafts » Storage and Space Saving » DIY Lidded Storage Box

DIY Lidded Storage Box

November 23, 2012 By Amy 16 Comments

23 Nov

These might be kinda ugly, but…. one of the most common and practical solutions for organizing and de-cluttering is using a storage box with a lid. Store bought boxes with lids can be costly, especially when you need to buy several; so, I decided to make my own.

Card board boxes with diy cardboard lids

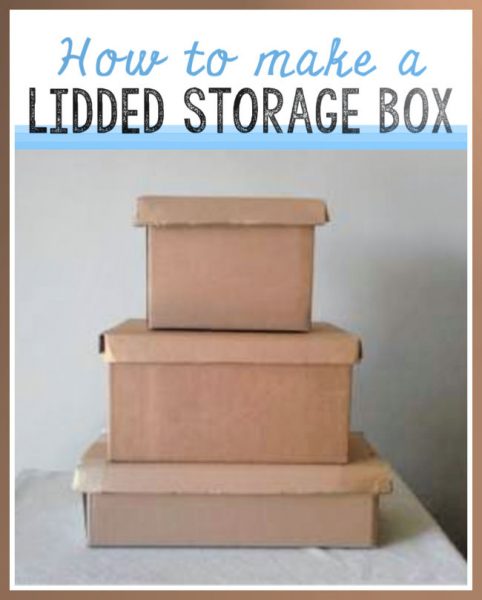
How to Make a Lidded Storage Box from Card Board

Although these aren’t very pretty, they are very cheap and quite easy to make. You can leave them plain if you are just looking to get organized or decorate them. I will continue to post ideas for decorating lidded storage boxes that can be used for gift giving, keepsake and storage. In the meantime, here is a quick tutorial on how to make your own storage box with lid.

Related: Make moving easier with these 3 budget friendly tips

diy storage box with lid

This post may contain affiliate links. If you purchase any of these products through the links, there is no extra charge to you; however, I may receive a small commission. Read full disclosure, here.

Supplies needed to make a lidded storage box:

Big cardboard boxes

Small cardboard boxes

Box cutter

Ruler or straight edge

Cutting mat – or spare piece of plywood as a mat

To make final cuts:   Rotary cutter with cutting blade (optional) – or use box cutter

To score folds cardboard:  Rotary cutter with scoring blade (optional) –  or a Phillips screw driver

Tape or Glue (choose one below)

Glue gun and glue sticks  (This option works best)

Clear mailing tape

Paper mailing tape

duct tape 

wide masking tape

Gather boxes large and small. The small will remain as a box. The larger boxes will be used for the lids.

Tip:  If you do a bunch of these at one time, then complete one step for all of your boxes before moving on to the next step. This will save your time and effort. 

To match up a small box to a lid that will fit, lay each of your small boxes on the side of a corresponding large box to make sure you have a lid that will fit your box. Ideally you want to have about 2 inches extra outside the small box on the lid piece.

Cut all of the excess flaps off the larger boxes, leaving just the side pieces which will become lids.

Cut-off-excess-flaps

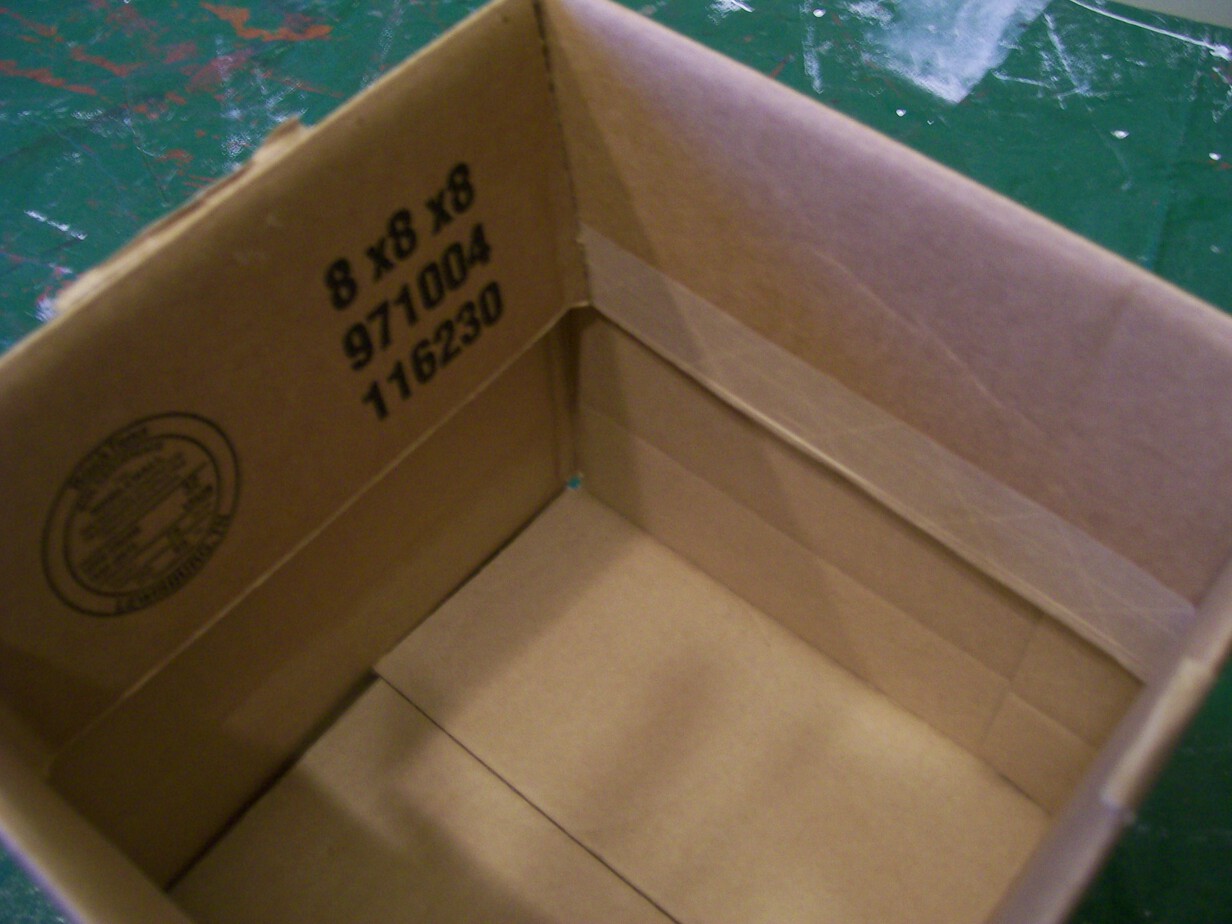
On the part that will be the bottom box, simply cut off the excess flaps.


There are several ways to make a box lid. Here is an easy method that I have found to work quite well for small to moderate storage.

  • Lay your box down on top of one of the large box sides (the soon to be box lid)
  • Draw a line around the box bottom onto the lid.

Tip:  If you are making several boxes at once, label each box and corresponding lid either alphabetically or numerically, so that they will match up with each other later.

Measure out approximately 1-1/2” to 2” around your line, and draw a second or outside line.

Draw a line in each corner from inside line to outside line.

Cut off excess cardboard up to the outside line, with either a rotary cutter or box cutter and a ruler or straight edge.

Score the cardboard from edge to edge, just outside the inside line using a ruler and either a rotary cutter with a scoring blade or the edge of a Phillips screw driver.

Fold cardboard where your made score lines.

To attach the corners, you can use either a glue gun or your choice of tape. For the glue gun method, fold one corner flap in apply glue with gun then fold the other flap on top. For the tape method, fold one corner flap in, and then the other flap over and attach your tape.

diy-storage-box-with-lid4

Check out the following posts for some

EASY and useful Decorating Ideas for these DIY boxes:

Cardboard storage box decorating- diy chalkboard painted gift box | stowandtellu.com

DIY Chalkboard painted gift box

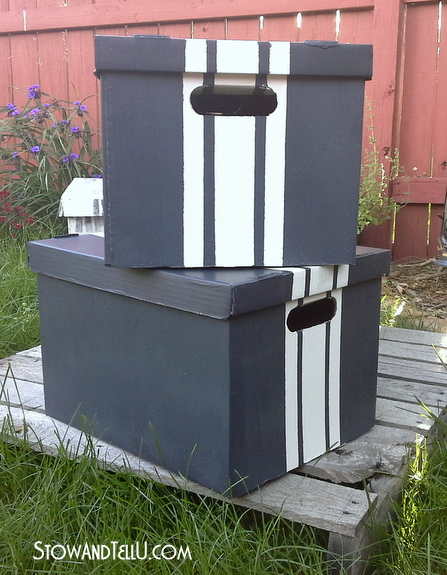
Grain sack striped storage box with lid

Also:

Faux leather storage box with lid

Faux tin ceiling storage box with lid

Wrapping paper keepsake box  idea

Faux wood grain storage box with lid

Napkin decoupage storage box with lid

Filed Under: Popular Posts, Storage and Space Saving Tagged With: De-Cluttering Ideas, Teen Crafts

« Wrapping Paper Keepsake Box
Easiest Way to Decorate a Lidded Storage Box »

Comments

  1. didi says

    May 7, 2013 at 4:50 am

    simple but useful tip. just share, I used cardboard for my shoes storage.

    Reply
  2. LEAGUE lover says

    June 25, 2015 at 11:34 am

    What size Rotary Cutter did you use? I was going to purchase the 40mm, but I’m afraid it wont work on Cardboard. I know the rotary cutter isnt necessary for this project but It would make this and a lot of other projects a lot easier. Thx

    P.S. Thx for the helpful Guide I been Googling up a Storm on ways to make lidded carboard Storage boxes and this is by far the best one!! Defy will be painting mines after or maube chrap $ Store Contact Paper so they all match

    Reply
    • Amy says

      June 25, 2015 at 4:42 pm

      I used the 45mm rotary cutter, but the 40mm may also work, if that’s all you can find. I have found after making quite a few, that attaching the flaps with a glue gun works best. You can also use the glue gun to glue down the flaps on the inside bottom of the box.

      So glad this is helpful and good luck with your boxes:D Amy

      Reply
  3. shamala says

    August 4, 2020 at 11:54 pm

    Thanks a lot.

    Reply

Trackbacks

  1. Easiest Way to Decorate a Lidded Storage Box | Stow&TellU says:
    November 26, 2012 at 9:12 am

    […] you have already read my post on making you own lidded storage boxes, you know that I promised to post easy and useful decorating ideas for these boxes.  This first […]

    Reply
  2. Man Cave DIY Storage Box | Stow&TellU says:
    December 7, 2012 at 8:37 am

    […] be hard to get a hold of, so, If you haven’t already read my post on how to make your own lidded storage boxes,  please feel free to do […]

    Reply
  3. Tie-Dyed Napkin Decoupage Storage Box with Lid | Stow&TellU says:
    December 25, 2012 at 7:59 am

    […] (Empty) Cardboard computer/ printer paper box with lid – OR – diy storage box with lid […]

    Reply
  4. Wrapping Paper Keepsake Box | Stow&TellU says:
    December 25, 2012 at 8:24 am

    […] A keepsake box can be a great gift, and even better if it’s handmade.  I made this keepsake box from a few items including a computer paper box, wrapping paper and decoupage.  Applying decoupage and paper to the cardboard makes the box more durable and long lasting.  If you can’t get your hands on a computer paper box, click here for tutorial on making your own storage box with lid. […]

    Reply
  5. Turn Your Closet into a Mini Mud Room | Stow&TellU says:
    December 31, 2012 at 7:38 am

    […] Make your own storage box with lid […]

    Reply
  6. Faux Wood Grain Storage Box with Lid | Stow&TellU says:
    January 16, 2013 at 8:16 am

    […] an empty computer paper box, but if you don’t have any, you could also consider making your own storage box with lid.  These storage boxes will look great in any basement, garage or man […]

    Reply
  7. Speckled Easter… Hey Those Aren’t Eggs…Splatter Paint Texture | Stow&TellU says:
    February 13, 2013 at 9:15 am

    […] you don’t have a lidded storage box, click here to learn how to make your […]

    Reply
  8. Re-purposed Sweater to Cat Cozy | Stow&TellU says:
    March 6, 2013 at 4:48 am

    […] you don’t have a computer box lid, click here to make your […]

    Reply
  9. Faux Tin Ceiling Storage Box with Lid | Stow&TellU says:
    April 10, 2013 at 4:44 am

    […] It I have made a bunch of storage boxes with lids from cardboard.  Now I have to decorate them and make ‘em fancy.  Here are a few, that I have made so far, in […]

    Reply
  10. Raw Hide Faux Leather Storage Box with Lid | Stow&TellU says:
    September 21, 2013 at 6:14 am

    […] used this technique on several card board lidded storage boxes that I made myself. Click here to see directions on how to make your own storage box with lid.  Make sure to attach the corners […]

    Reply
  11. The Best Part of 2013 was… | Stow&TellU says:
    January 4, 2014 at 1:16 pm

    […] search for some of the simplest how-to’s: How to Dye Burlap How to Make Rust with Potatoes DIY Lidded Storage Box (this one is actually from […]

    Reply
  12. Turn an Old Sweater into a Cat Bed | Stow&TellUStow&TellU says:
    April 19, 2014 at 6:38 am

    […] click here to make your own. […]

    Reply

Leave a Reply Cancel reply

Your email address will not be published. Required fields are marked *

This site uses Akismet to reduce spam. Learn how your comment data is processed.

Hey! We’re Ken and Amy and we’re here to help you inexpensively turn your home into a cozier living space one DIY project at a time. Read more

Browse by Category

  • Home
  • About
  • Disclosure and Privacy Policy
  • Contact
  • Browse

Amazon Associates Disclosure

Stow and Tell U is a participant in the Amazon Services LLC Associates Program. As an associate, we earn from qualifying purchases designed to provide a means for sites to earn advertising fees by advertising and linking to Amazon.com.

Copyright

You’re welcome and encouraged to link to StowAndTellU.com or use a SINGLE image with a brief description and a visible link back to any post. Republishing posts in their entirety is prohibited. Please feel free to pin on Pinterest!

Disclaimer

We love sharing ideas and projects with you, however, we cannot guarantee everything will also work for you. As the reader, you assume any risks involved when completing projects seen on this site. We are not personally liable for projects that are completed based on the ideas and inspiration shared here.

Copyright © 2025 · Stow and Tell U