I’m not kidding when I say that I like texture, and this Route 66 shelf is a prime example of just how far I will go to add texture to…well, just about anything! I originally bought this shelf at a yard sale for $3.00 about 10 years ago. It was old, beat up and painted an aqua color, but it was pretty grimy, so I decided to give it a makeover back then.
 For the original re-do, I bought some Route 66 wallpaper boarder, remember the wallpaper boarder fad? Anyway, I painted the shelf a soft yellow, cut and adhered the boarder onto several parts of the shelf, and then proceeded to give this baby some texture with barn red paint glaze and a texture comb, remember those?
 That is the way it stayed and the way it hung in my scary basement until the basement project began. I almost threw this shelf out when de-cluttering, given the fact that it was even grimier than when I first got it, but just couldn’t do it.
 So I gave it a good cleaning. It still looked like it could pass for a candy striper if you’re not looking too close, not to mention the fraying edges from the less than expert wallpaper application. It needed another makeover!
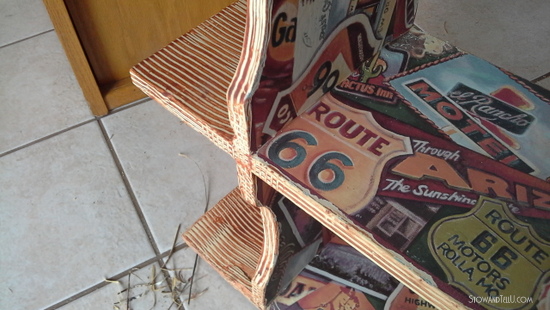 For this re-do, I started by trimming off all the loose wallpaper edges with a straight edge blade.
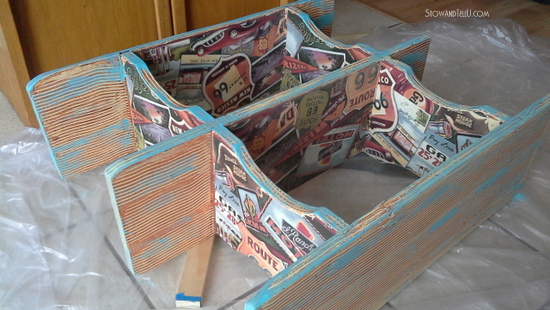 I gave it a few dabs of turquoise.
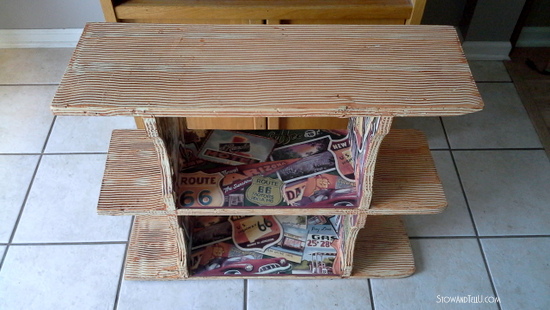
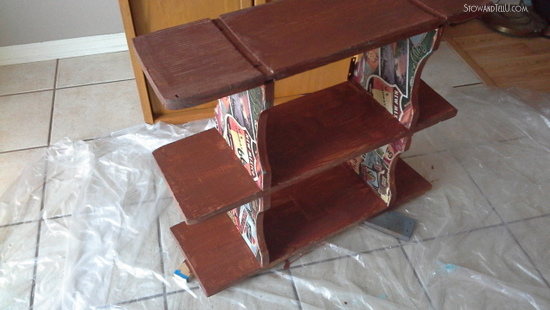 And then I gave it a coat of dark brown chalk paint. Actually, I only re-painted the front and under side sections (the underside is shown here).
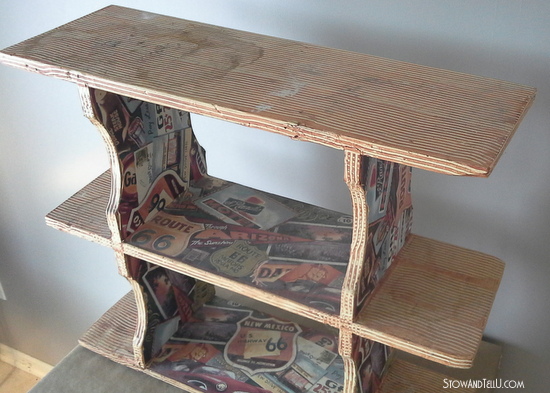
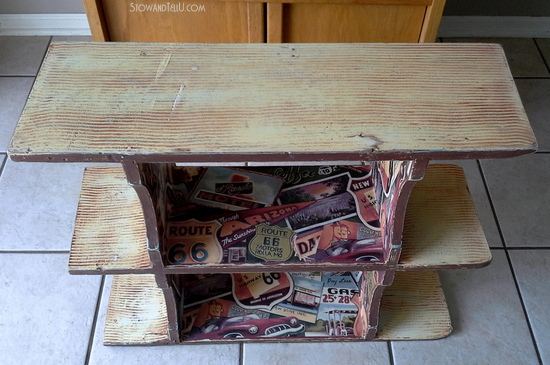 I couldn’t bring myself to loose the combing texture completely. I Just couldn’t do it. So, to add an age-y feel, I did sand the remaining parts down a whole bunch and give the shelf a coat of dark wax. I even left bits of the turquoise in places, all of which may or may not give the whole piece more character.
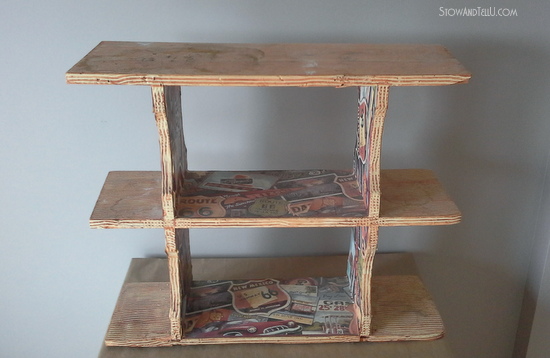
 Now it has a sort of chippy, vintage look that you might see when stopping off at a roadside diner along Route 66, rather than one of the very first projects done by a paint glaze technique student. Remember when those classes were all the rage?

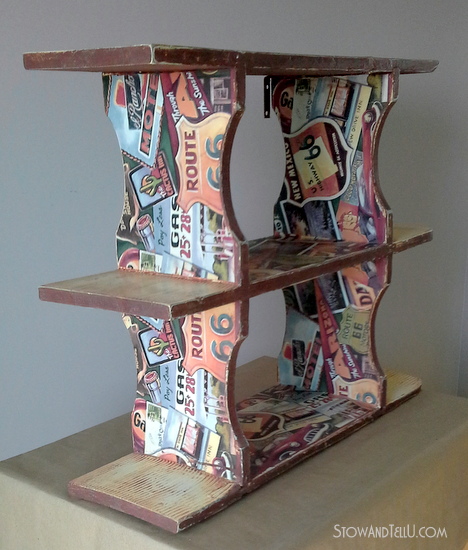
 This Route 66 shelf mini makeover may not be the look for everyone, but I think it will work well in our gaming area in the yet-to-be-finished basement. I still like the striped look you get with a paint comb tool. I’ll probably use that again one day. I still like the color of barn red, and I still hope to make my way across all of Route 66, eventually!
Thank you for stopping by, hope you are having a wonderful day!
You can check out all posts on the basement update, here.
Feral Turtle says
What a great paintjob! It will be a perfect addition in your games room. I don’t think I have ever seen a wallpaper border as cool as that!
Danni@SiloHillFarm says
What a great save Amy! I like the combing texture too, but I’m amazed at what the addition of the blue paint did!
Mel says
Oh I like it, I want to try the paint technique. Everything I paint ends up looking pretty sad but I want to do a lot of painting this year which I am hoping practise makes perfect!
Shanna Gilbert says
So cute Amy! I love the look the paint comb gave it and the border you used it darling! Great job girl!
Doreen@househoneys says
Yet another great job Amy! I love the way combs add texture. For years I had combs but never used them, but then I did so to imitate wood on a windowsill and it came out great.