While suffering from paint brush wrist, paint roller elbow, “Do-it-yourself painted vinyl basement floor knees” and a multitude of other aches and pains, I’m happy, ohhhh so happy, to say that progress is the basement is being made.
Our ultimate goal is to remodel the basement for the least amount of money. However, our main objective (for the moment) is to have basement completed enough that we can clear out the guest room, so when my son arrives home on Wednesday, he has somewhere to sleep.
T-Minus 5 days and counting…
So, here is what’s going on:
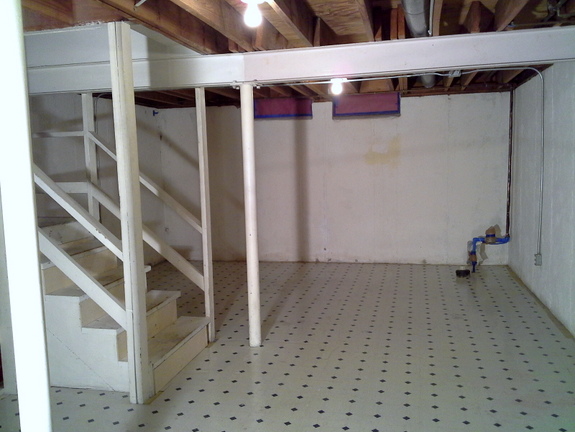
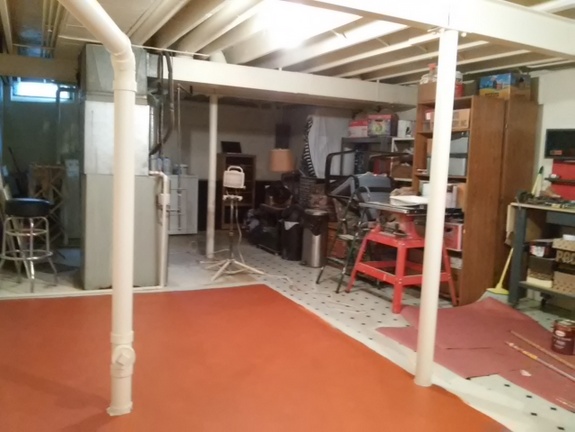
We’ve been doing the basement in steps, half the basement at a time. This is one half of the basement before the ceiling and floors were painted.

Here is the same half of basement after the ceiling was painted and the floor was primed.
If you have an open beam ceiling that you’d like to paint, read these 15 Tips for painting an exposed basement ceiling.
The whole room looks much brighter, and I would have loved to keep the floor color light and bright, but after having light colored kitchen floors, I know all to well that keeping a light colored floor clean is nearly impossible.
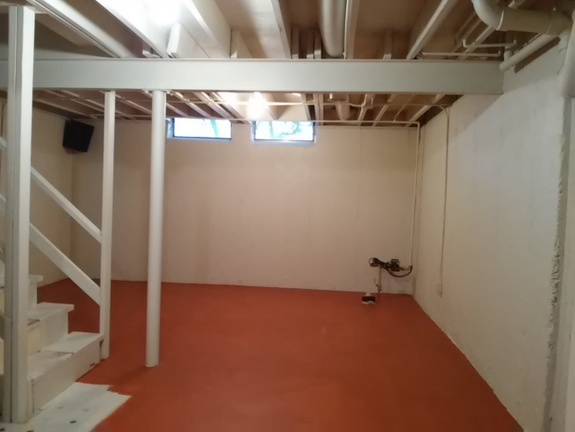
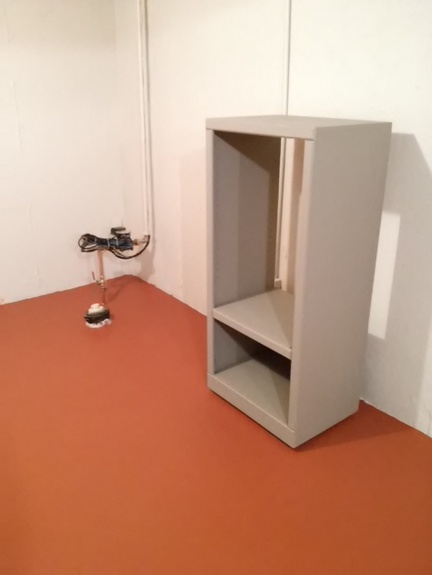
So here is what the floor is looking like with one coat of the paint color I chose.
The second coat of paint darkened it up nicely, and I added a package of slip resistant granules to the paint which is working out quite nicely so far.
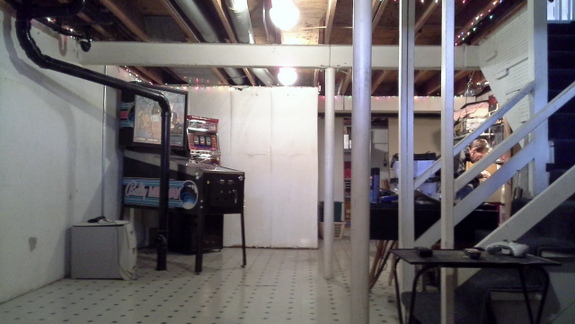
Here is the other side of the basement showing where the walls used to be.
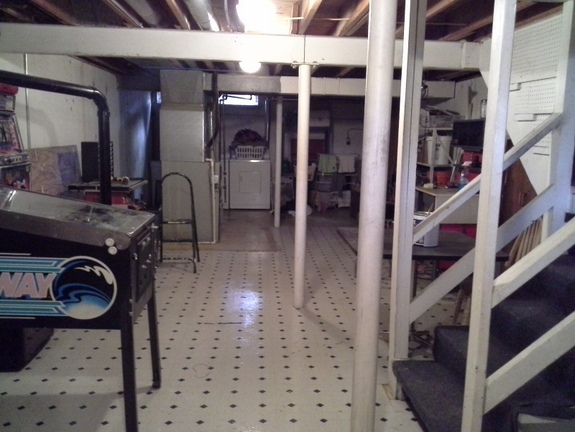
Here is the same angle after the walls were removed.
Click, here to see the final open floor basement plan in completion.

Here is a similar angle with the ceiling, stairs painted and part of the floor painted.
Yes, we are painting right over those godawful vinyl tiles. Yes, I’m crossing my fingers that I am doing it right (more to come on how I did this and who inspired this idea.)
See the completed project, here: Painted Vinyl Basement Floor
With half of the floor done, and half to go, the obvious next step was to move all of this lovely mix and match of furniture and stuff to the other half of the basement.
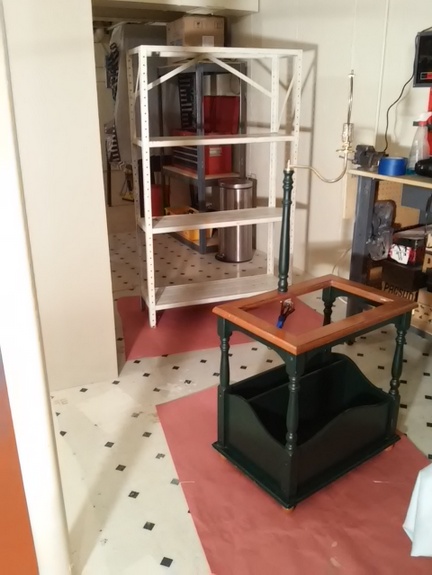
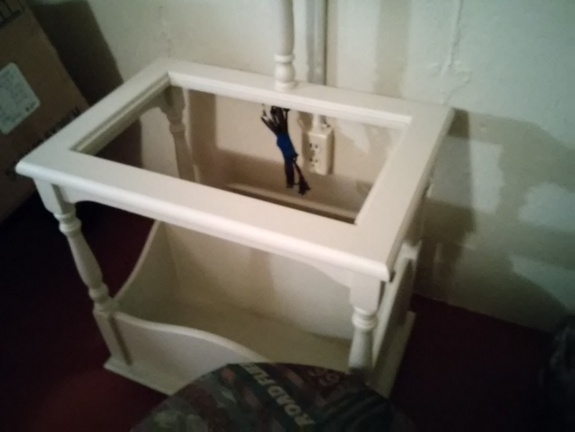
I set up a makeshift furniture painting station on the half of the floor not-yet-done. The goal here was to try to reuse as many furniture pieces that I already had in order to save more money. I proceeded to prime and paint away at the my various pieces of furniture.
I painted a metal storage rack a nice bright white to use for laundry basket storage in our laundry room makeover.
I painted an old table lamp from hunter green to off white.
Read how to update on outdated table lamp and lampshade, for cheap.
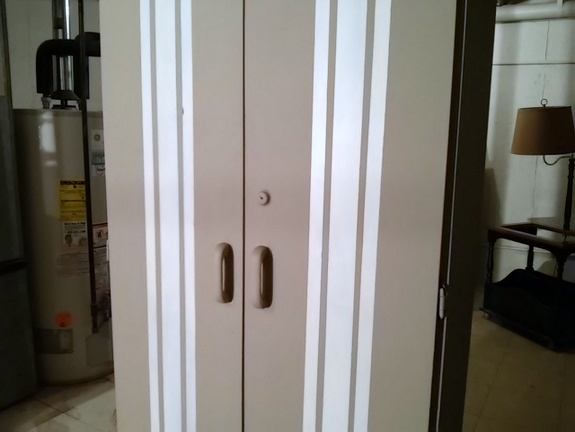
RDo you have any of those Sauder brand storage cabinets? Yeah, we do, too. I bought some oops paint at Home Depot because I loved the color. Fortunately it fit in with the color scheme and so I used it to paint the Sauder storage cabinet.
Check out how much better this cabinet looks, here: Grain Sack Striped Painted Sauder Cabinet update.
Hoping that when it’s all said and done, it will have some sense of style and be a little more match than mix.
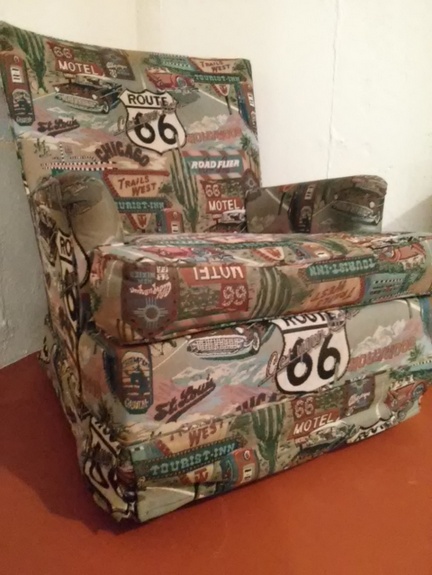
Right now it’s even looking like my Route 66 chair is going to fit into the mix like a glove.
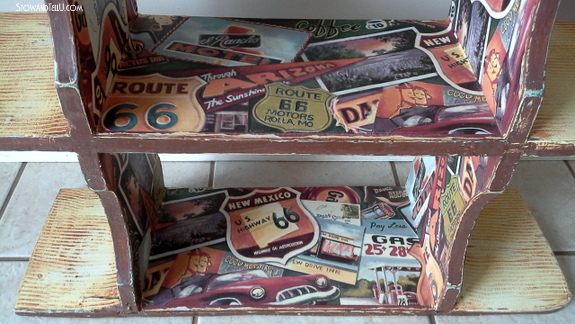
And perhaps I’ll even find a matchy spot for my Route 66 shelf.
Fingers crossed that I’m on the right track.
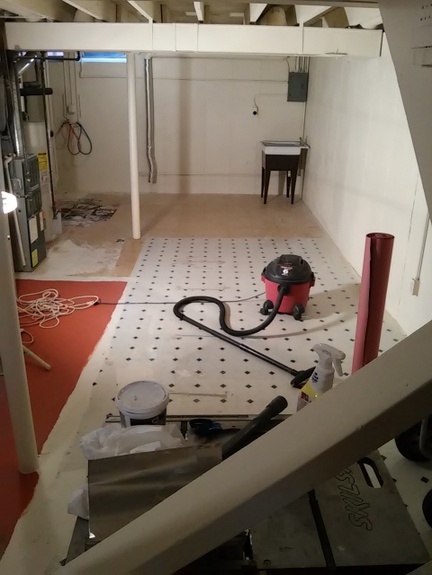
As of this morning, the other half of the basement floor is just about ready for painting.
Basement update best investment, yet
Notice that roll of red paper standing there?
We picked it up at the hardware store for about $12.00. We are on our second roll, but let me tell you, we have used it it to keep the floor covered while painting the ceiling, as a drop cloth for the furniture painting, and as a protective cover on the painted portion of the floor for all the stuff now stacked on that side.
I think I might buy stock in this stuff ;D
Thanks for stopping by.
With a splash of paint and a smile, here is wishing you a wonderful weekend ~ Amy
Feral Turtle says
What a huge difference just a little (a lot) of paint makes! It is really starting to take shape Amy and I am already envisioning your Route 66 room. Now you need to soak in a tub of epsom salts!
chris aka monkey says
amy i think it is looking good i love your rte 66 chair, isn’t it a shame we can’t remove all the poles in the basement with out the house falling down haha xx
Danni@SiloHillFarm says
You are making some wonderful progress! I love that floor color too. Look at you painting floors and furniture at the same time…pretty ambitious! Happy Thanksgiving girl!
Doreen@Househoneys says
When we finished off our basement, we made the poles look like tree stumps by covering them in wood from, you guessed it, trees! It’s kinda cool and works with the rustic look of our cabin. As for you, you’re making great progress and that chair cracks me up!
You’re going to love the space and your efforts will be so worth it!
xxx
Donna Wilkes says
I never knew you could paint vinyl flooring. I love the cabinet you painted like a grain sack and the color of the floor. Good Luck finishing.
Carol Paulus-Kalis says
Good job. Looks fantastic! I love the color of the floor. Your Route 66 chair is awesome and goes so well with the floor. Can’t wait to see the finished product!