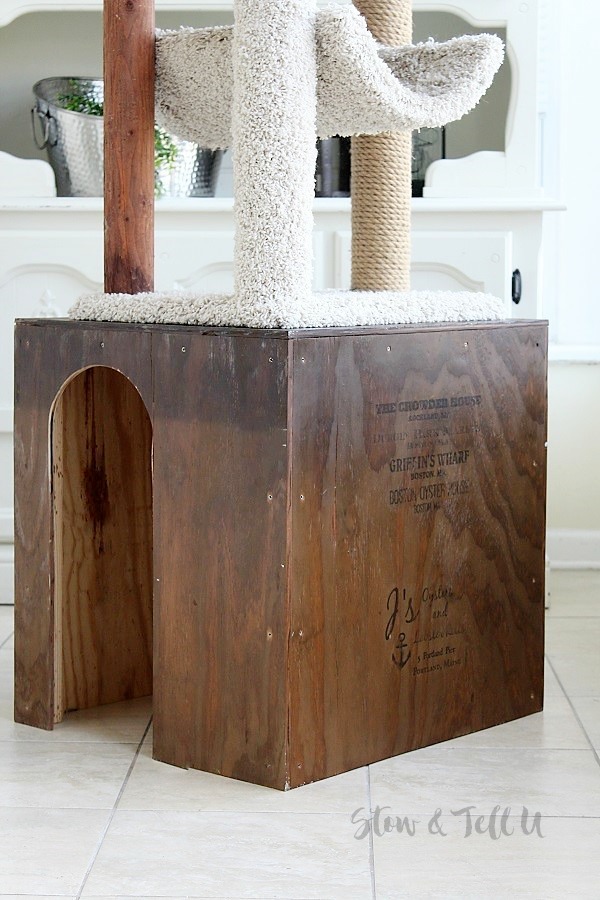
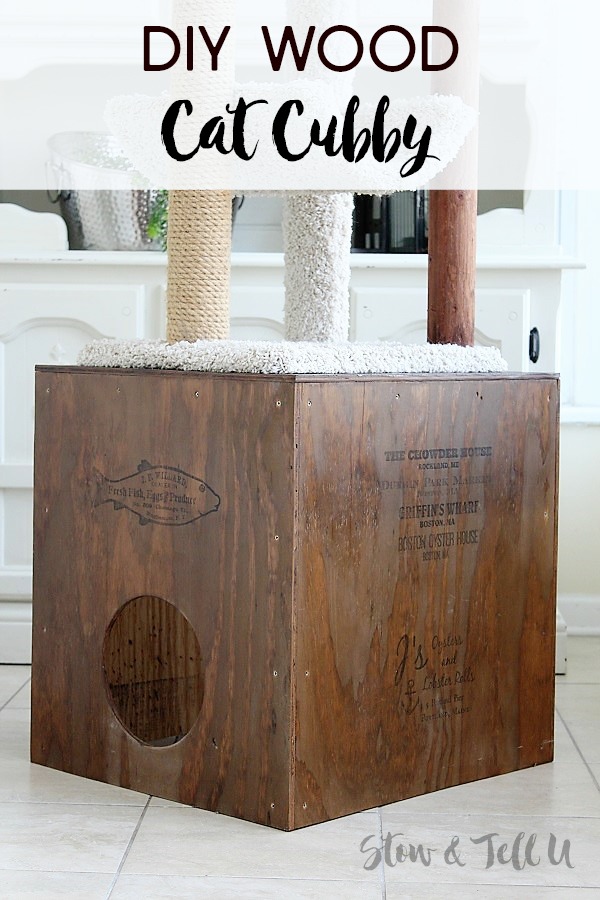
Here is a crate style DIY wood cat cubby project that is designed to fit in with your rustic decor. Made with 2x2s and salvaged plywood. Read on for the step-by-step directions.
A while back, we made a plywood cat cubby for our sweet cat, Kitty. I talked all about him when we were doing the Upcycle for Sheltered Animals Tour. At that time, the cat tree and cubby were placed in our townhouse basement. After we moved to our new home, our Kitty accidentally got let out amidst all the hubub of moving and he never returned. We will always miss him.
On a good note, however, we were fortunate enough to became parents to two new kittens a year and a half ago.
The new kittens are all grown up now, and we’ve since update the cat cubby, as well. So I though I’d re-share the project and include a tutorial, since Chewy and Scouty have been enjoying this wooden cat cubby for some time now.
DIY wood cat cubby
Overall size of wood cat cubby
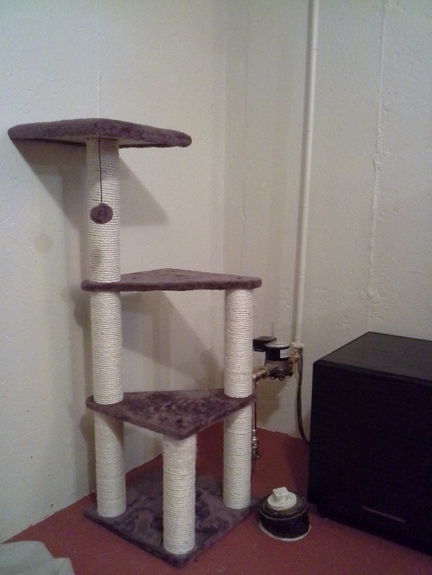
Ugly gas pipes in basement
The original plan for the cubby was to give our cat a rustic little hide-away, while covering up the gas pipes in our basement. We had a bunch of plywood scrap left over from the townhouse basement update, so we decided to use it up to make the something for the cat.
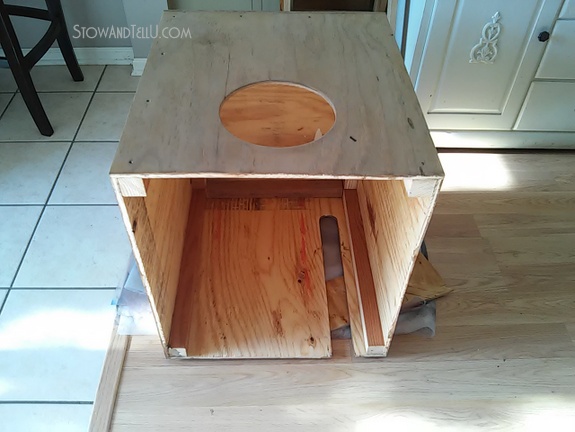
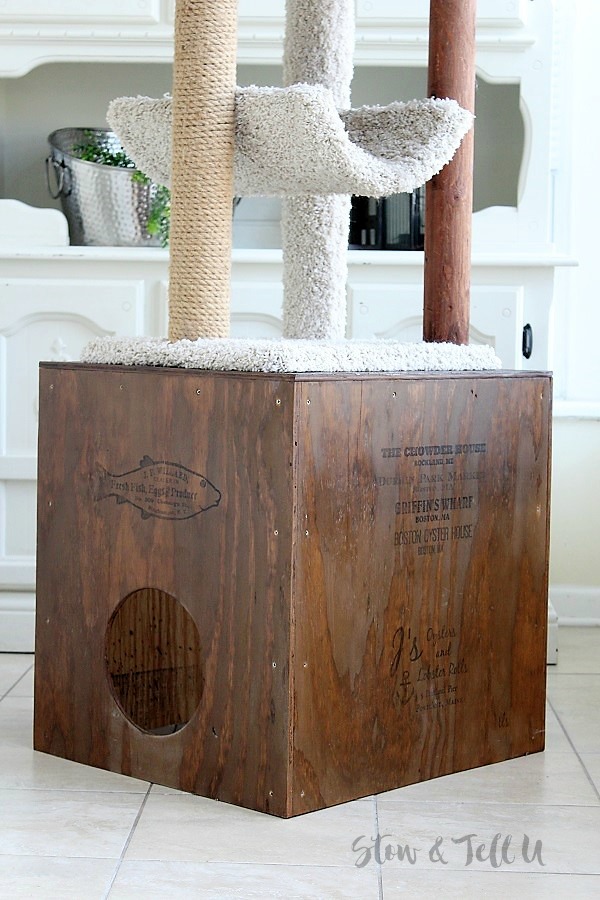
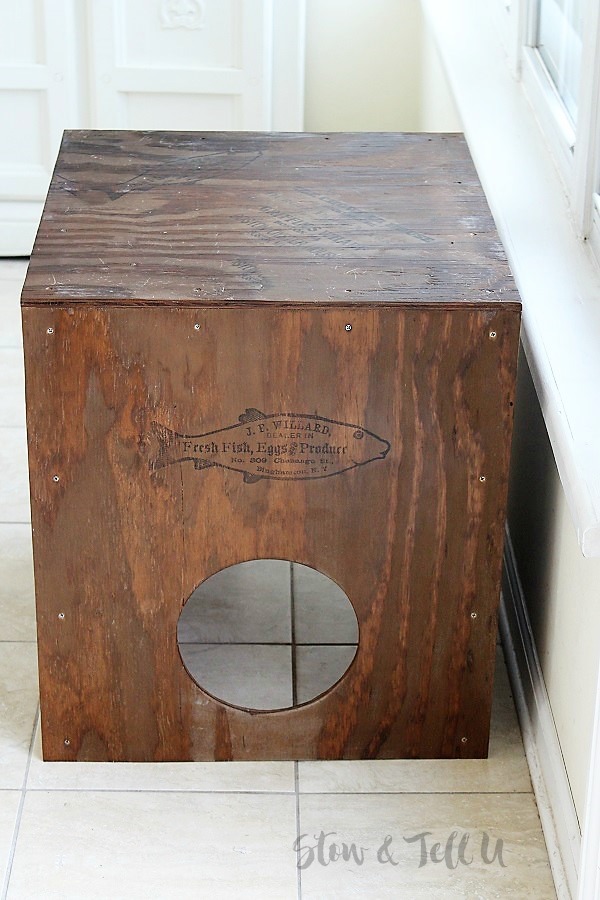
Front hole for cat entry. Back slit to fit over the gas piping.
First, a crate was constructed with the salvaged plywood and 2×2’s.
Then, a cubby hole was cut out of the crate for our cat to enter. The last opening was a slot was cut in the back side to cover the less than pretty water pipes thingy.
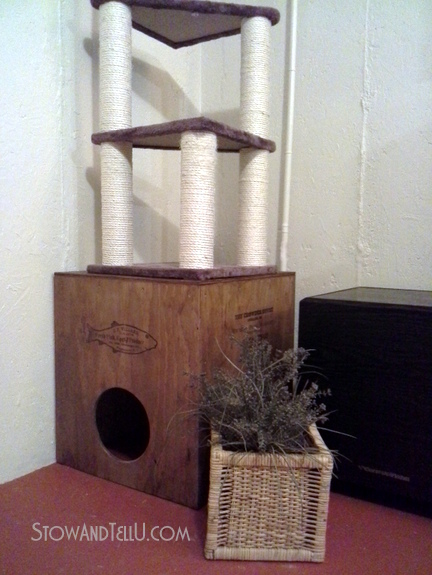
Cat crate in place in our townhouse basement. Covering up the ugly pipes.
The cubby fit over the pipes. It was also sturdy enough to hold a cat tree.
Updated Version of cat cubby with larger arch opening
We have since cut a larger opening in the back, for a two-way pass through for our cats.
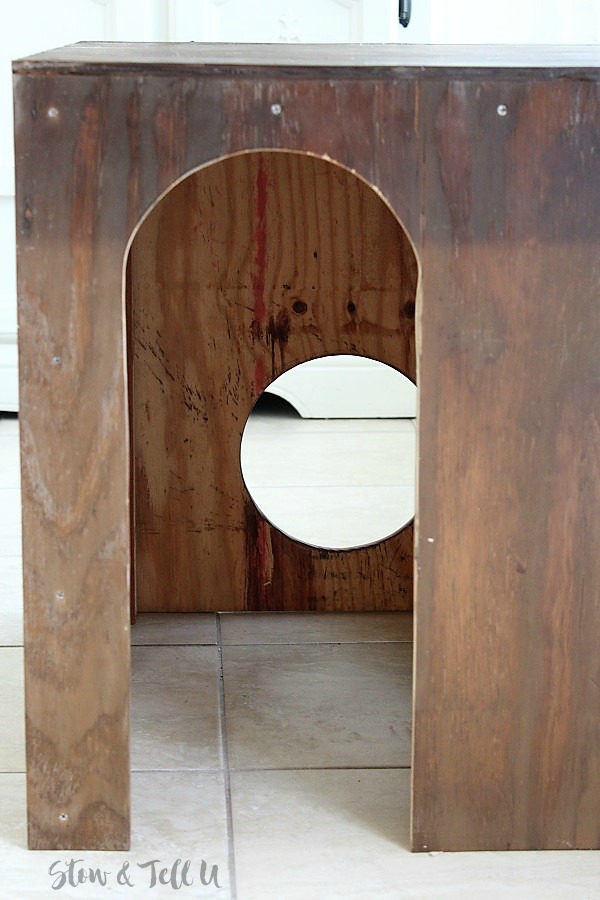
Here is a close up of the arch opening. You can really see how grungy the back side of the wood is.

Supplies needed to make a wood cat cubby
2×2 lumber | amount: 20’ to 24’
3/8” Plywood | amount: 4’ x 6’ piece
#6 1” wood screws | amount: 60 pieces
Countersink bit
Wood glue
Power drill (to use for drilling holes and attaching screws)
Jigsaw
Sandpaper
Stain
Clear coat

Instructions for how to make a crate style wooden cat house with openings
Ken cut his own exact sized 2x2s from 2x4s; however, this tutorial is based on using 2x2s with a nominal width of 1-1/2” x 1-1/2”, the standard size from a lumber yard or home improvement store. *If you cut your own 2x2s to exact size, make the adjustment to the provided measurements for the first 2 items on the cut list for the 2x2s below. All other measurements should be fine.
Also, we did not reinforce the bottom part of the frame, but I would strongly suggest it for a more sturdy cubby. Just frame the bottom of the cubby the exact same way as the way we did the top only, shown in our photos.
Step 1. Cut 2x2s
- 2 pieces | size 17” – for the short frame sides (Use 4 pcs if framing the bottom, also.)*
- 2 pieces | size 19” – for the long frame sides (Use 4 pcs if framing the bottom, also.)*
- 4 pieces | size 21-7/8” (frame legs)
The short sides should go flush, end to end.
Step 2. Cut plywood top and sides
- 2 pieces | size: 20” x 21-7/8” (short sides)
- 2 pieces | size: 21-1/4” x 21-7/8” (long sides)
- 1 piece | size: 20” x 22”
Ken gave all wood pieces a good sanding before he started the build process. And a final sanding after the build process.
The long sides should butt up against the back of the short sides
Step 3. Building the plywood cat cubby frame
The basic process for building this wooden cubby is to attach the 2x2s to the plywood pieces, and then to attach all the plywood pieces together. Here is how we started:
Note: Apply wood glue through out the assembly process along the 2×2 pieces. I didn’t mention doing this in each step when assembling the cubby, but it is strongly suggested for added strength. Of course, make sure to wipe off excess with damp cloth, and let glue dry completely before sanding or staining.
Starting with the two “long sides” of the plywood.
–Attach the coordinating 21-7/8” pieces of 2x2s to the back side of the plywood by running a bead of glue along the 2×2 length, and then laying the 2×2 onto the plywood. Pre-drill and countersink 4 holes through the plywood and the 2×2, then drill in the 4 screws. Mark holes for screws at approximately 1” in from each end, and then 7-1/2” in from each end. Wipe off any excess glue with a damp cloth and let glue dry. Do this for both of the long sides.
— Next. following the same instructions, attach the coordinating 19” piece(s) of 2×2 to the plywood top (and to the bottom, if framing top and bottom.)
Next, do the “short sides” of the plywood.
–To attach the 2×2 frame to the “short sides,” center the 17” piece of 2×2 along theback side of the 20” side of the plywood. Glue and drill in screws, same as above. (If framing top and bottom, do the same for the bottom.)
By the end of this step, you should have 4 plywood side pieces with 2×2 framing attached, and ready to assemble all 4 sides together into a cubby.
Step 4. Start the assembly process
Assembly configuration note: The 2 “short sides” of plywood should go flush end to end. The 2 “long sides” should butt up to the back sides of the “short sides”
– Lay one of the “long sides” on a flat surface, and up against a flat surface like a wall. (Ken used the back lip of his work bench. The idea here is to create a stronghold so that the “short side” piece can be held in place to attach it to the “long side” piece without a lot of movement.
– Prop and pre-fit one of the “short sides” along the length of the “long side” piece that is laying flat. Once happy with the alignment, pre-drill 4 holes through the plywood and 2×2, and then attach the 4 screws. (Don’t forget the bead of glue beforehand.)
– Do the same step above the the other “short side” and “long side”.
At this point you should have 2 sets of: 1 short side attached to 1 long side.
– Stand both sets up right side up, and proceed to attach both sets of sides to each other with glue and screws.
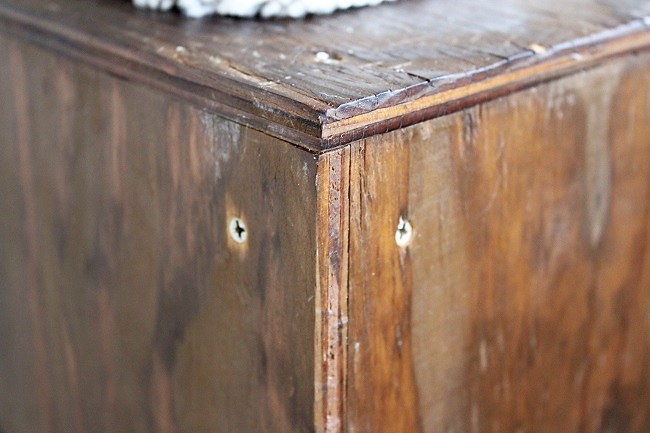
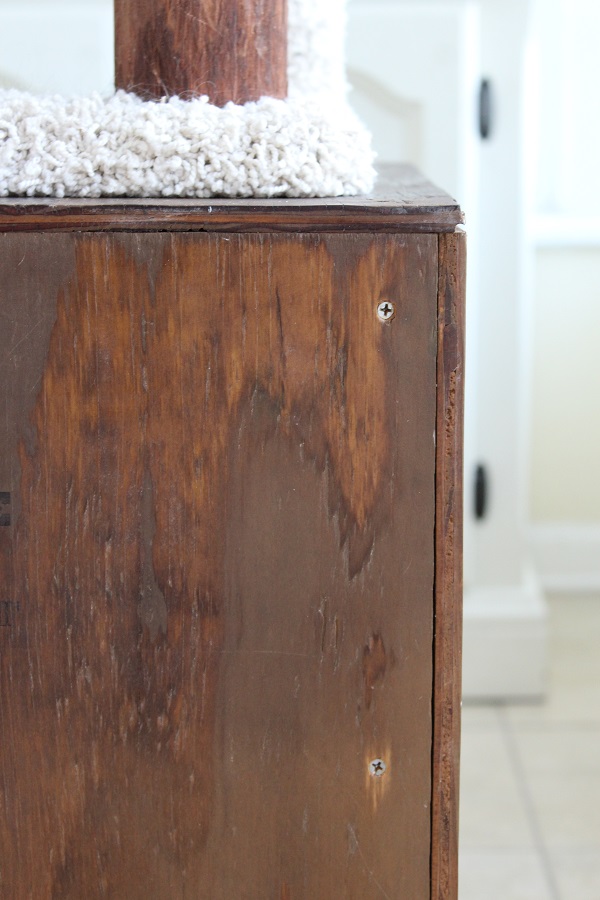
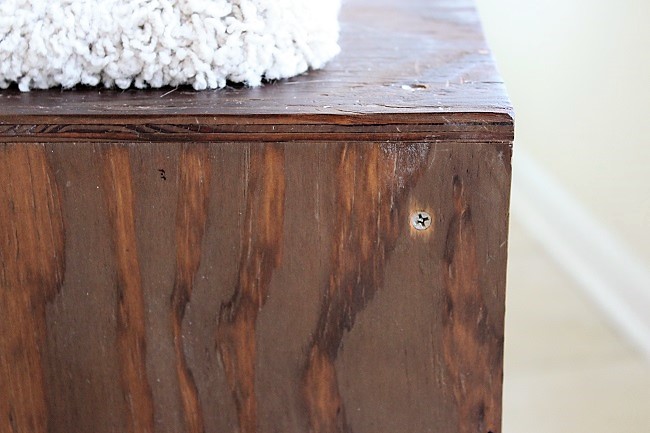
You can see scratch marks from the cats on top. This cubby is probably due for a refresher coat of sealer.
Step 5. Attaching the top of the cat cubby to the base of the cat cubby.
– Lay the plywood “top” onto the base of the cubby, and attach with wood screws along all 4 sides.
– Decide on pass through opening measurements. A good size is at least 8″ in diameter. You can use a compass to trace a hole for cutting, but you can also use a household object. For example use a coffee tin to mark a circle with a pencil. Use the half round of the coffee tin, and straight edge ruler to mark out an arch style opening.
– Use a Jigsaw to cut out the openings. Sand to smooth. (Marking and cutting the pass-throughs can also be done before assembling the cubby.
Do a final sanding, stain and sealer (Try for low vocs and let the finished piece air out so your feline doesn’t get exposed to heavy fumes.)
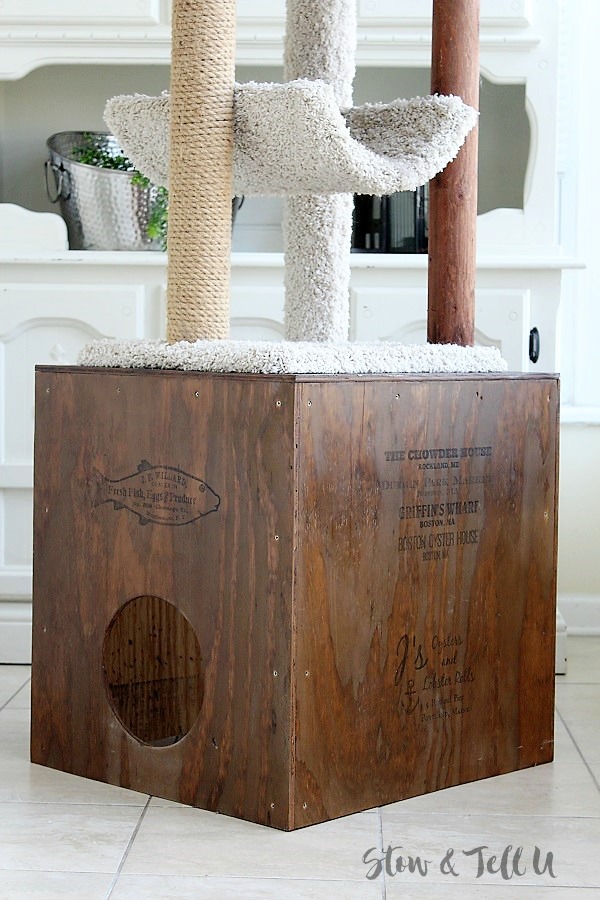
Adding the cat-friendly transfer printables.
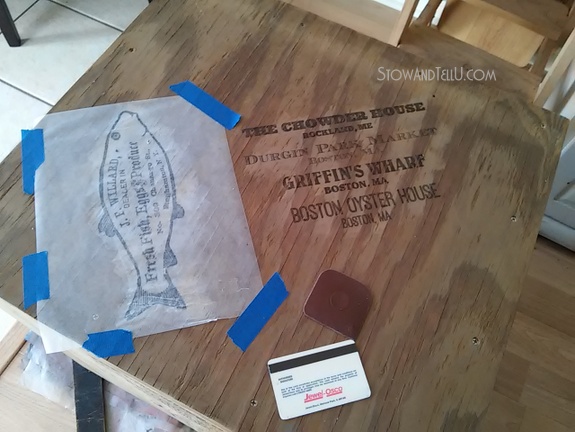
Once complete, I added some diy rust stain, and then did a wax paper transfer following a tutorial from
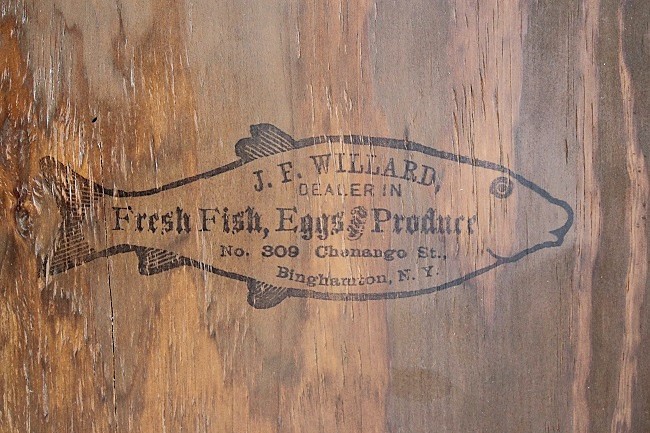
The Art of Doing Things, using a fish image from the Graphics Fairy.
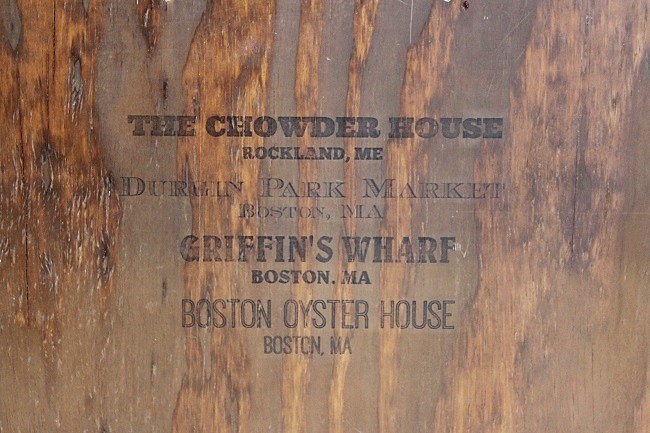
I also added a few word graphics that I made myself with the restaurant names from our trip to New England. For the last step, I sprayed it with a matte acrylic coat.

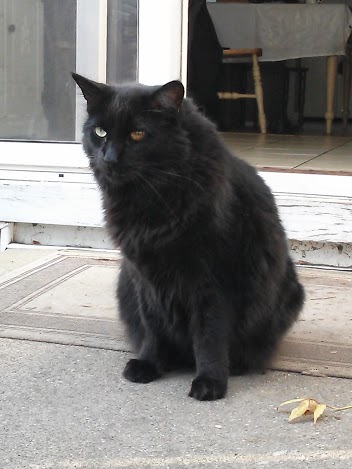 Made with love for our beloved Kitty. May we meet again, one day sweet boy. Thanks for sharing the cubby with the younger guys.
Thanks for stopping by. ~ Amy
If you have any questions on this project send us an email. We’d be glad give more details.
Related: How to write a goodbye letter to your pet
Pin or share on Facebook for later reference –>
sharleen says
love the cat post Amy. <3
laurie says
Great job on the Cubby Crate…he’ll warm up to it and love it! Kitty is a beautiful cat…does he have two different colored eyes?
Bliss says
My newly cat owning daughter and I were just talking about something for her pet that involves a crate style. Now I know what graphic to put on it, purrrrrfect.
Feral Turtle says
I love this and I don’t even have a cat. After Teddy passed, we never got another, but he would have loved this! Amazing way to hide the pipes. I love your ingenuity!
Sherry says
Cats… ours is so spoiled. She would love something like this! Great job Amy and Ken!
Danni@SiloHillFarm says
Oh I wish Sam wasn’t allergic to cats! What a fabulous project and a great offer on the DIY ebooks too!
Debrashoppeno5 says
This is so neat. I wonder if my cats would like it? You know how cats can be!
the cape on the corner says
what a great project, and so sad about your sweet kitty. breaks my heart. my hubby is supposed to make a new cat tree for ours, i hope it happens soon!
b
Amy says
Oh, a new cat tree, what lucky little kitties!! Hope he gets to it soon (I know the honey-do-list patience game, myself). Thanks so much for your sweet thoughts on our Kitty. Have a great weekend ~ Amy