Before I plunge full force into decorating our new house, I wanted to take you back just a time or two more to the basement update at the townhouse. After the new year began, I finally had a chance to pull together all of my receipts and add up the total cost of the basement project. I have a final cost, but today I want to show you how I found at least 25 use what you have decorating ideas to furnish the basement.
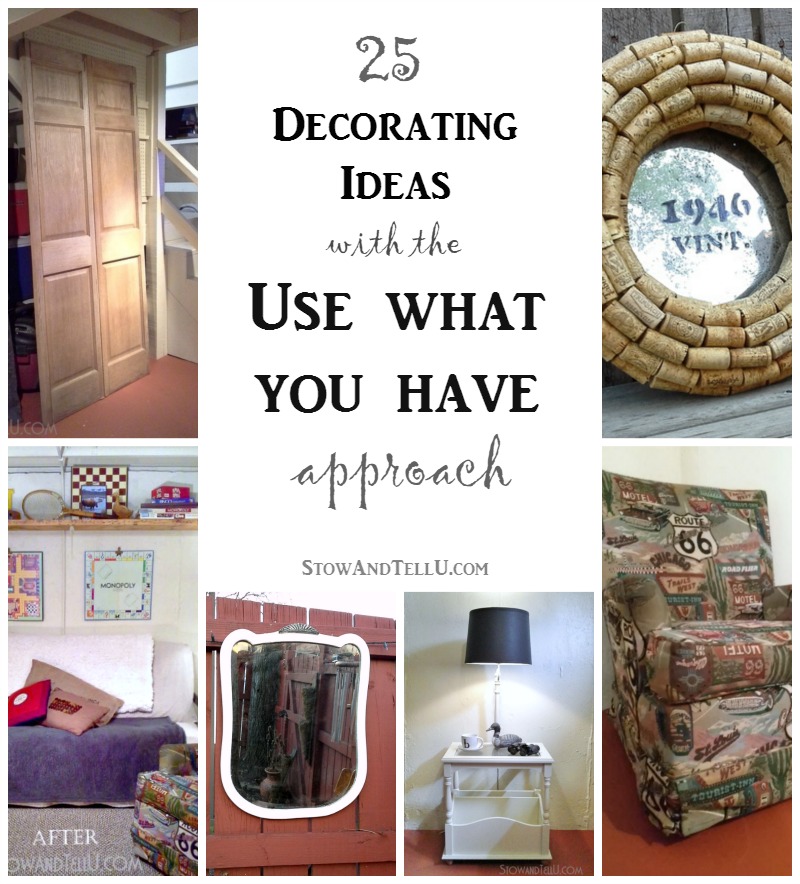
25 Use what you have decorating ideas
I did need to spend some money to the tune of about $232.00 to make this happen, but considering that is all I spent to get the whole basement decorated after we finished painting the ceiling and painting the floor, I have to say, I was pretty pleased with that total.
My objective as we went along painting and so forth was to save money wherever we could, so I picked through all the junk that was in the basement (and a few other rooms in my home) to see what I had and how I could reuse in the basement.
I broke it down into 5 categories
And asked myself the following questions as I went through the furniture, decor and items I already had:
- What can I keep as is, with no changes?
- What can I repurpose or put to a new use?
- What can I update or upcycle so it’s got a fresh new look?
- What can I neutralize so that it will flow with the new color scheme I had chosen?
- What do I need to add (or spend money on) to a piece I already had to improve it or make it worth keeping?
Ideas #1 and #2:
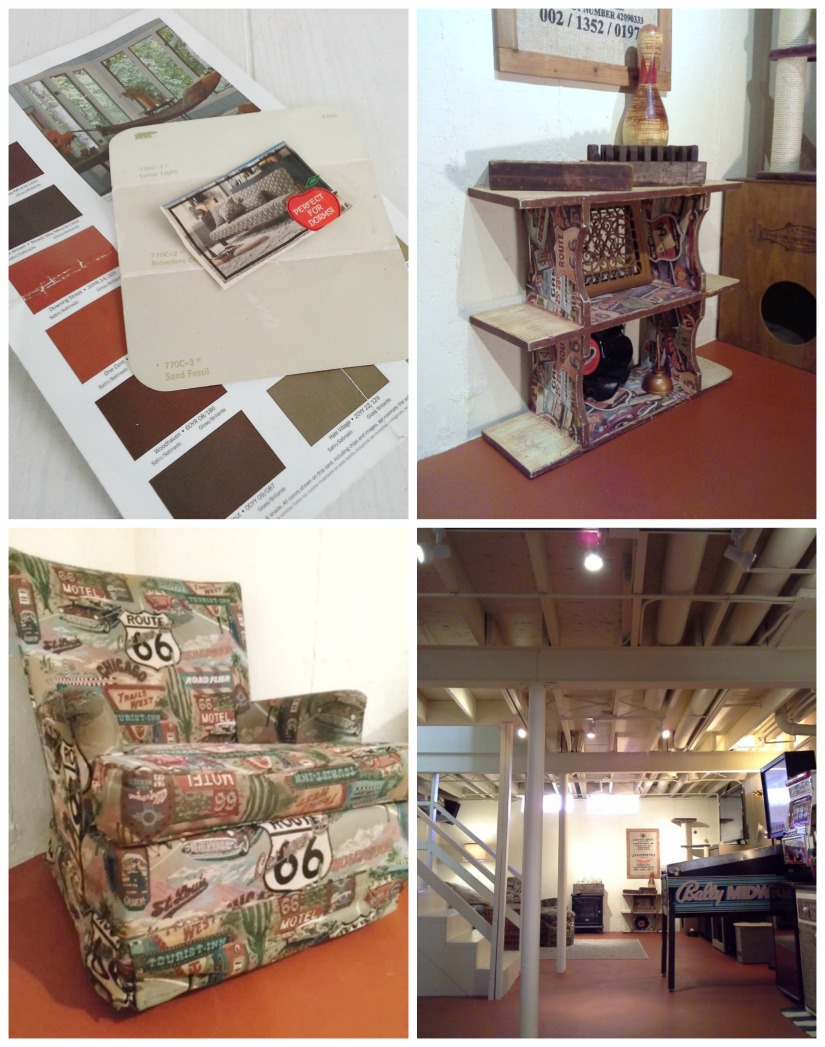
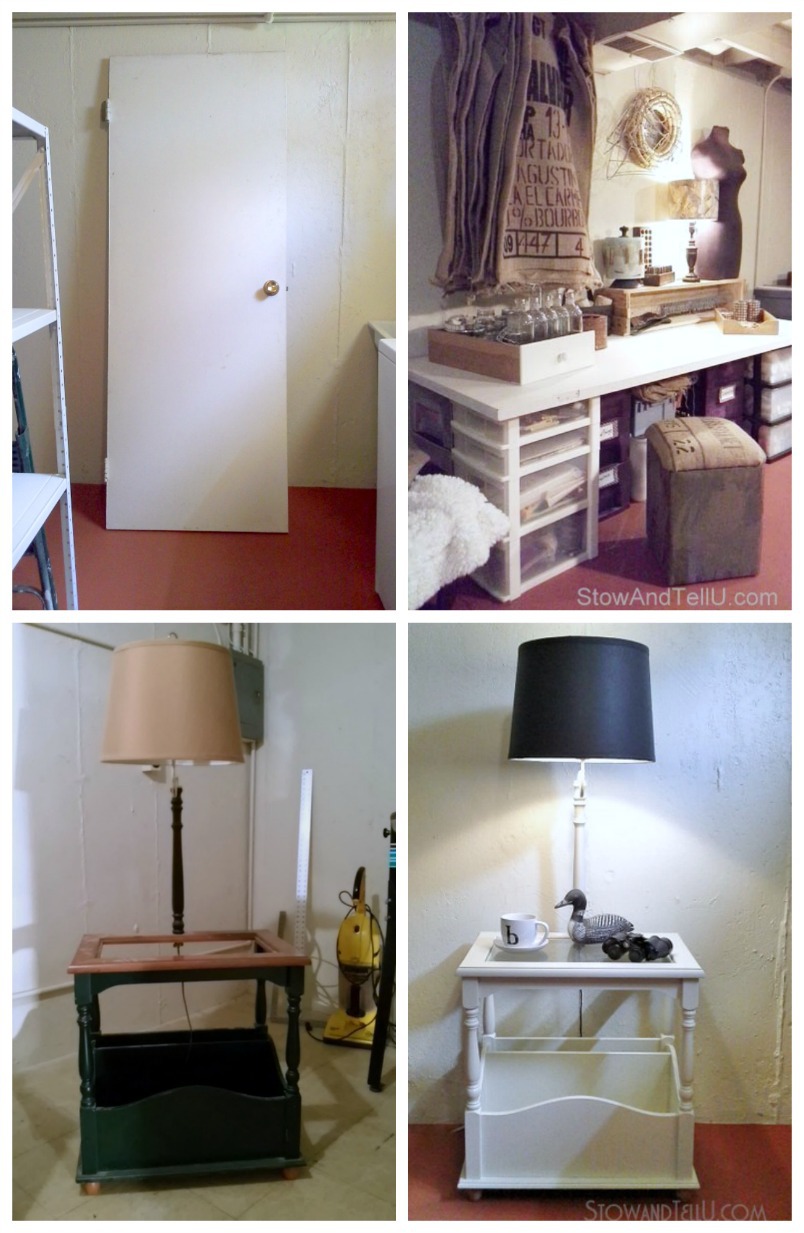
#1 Keep as is: the Route 66 chair. (bottom left)
#2 Repurpose as a side table: the Route 66 hanging shelf (which used to be hanging in laundry room above laundry tub). (top right)
Anyway, I knew I was keeping my Route 66 chair and Route 66 shelf along with Ken’s gaming machines, so after trying out several paint color choices, I ended up choosing a creamy color for the wall and an coppery color for the floor. Not what was in my beginning plan, but it started to come together, nonetheless.
I found a can of oops paint in a khaki/olive drab shade, so I added that color to the mix. Then I choose to bring in two more colors, white and dark gray; add several wood tones; and finally add a few pops of brighter colors to go with a game room theme.
The following are 23+ more decorating ideas applying the use what you have approach, keeping in mind which category or question each piece would fall into.
Ideas #3 and #4
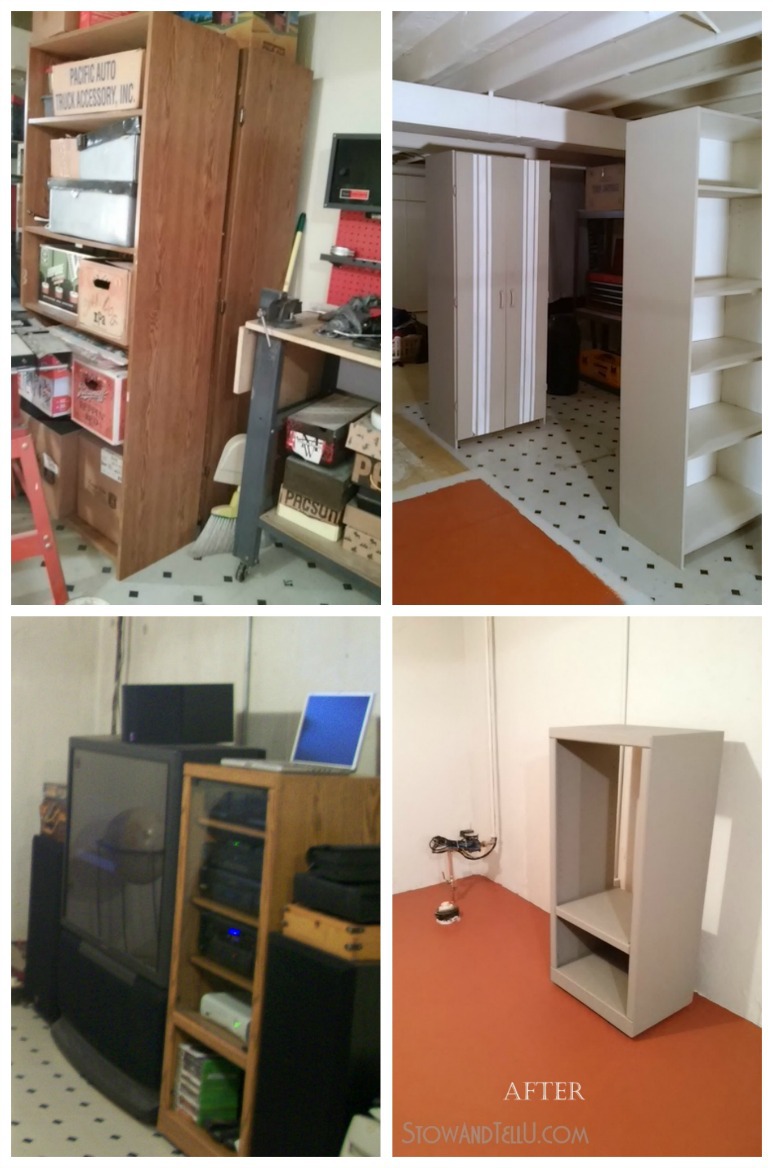
#3 Nuetralize and update: two old Sauder storage cabinets with oops paint. (top left/ right photos)
#4 Neutralize and update: a wooden stereo cabinet with oops paint. (bottom left/ right photos)
Both the Sauder cabinets and the stereo cabinet didn’t have enough impact to be left “as is” considering the look I was going for, so I found that trying to neutralize them to flow into the setting of the space so that other pieces such as the pinball machine or the Route 66 chair would stand out more when all is said and done.
In other words, eliminate some of the distractions.
Ideas #5, #6, #7
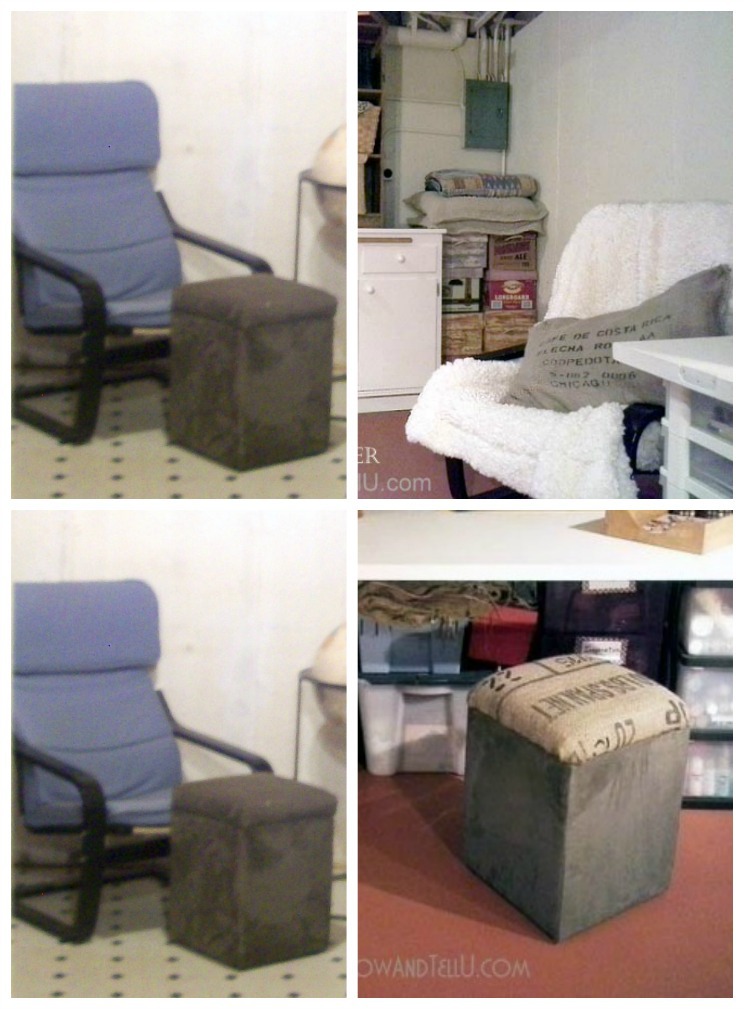
#5 Neutralize: a blue IKEA chair by covering it with a Sherpa throw. (top left/ right photos)
#6 Keep as is: Card board storage beer boxes and faux wood grain boxes made a few years ago. (top right)
#7 Update: a boring gray ottoman covered top-only with a burlap coffee sack. (bottom left/ right)
Ideas #8, #9, #10, #11
#8 Repurpose: An old door that was part of the basement wall we took down is painted and transformed into a craft table top. (top left/ right photos)
#9 Keep as is but Repurpose: A new use is added my plastic craft storage bins when put in place as the bottom portion of this craft table. (top right)
#10 Keep as is but Repurpose : Craft supplies are either hung from the wall, the ceiling or table top in display fashion so they’re not only ready to use, but they make a statement while not in use, as well. (top right)
#11 Update: A dated table lamp is salvaged with floor primer that I had left over from the painted floor project. We’ve been using this piece and our new place, and the finish has been holding up quite well, actually. (bottom left/ right photos)
Ideas #12, #13
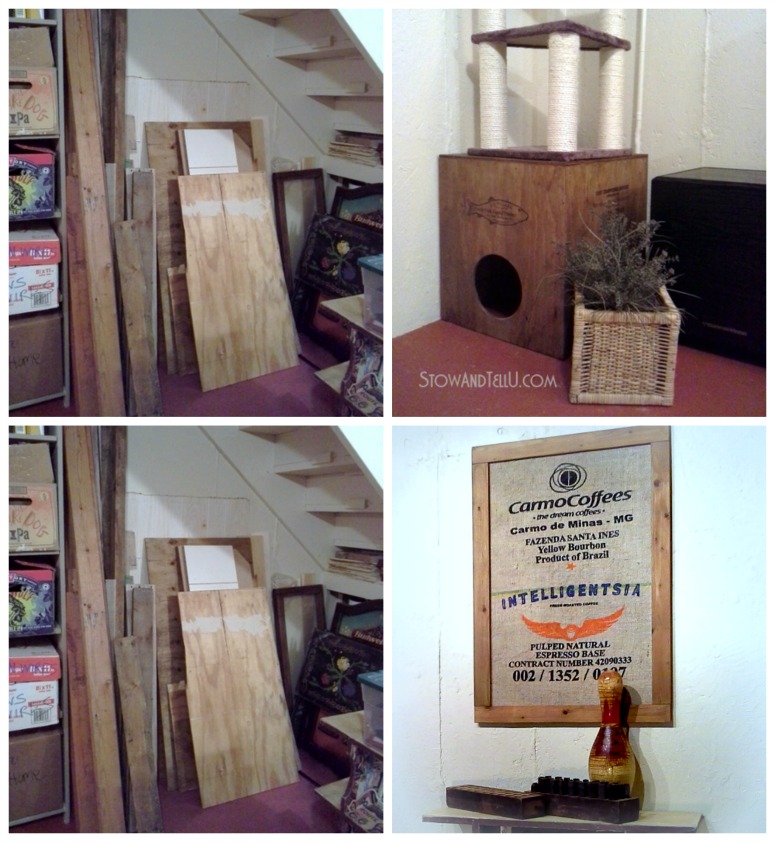
#12 Upcycled: Salvaged wood from when we took down the basement walls is used to build this kitty crate. (top left/right photos)
#13 Upcycled: Pallet wood is used to frame out a piece of coffee sack art. (bottom left/ right photos)
Ideas #14, #15
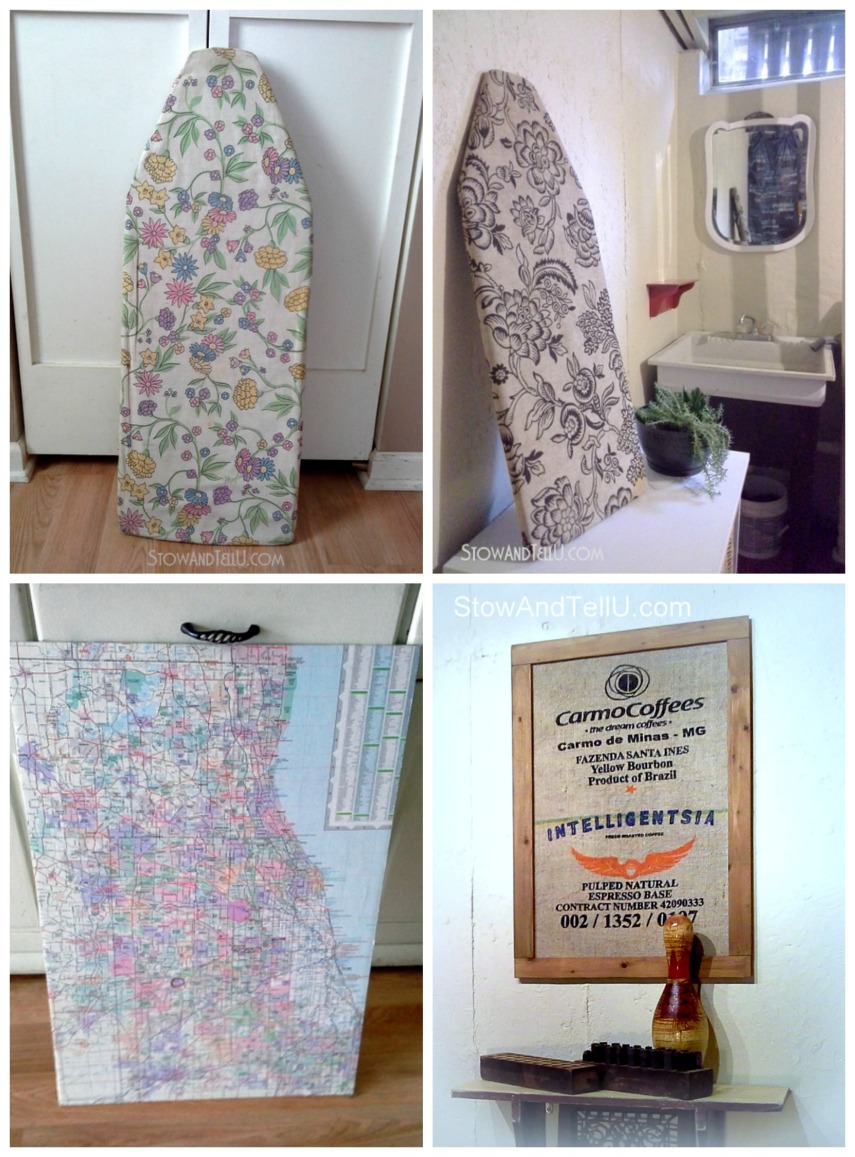
#14 Updated: An worn out portable ironing board gets a hand-sewn cover with some fabric I had in my stash. (top right/ left photos)
#15 Upcycled: A map covered piece of foam board gets recovered with a piece of burlap to complete the coffee sack art. (bottom left/right photos)
Ideas #16, #17, #18, #19, #20
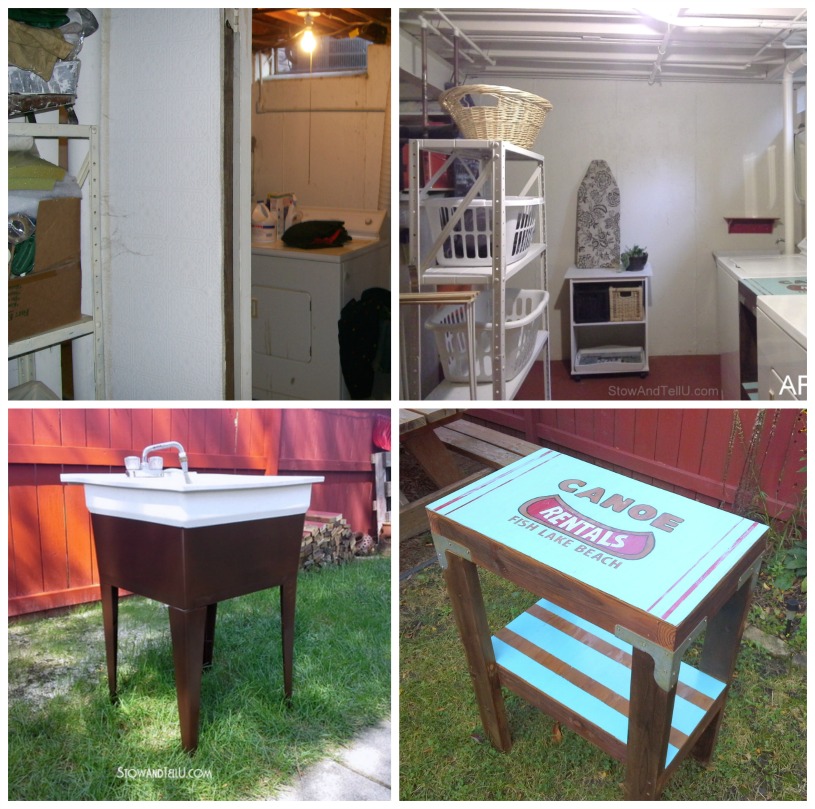
#16 Repurposed: On the far left of the the top left photo you can see a metal shelf (with spider webs, haha) placed next to a wall. That is the wall that we took down. The metal shelf which used to hold my paint supplies was given a fresh coat of white paint and (as shown in the photo on the right) is strategically placed where the wall used to be to not only be used as laundry basket storage, but also as a buffer from a view of the furnace. (top left/ right photos)
#17 Repurposed: a wood grain laminate rolling printer table is painted and repurposed as a catch all for laundry items. (top right photo)
#18 Neutralized: a small decorative shelf is changed from green to red with paint. (top right)
#19 Updated: a boring laundry tub get a coat of spray paint. (bottom left photo)
#20 Repurposed and updated: a garbage picked wooden workshop table gets a vintage canoe rental sign look and purpose in a small space laundry folding zone. (bottom right)
Ideas #21, #22, #23
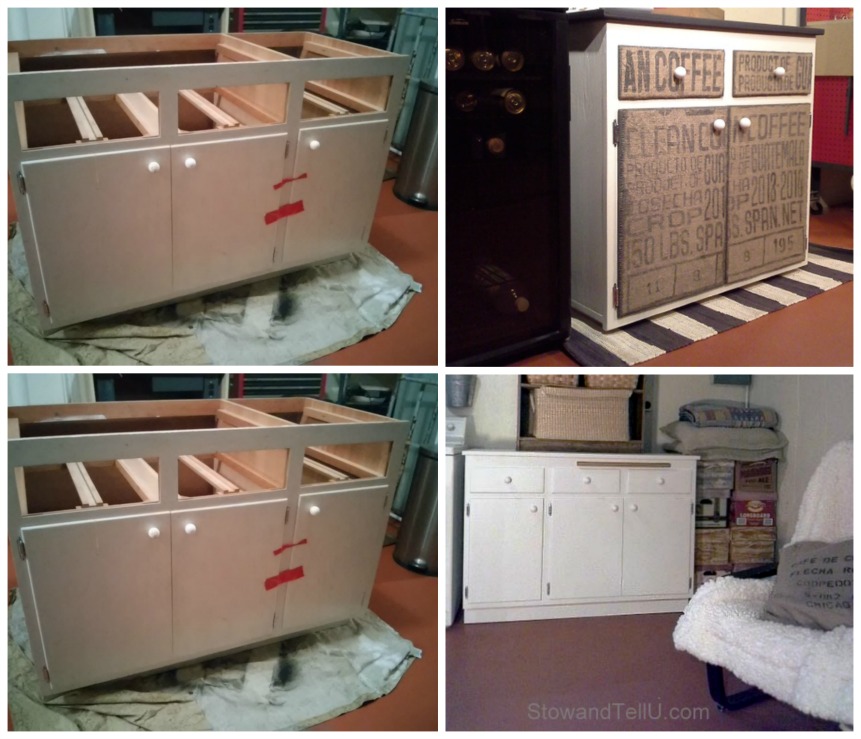
Note: photo shows the same cabinet, because I didn’t take a before shot of the bottom right cabinet.
#21 Added, repurposed, neutralized: One of two old kitchen cabinet units purchased from Craigslist for a total of $20, is modified with decoupage, coffee sacks and a chalkboard painted top. (top left/right photos)
#22 Added, repurposed, neutralized: The second of the two purchased cabinet units is painted white and put to use as my new place to store my paint supplies. (bottom left/ right photos)
#23 Kept as is: I happened to garbage pick and old Sauder style shelving unit and placed that atop the white cabinet for additional storage for my diy supplies. (bottom right photo)
Ideas #24, #25, #26, #27
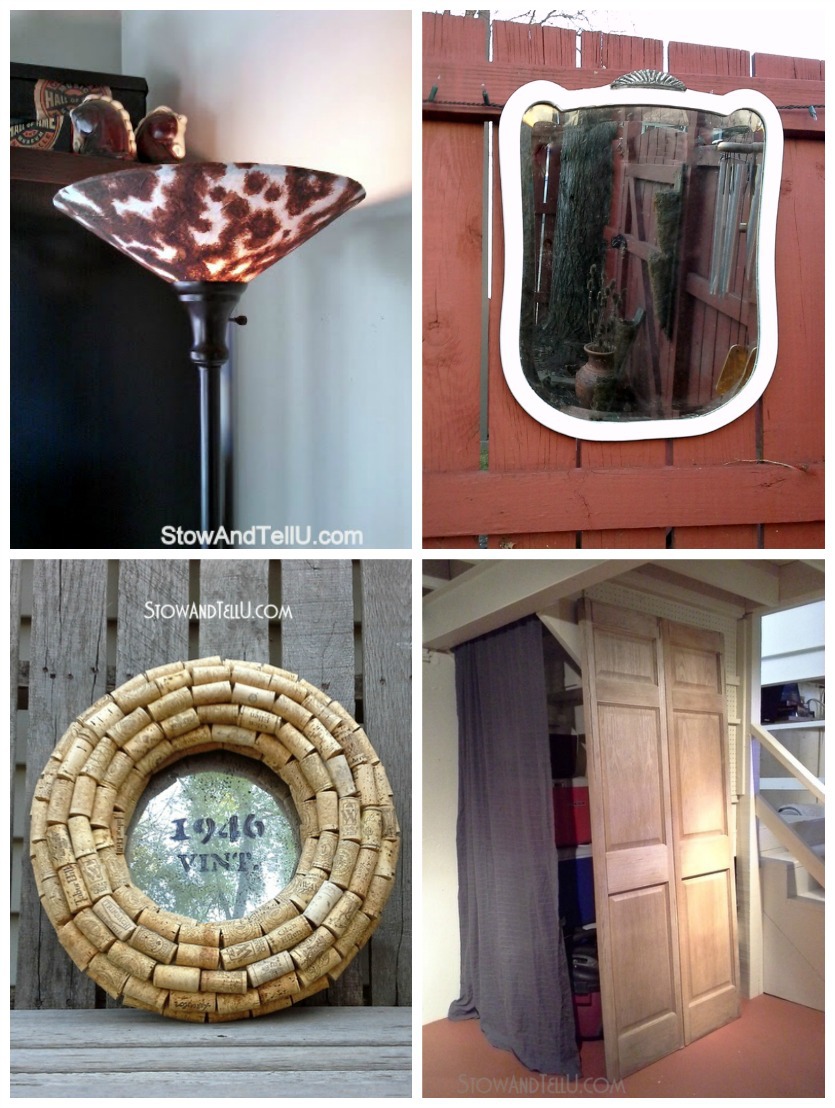
#24 Updated a couple of years ago: Faux cowhide lamp shade/ light. (top left)
#25 Updated: a leaded deco mirror with a new coat of paint. (top right)
#26 Updated: a stenciled mirror is added to the back of a wine cork wreath that was one of my mother’s faves. (bottom left)
#27: Repurposed: an old door I’ve had in my stash for years because I thought it was cool, is placed in front of the under the stairs zone to cachet a shop vac and some camping coolers. (bottom right)
Ideas #28, #29, #30, #31, #32
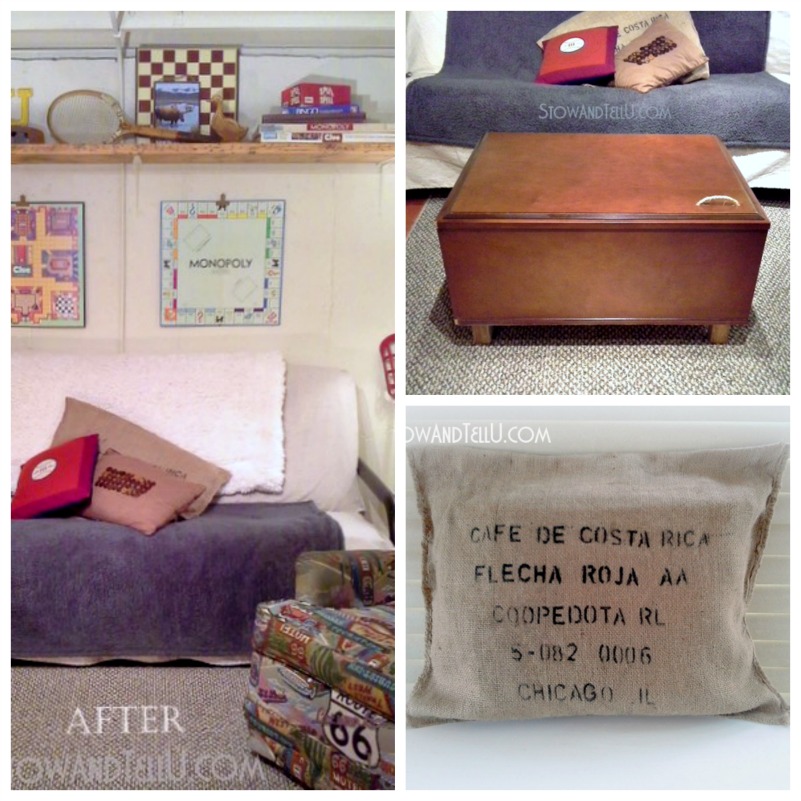
#28 Added and kept as is: New Futon mattress, canvas cover fuzzy blankets are added to disguise a still-in-great-shape futon black metal frame. (left photo)
#29 Repurposed: Game boards as wall art. (left photo)
#30 Kept as is: Board games that I already had are placed on shelf for good old fashioned shelf decor. (left photo)
#31 Added, repurposed: A purchased vintage wall cabinet is repurposed as a coffee table. (top right)
#32 Added: Inexpensive pillows given a no-sew cover with coffee sacks. (bottom right)
For everything that I tried to re-use somehow, here is the price breakdown of what I had to spend.
New futon mattress ——————————-$ 80.00
3 Fuzzy blankets ———————————$ 40.00
2 Craigslist kitchen cabinets ——————–$20.00
1 Kitchen cabinet turned coffee table ———-$ 12.00
1 Can of oops paint (khaki/olive color) ——–$ 10.00
1 Quart white paint ——————————$ 10.00
5 Cheap twin sized pillows ———————-$ 15.00
5 New laundry baskets —————————$ 25.00
Other supplies ————————————$ 20.00
Total —————————————————————-$232.00
As you can see there’s more than 25 ideas here, and there were other saves I didn’t even include in this post.
Still to come is the final total on the basement project, but for all that was worth to salvage as much as I could of what I already had, I feel pretty accomplished in saving quite a bit of money.
** Update: I finally added everything together. The total cost for this basement update was $1200.00. You can see how everything added up in this post, here.
If we didn’t move, I would have considered spending some money for a new couch, perhaps down the road. And although this may not be the ideal look for everyone’s basement update; color schemes and styles can differ; but the idea of shopping your home first, in as drastic a way that you possibly can…to squeeze out every possible item that can be used is no doubt going to save you some money.
Hope you’re having a great week ~ Amy
Anne says
Nicely done! Love that laundry tub!!
chris aka monkey says
amy i remember how hard you and ken worked to turn a ugly basement into a nice place for crafting and gaming, it was a job well done and then you moved ha ha xx
sharleen says
Wow Amy.. you did so much work and a lot of projects. and the basement looks great. I was wondering how much time it took to do. ? Do you have a basement in your new home now ? whats next.. You have so many great ideas.