I had been standing in the furniture section of my local thrift store staring at my choices for a coffee table makeover. It was one of those times when I knew darn well they didn’t really have what I was looking for, but my stubborn, unrealistic self wanted to believe that if I stood there long enough, what I wanted would suddenly appear… Do you ever try to will an object to appear like that?
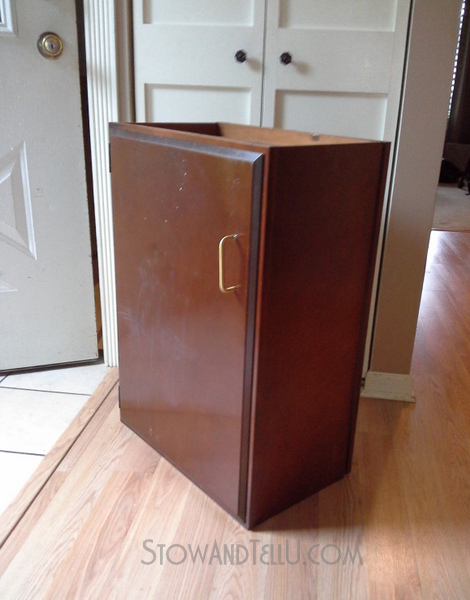
After several minutes of staring, I circled around the store and brought myself right back to where I had been standing when suddenly, just like magic, this vintage kitchen cabinet appeared…with a price tag of $12.
I rushed over to the cabinet before anyone else could claim it.
What if I flipped this cabinet on its side… added some legs…?
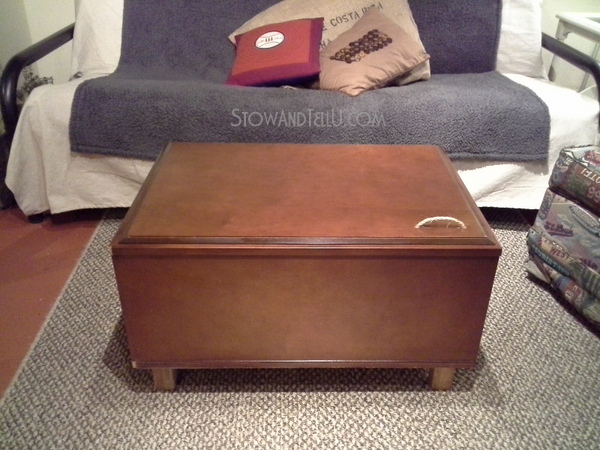
Hail to the thrift store genies!! I found a coffee table!
Related: A DIY wallpaper update for a coffee table bench
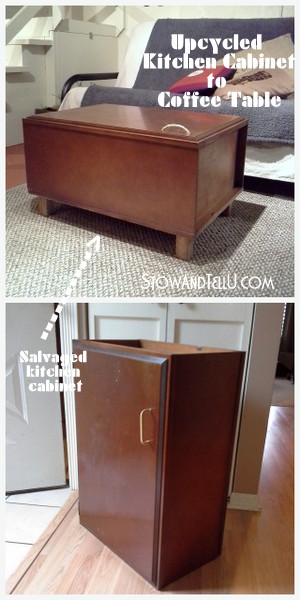
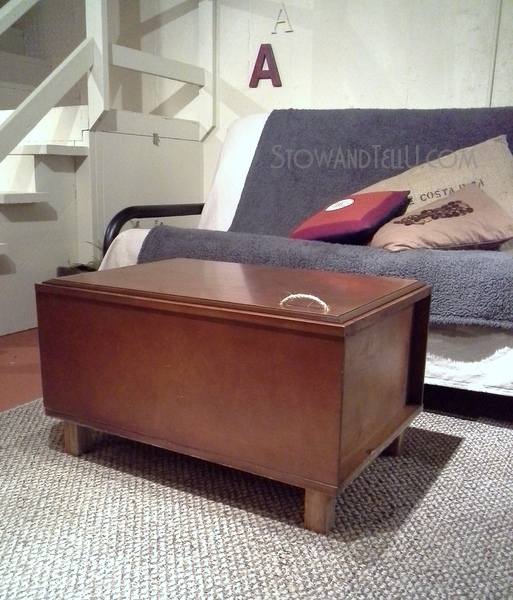
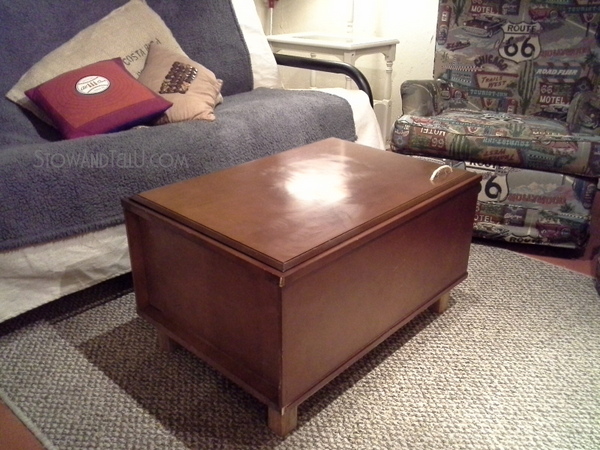
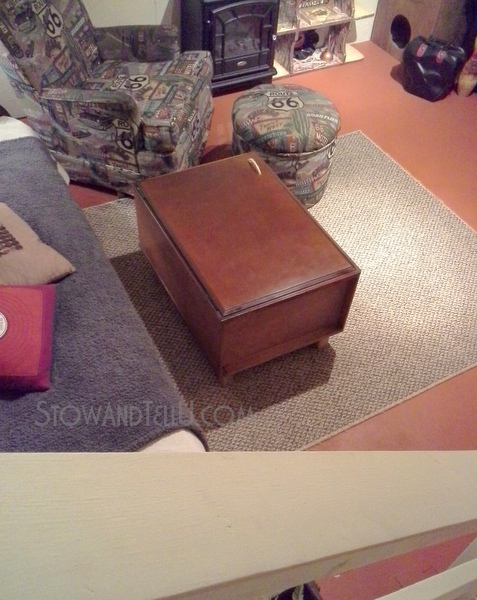
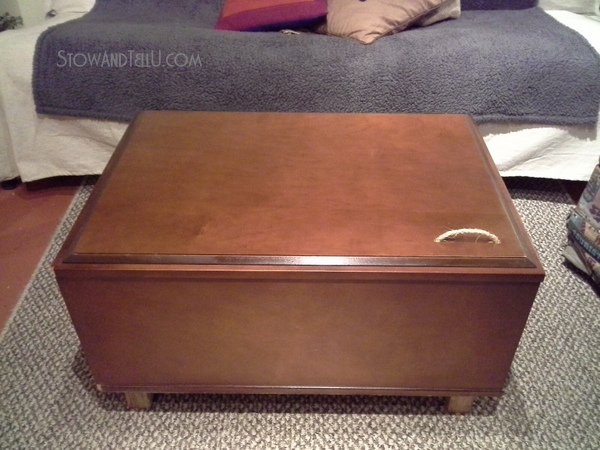
Upcycled kitchen cabinet coffee table
Supplies:
- Hanging kitchen wall cabinet
- 4 pcs of 2″ x 2″ wood, cut to 4 inches (10.6 cm), and sanded
- Power drill
- A drill bit that is slightly thinner than the screw diameter (to make the pilot holes in cabinet legs)
- A drill bit that is the same size as the screw (to make holes in the cabinet frame)
- Countersink bit
- Qty 4: #10 Screws (we used 1-3/4″ screws)
- Measuring tape
- Pencil
Related: 15 Cool Ways to Repurpose Kitchen Cabinets for Other Areas of Your Home
Prepping the cabinet
Remove any inside shelves if they are not completely secured to the cabinet.
Unscrew hinges and remove the cabinet door.
Clean cabinet and paint cabinet pieces to your liking. I choose to leave this cabinet as is for the time being because I knew we were moving, but I may give this piece a paint job of some kind once situated at the new house.
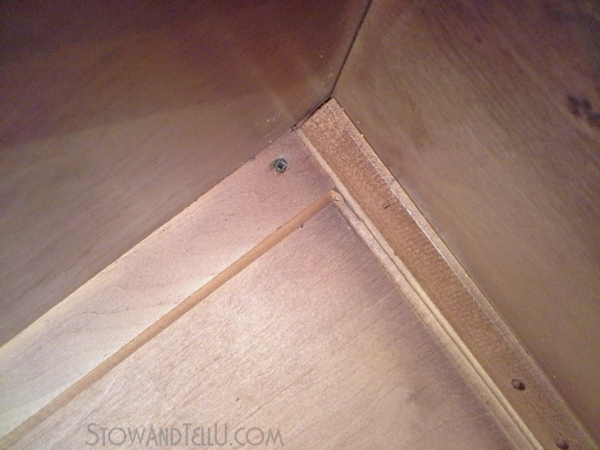
Make sure the backside of the cabinet is sturdy enough to become the bottom of a coffee table. The backside should have a frame portion and a thin piece of wood or particleboard covering the frame. Make sure the backside is securely attached to the frame so that when it becomes the “bottom” of the coffee table, it is nice and sturdy.
In other words, adding more nails or screws to secure the backside to the frame would be a good idea. Ours was pretty sturdy, so we didn’t have to do that, but we would have taken this step if needed.
Related: Repurposed End Table to Coffee Table for a Small Home Living
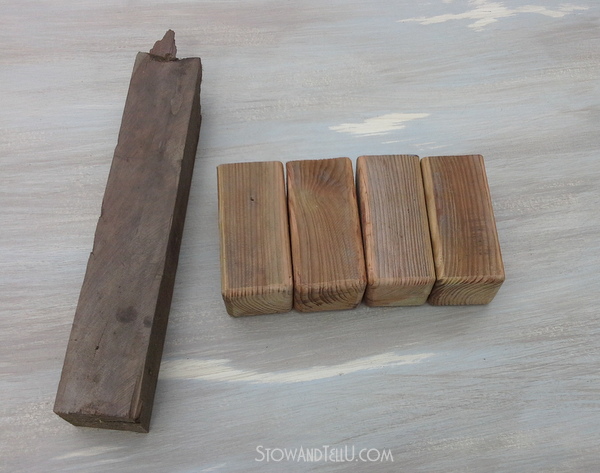
For the cabinet legs
Cut 4 pieces of 2″ x 2″ wood to about 4 inches (10.6 cm) each. Sand smooth.
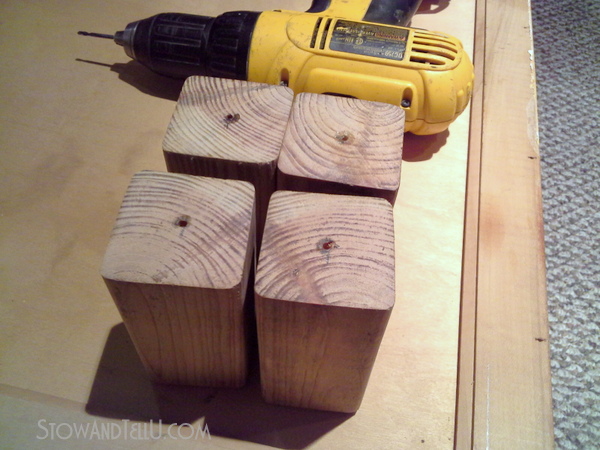
Measure and drill one center pilot hole in the legs. To find the center, make an “x” on the leg and mark the center of the “x”.
Drill a pilot hole into each leg. NOTE: Make sure these holes are slightly smaller than the screw diameter.
For the bottom of the cabinet
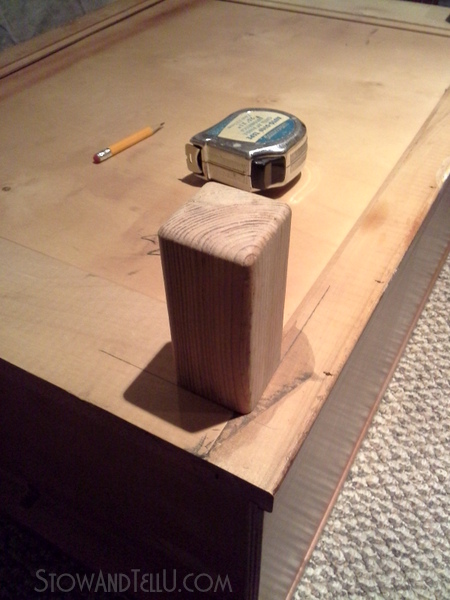
Flip the cabinet over so that the backside (which will become the bottom of the coffee table) is facing up.
Place a cabinet leg in each corner, making sure that the leg is placed along the frame portion of the cabinet AND that the legs are placed on a level portion of the frame.
Once you have found a flat, solid surface, and you have centered the legs, draw a pencil mark around each leg. Make an “x” and mark the center for each leg.
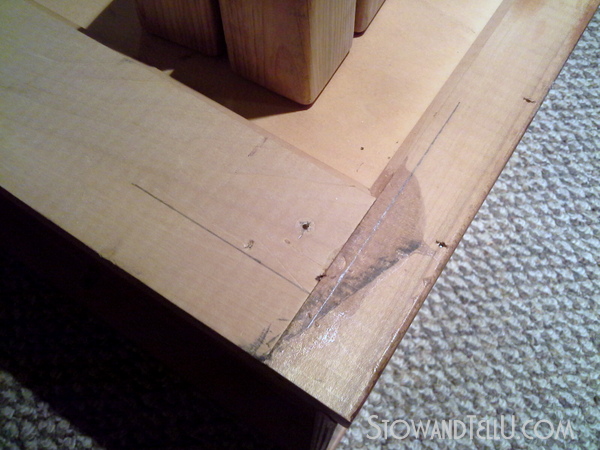
Drill a hole for each leg placement and countersink. NOTE: Make sure these holes are the same size as the screws.
To attach the cabinet legs
Turn the cabinet on its side and attach each leg by attaching the screw through the inside of the cabinet. The screws should go through the cabinet frame hole and then start pulling the cabinet leg into the bottom of the cabinet because of the pilot hole in the cabinet legs.
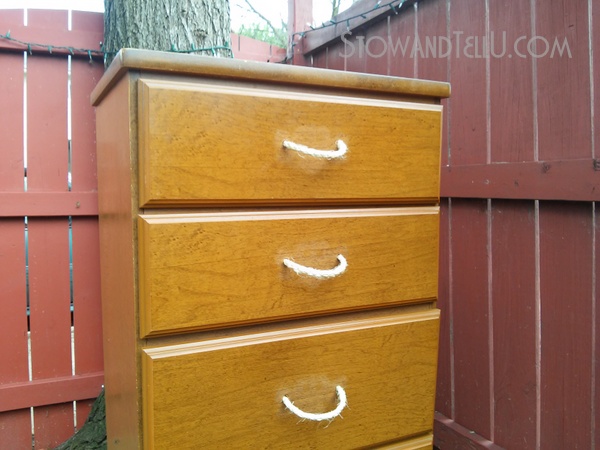
Change out the handle with a DIY rope handle (optional)
The original handle of this salvaged cabinet was a little boring, so I decided to change it out for a DIY rope handle as I did recently with this dresser.
See how we finally gave this kitchen cabinet coffee table an amazingly cool and updated look with wallpaper and paint.
We actually finished this kitchen cabinet coffee table back in early June. It was just in time for when my son came home from Dubai; however, due to the events of the summer, I have just now been able to get this post up.
Related: 10 Unique Ideas for Repurposing Kitchen Cabinets
A kitchen cabinet is made for storage. When turned into a coffee table, what do ya know, the storage feature is still pretty handy! Now that we’re in the new house, this kitchen cabinet coffee table is holding all our board games from the former basement game room.
That is until we can figure out where our next game room is going to be!
Have a great week ~ Amy
This was also one of the Furniture Freshening challenges that I gave myself this Spring/Summer.
Sharing at:
Anne@DesignDreams says
That turned out nicely! Great idea Amy!!
chris aka monkey says
amy what a freaking smart idea, we have no storage in this house and that would be amazing, and the kids would have a real hard time tearing it up, so cool thanks, how is the moving going? xx
Sharleen says
Great idea !!!! LOVE IT
SheilaG @ Plum Doodles says
Great idea, Amy. I have seen kitchen cabinets turned into benches, but never thought of using one as a coffee table. Yours looks great!
Tuula @ Thrifty Rebel Vintage says
Love it Amy! It turned out great!
Amy says
Thank you, Tuula, it turned out to be a pretty solid little coffee table!!
Heather C says
How clever are you – glad to see you back.
Feral Turtle says
WOW Who would have thought of doing this! Amazing Amy!!! Looks great.
Bliss says
That’s pretty clever of you. I mean wait, no, it wasn’t you it was the magic.