Not being one to shy away from color in the past, I have started a kitchen update and decided to clean the slate! I’ve been in my small town home for almost eight years and gave the kitchen a heavy duty update (not to be confused with a remodel) when I first moved in. At that time, painting the walls with bold color was the thang to do. Yet now we’ve been here eight years, and I’m just feeling the need to tone things down. So as I begin my kitchen update, I started my plan with several inspirational pottery pieces; I picked a color palette from there and began by painting the walls as a first step.
Before I go any further, I’ll tell you that when I first bought this place, I knew there would be lots of work to do. The whole house was outdated and in bad shape, at least for appearance sake. What I thought I could live with for a while, turned out to be rather unlivable and before I knew it, we were stripping the kitchen down to its bare bones.
Kodak Moment
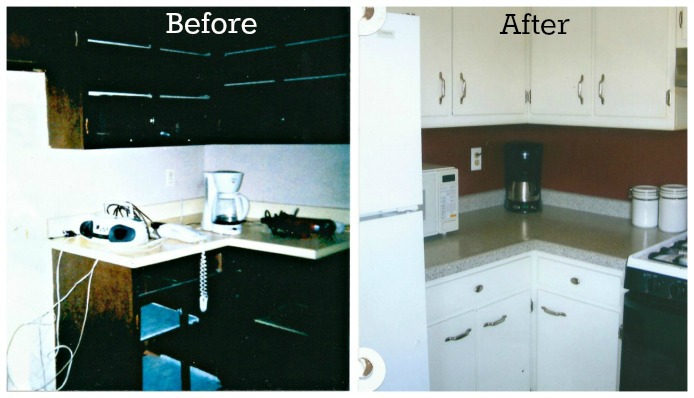
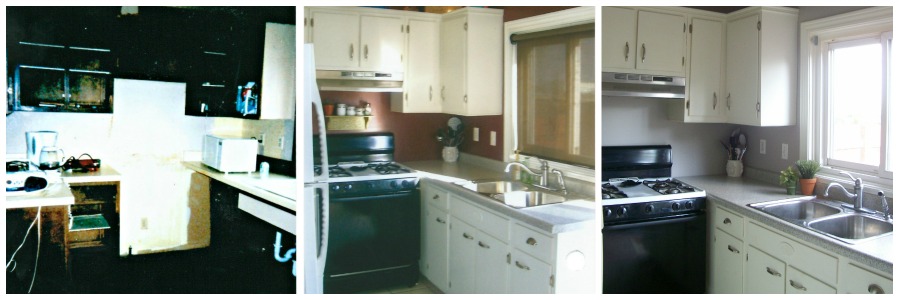
By far the worst area in the house, here is a before/after photo of the original kitchen update, eight years ago. In the before photo, the stove and fridge have been removed, as well as, the cabinet fronts. These photos were taken before I started using a digital camera. Some might call this a true Kodak moment!! Others might say the Kodak moment was captured on my face because I was quite please with the results, considering the former.
Here is what the update included: new paint on the walls in a Martha Stewart color called Miso; power spray painting all the cabinets in an off-white; new laminate counter tops; adding decorative trim to the top and bottom of the cabinets; new (inexpensive) cabinet hardware; new ceramic tile flooring.
Packing for Painting
Until more recently, the kitchen and its bold color were a welcome friend, but I was getting ready to make a change and when opportunity knocks, you open the door, right? So when my son was making his transition from grad school in Kentucky to new job in Georgia, he spent a few weeks back at home. I knew he was going to want help with his packing, not to mention his mix and match dish set decisions, so we made an arm’s length agreement: packing for painting.
We painted the kitchen a few Saturdays ago. This was after the packing, but before the moving, mind you.
I chose a grey tone. It’s simple, subtle, sublime.
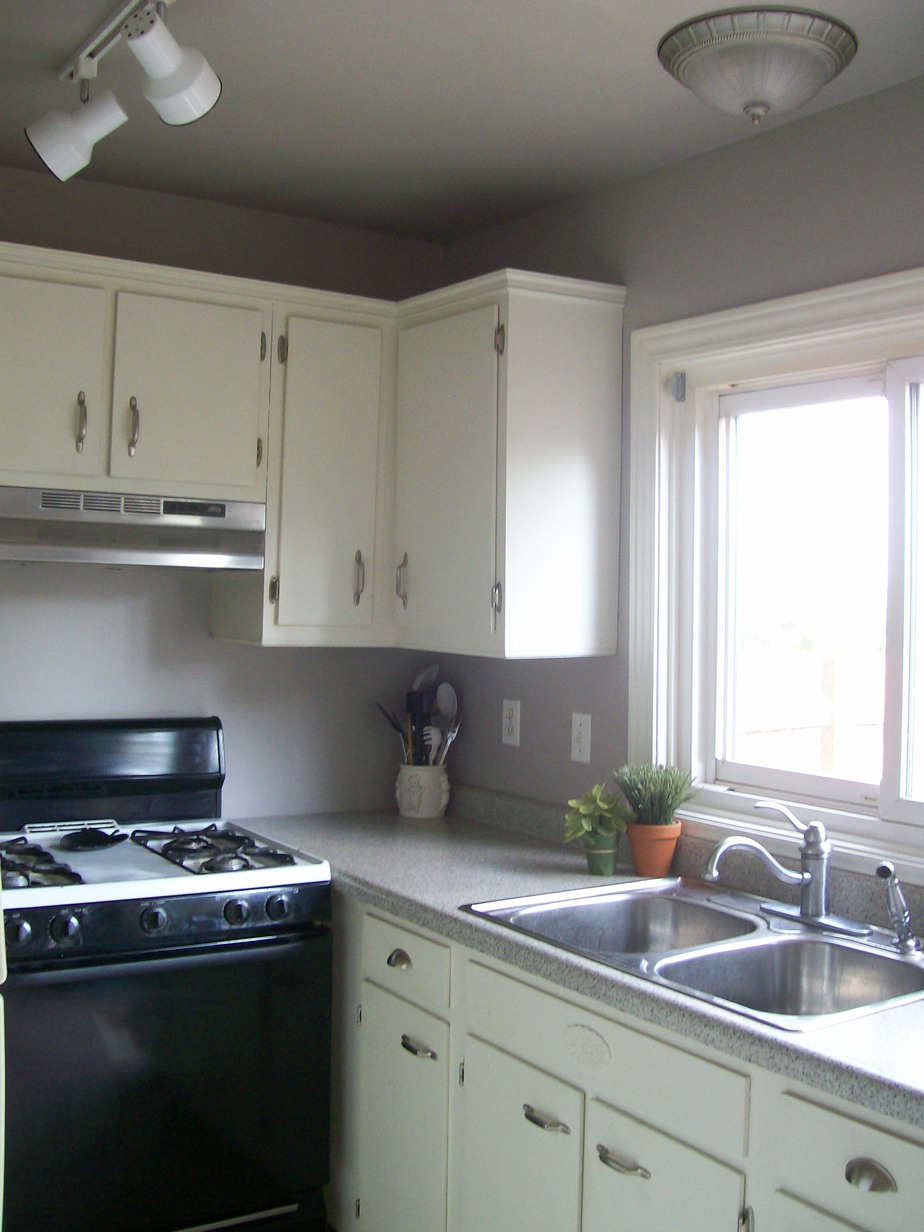
Paint the ceiling Lavender, what?
Okay, now I’ll tell you what I really think! Overall I’m quite pleased, and I did forgo doubting husband advice to paint the ceiling the same color as the walls. It looks dark in this photo, but from most angles the ceiling shows as a lighter color, if not white (must be magic??) The downfall is that this color shows a trifle more in the lavender family than I was hoping for.
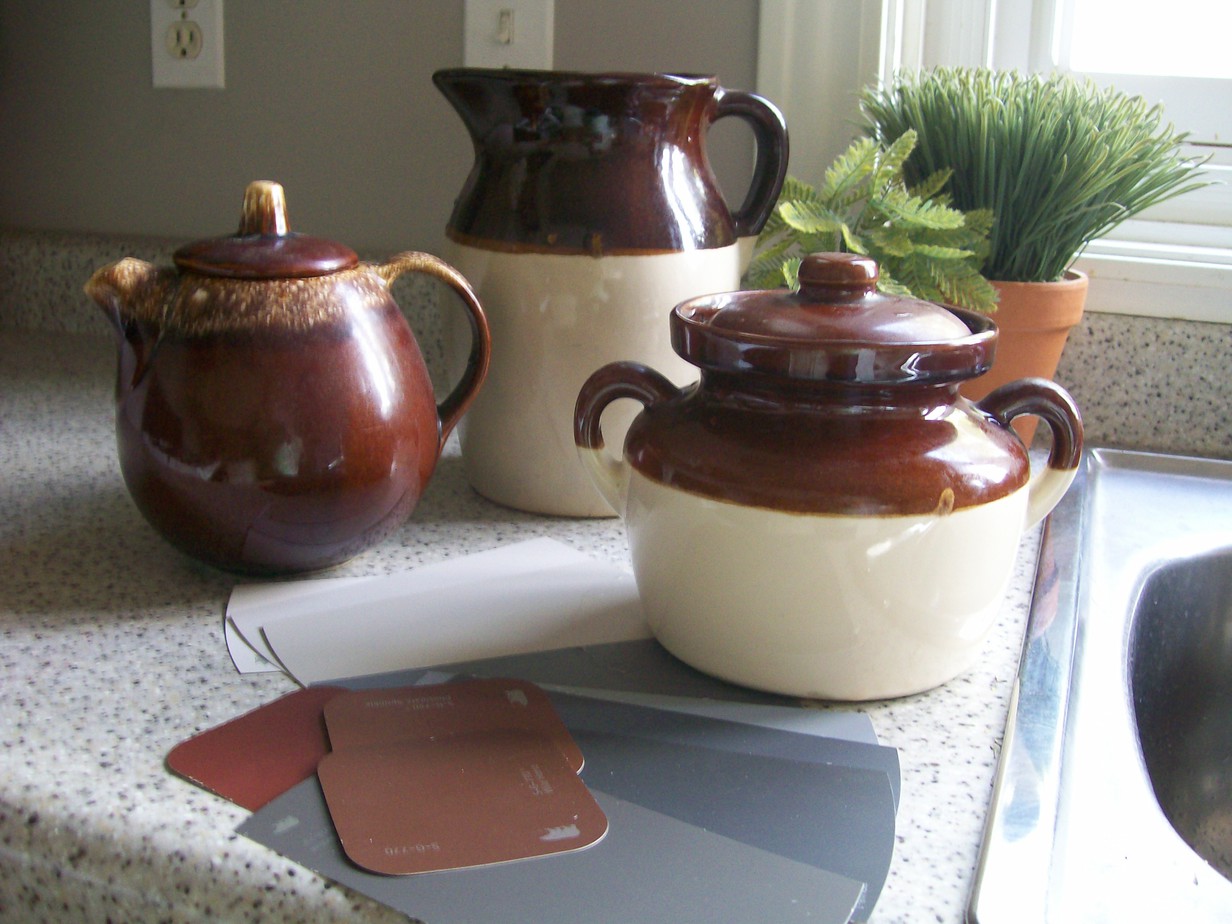
Time will have to tell whether or not my broader plan will work, as I continue my kitchen update. With several pottery pieces passed down from my mother and a selection of color swatches, I’m hoping to bring this all together and not look back. Stay tuned and have a great weekend!!
Click here for the Kitchen Update 2 – Painted clay pot roaster
Click here for (Kitchen Update 3) Decoupage paint stick magnets
Click here for (Kitchen Update 4) Herbs in a vintage blue Ball jar
Click here for (Kitchen Update 5) Pallet wood over-the-sink-shelf
Shanna Gilbert says
What a huge difference! I love the paint color! Great makeover!
Mel says
Oh it’s very pretty Amy, great job. Are your cupboards wood or laminate mines ugly blue laminate and badly in need of an update
Danni@SiloHillFarm says
What a beautiful difference! Love the color and so bright and cheery! I painted my living room ceiling the same as the walls and I love the continuity of it!
heather f says
Love your gray!!! good luck with the lavender ceiling. That’s a very brave choice. We just painted our entire house when we were getting new carpet. I couldn’t handle my off-mauve 90s grossness any longer. We’ve got a soft gray throughout the house and in my kitchen we went with a charcoal gray. it’s so dark, but against my pale cream cabinets, I love it!