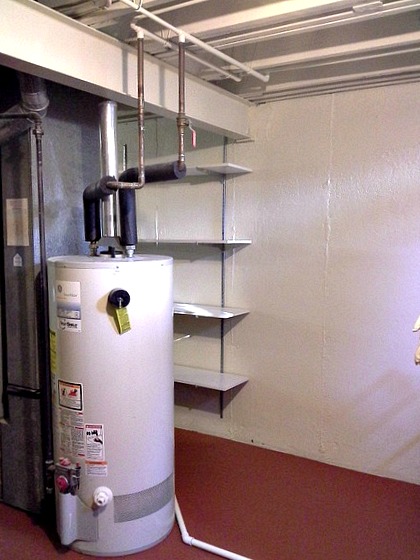
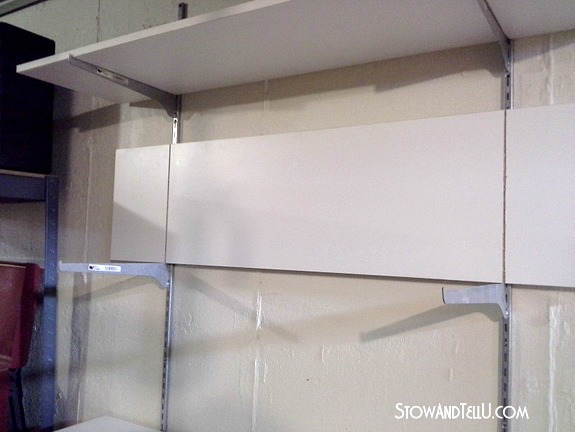
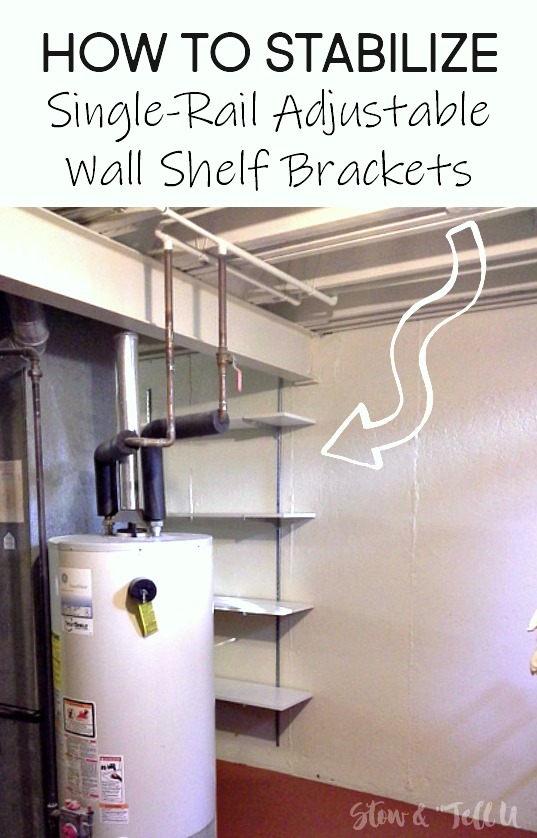
Single rail adjustable shelving is one of the cheapest options for shelving out on the market. But if you’ve ever used single rail shelves you may have been less than impressed by the less than sturdy nature of the shelves once placed on top of the brackets.
We’ve had a module of this shelving in our basement for almost 10 years and the brackets were always wobbling from left to right making it seem like the shelves were going to fall off the brackets at any given time.
As we remodeled the basement, we almost decided to just put these out on the curb for the recyclers. They were so wiggle and unstable, we were like, “Are these even safe”?
How to stabilize adjustable wall shelves
We’re trying to save every dime we can on the basement update, so we really didn’t want to buy newer, more expensive shelving.
That is when Ken said that he had an idea for how to make the adjustable shelves more sturdy.
I said, “go for it…paleeeez!!”
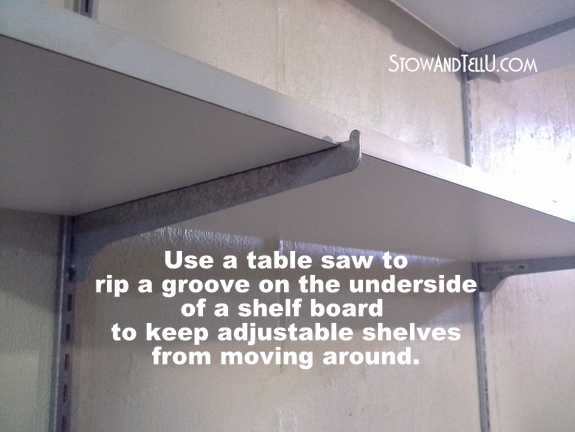
Basically what he did was rip two small grooves into the underside of the shelving pieces, and it ended up working like a charm.
This post contains affiliate links. If you purchase anything, I may receive a small commission, but you will not be charged a penny more. Read full disclosure, here.
Supplies he used: We only needed three tools to get this project done, although admittedly, one of the tools, the table saw, is pretty big one. A router and router table could be used, as well.
- Table saw or router and router table
- Measuring tape
- Pencil
Follow these 7 step-by-step directions
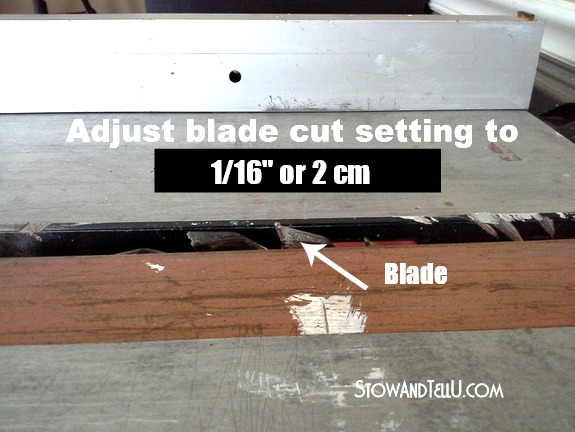
1.) First thing he did was set his table saw up with the blade height cutting adjustment set at about 1/16 inch (or about 2 cm).
2.) Next he measured the shelf board, found the center and marked the center with pencil.
3.) Next he measured the distance between the two brackets at the back of the bracket (the part nearest the wall).
4.) Then he centered that measurement onto the shelf board and made pencil marks on both ends of the shelf board where the brackets would line up.
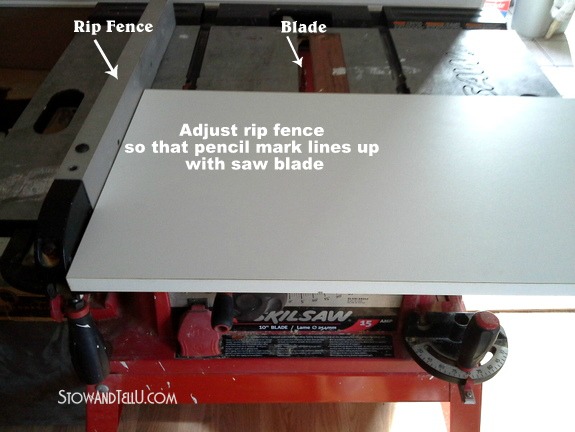
5.) Using the table saw he adjusted the rip fence so that the blade would line up with the pencil mark.
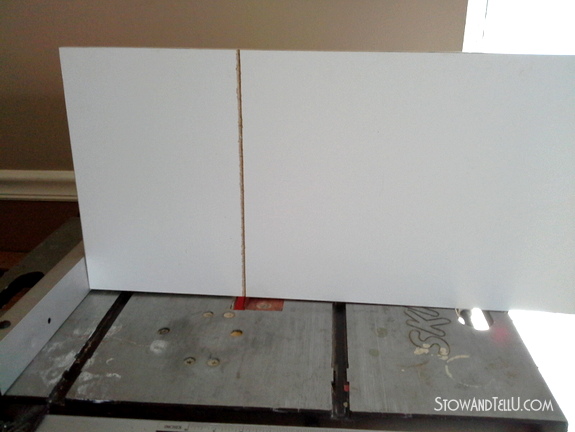
6.) He ran the shelf piece through the saw, ripping a groove (aka: dado) in the bottom of the shelf for both the left and right side. Note: make sure to keep the edge of the shelf board flush against the rip fence the entire time.
Note: Measure the bracket distance separately (and at the area closest to the wall,) for each shelf.
You want to do this because the track rails may not be perfectly straight up and down and the distance could be slightly different from one shelf to the other. While an 1/8″ might not seem like a lot, the closer the measurements, the better fit you will have for the brackets.
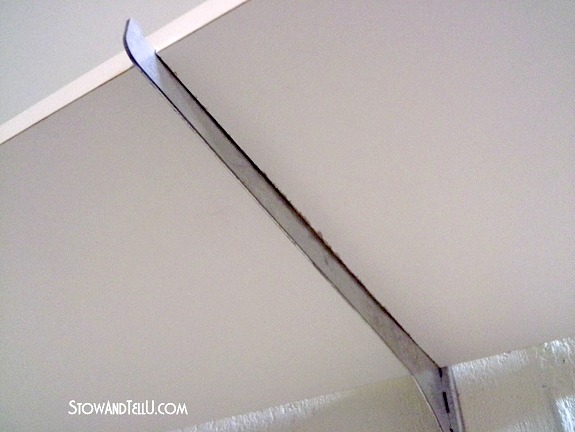
7.) Once he was done, he put the shelf back on the brackets and guided the brackets into the grooves, and that was all it took.
If the shelf piece itself is laminate, the rip cut may not appear the cleanest or prettiest. However since the grooves go on the underside of the shelf, it wasn’t that important.

Now the slight divot on the underside of the laminate shelf allows the edge of the single rail bracket to rest or set into a groove thus making the bracket less wobbly and more stable. We feel much more confident placing items on these shelves without the brackets swaying and the laminate shelves moving around or even sliding off the brackets.
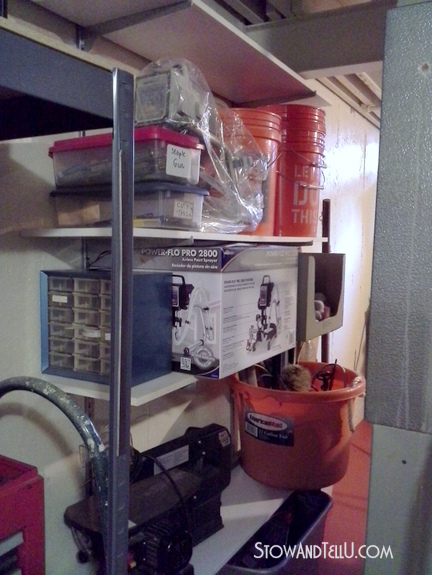
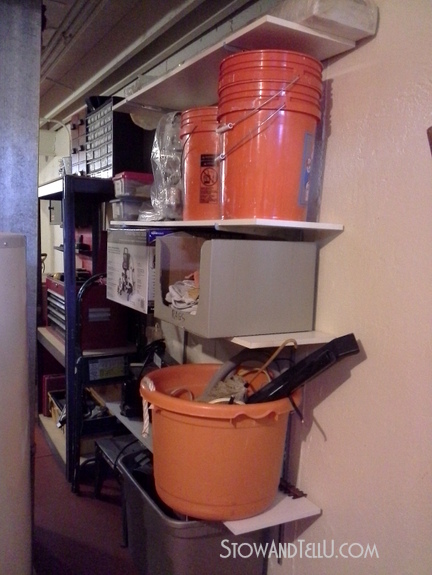
When we put all of the boxes, buckets, tools and other supplies back up on these shelves, it was amazing to see how much sturdier all of the shelves were. No more wiggling, no more wobbling, NONE. The shelves stayed right in place and I felt much more confident loading them up with power tools and such.
We used the laminate shelf boards that are typically sold in unison with the single or euro rail type adjustable shelving systems, but I would think something like plywood wood work really well, too!
I’m so glad we gave this diy a try. I can see using more of this shelving in our future because when it all comes down to it, the price can’t be beat.
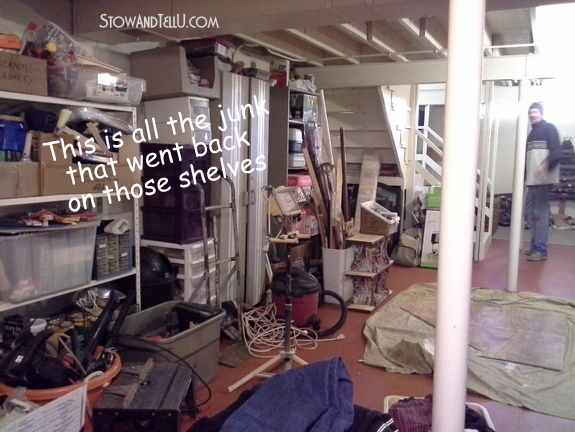
Here is all the stuff (on the floor) that we had stored in my son’s room (minus the laundry, vacuum and that board on the floor).
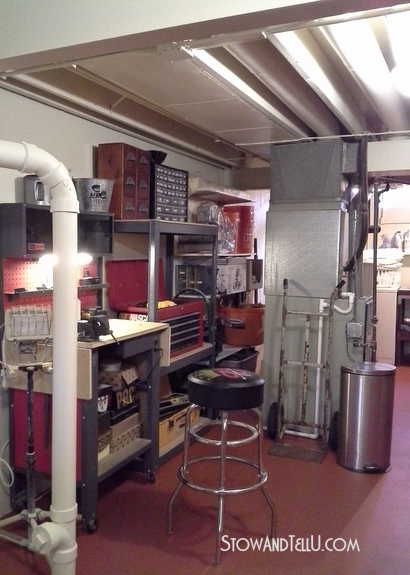
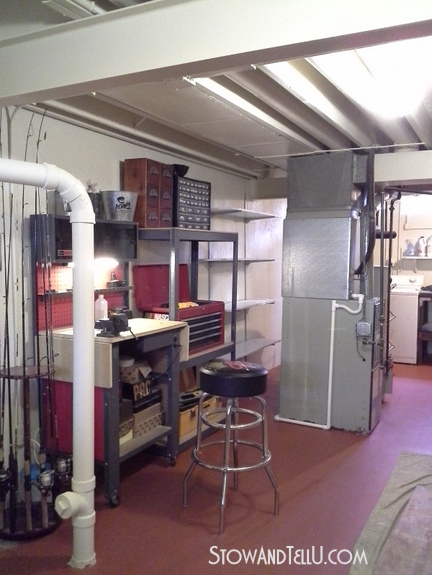
This is a view from the hidden workshop area, which is another project we completed to create the best use of space in our basement.
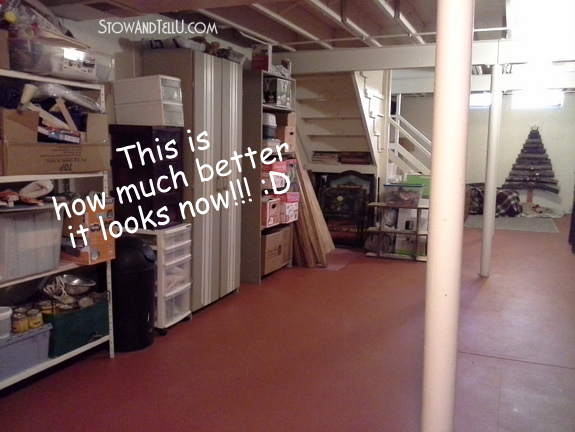
Here is how it has all fit back where it belongs on those shelves.
And although we have quite a ways to go with the organizing, I’m thinking it looks much better now, not to mention I’m feeling much better now. Wouldn’t you be too???
Save for later! Click here to pin this to one of your boards for later reference.
Ugh, I hate clutter!!!
See More Budget Saving DIY Ideas
- Open floor-plan basement update
- Budget Townhouse Laundry Room Update
- The quickest way to paint your basement stairs!
- Sprucing up a basic laundry tub with spray paint
Have a great week ~ Amy
Danni@SiloHillFarm says
Genius! Wish I had this tip about 10 houses ago! Glad to have it now!
Heather C says
Good idea, I hate those lobby brackets and your husband came up with a really good idea, your basement is shaping up nicely.
Sherry says
It looks amazing!!! You have such a great space to work on a project. My space is my dining room table … bla!
Feral Turtle says
This is so GENIUS and so simple. Way to go you guys. I am pinning in hopes more people will see this!
Doreen@househoneys says
This is soooooo useful Amy! Pinning!