Phase one of my kitchen update is finally done! Kitchen update 1 started back in June… okay, so it has taken a little longer than I had intended to come this far, but aside from staging it to look pretty with home decor trinkets and perhaps adding a bit of under cabinet lighting, I can finally move on to phase two of my kitchen update. This will happen of course, after the basement update is well underway. But at least at this point, it is in full use and much more workable in regard to usage of space.
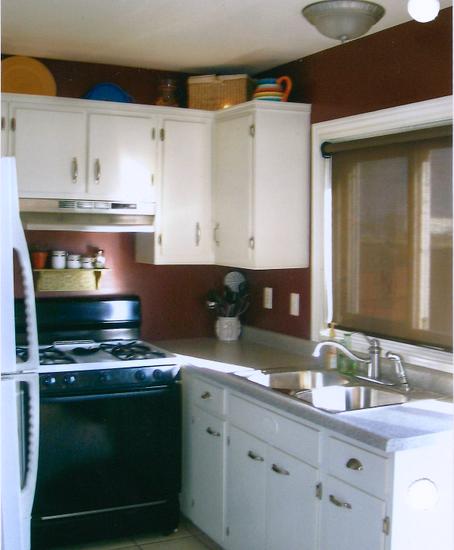 Here is how my kitchen looked, once upon a time.
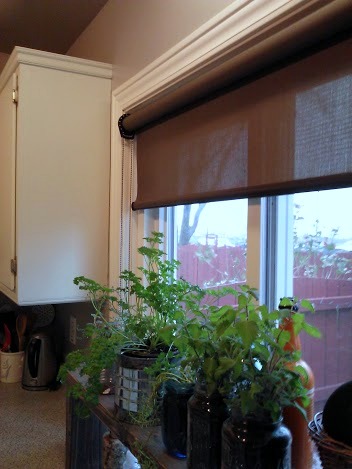
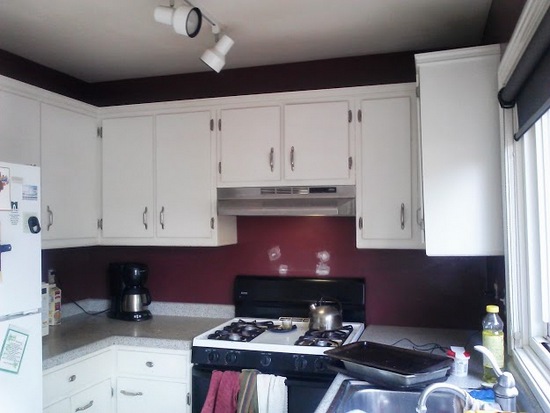 Here is how this area of my kitchen looked at the beginning of June. Dark and dramatic, outdated, begging for a breath of fresh air.
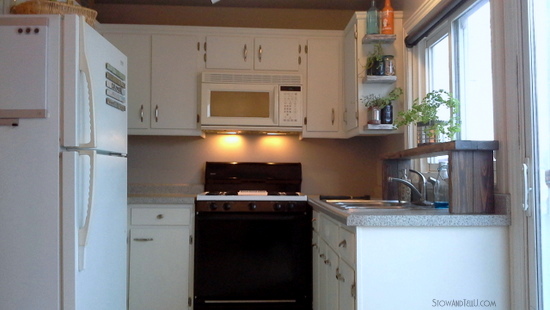 Here is how it looks now. Much brighter and feeling fresh, I’d say.
I haven’t really staged anything above the cabinets as of yet, and I realize that it’s not exactly the most exciting update, but giving the fact that the cabinets are from the early 1970’s, the walls are a triffle crooked, and I only spent about $200.00, I’ll take the update.
Here is what was updated:
Freshly painted walls and ceiling
Pallet wood over the sink shelf for taking advantage our our vertical space
Floating shelves
Paint stick magnets for de-cluttering the fridge
Paint dipped cans for winter storage of our garden herbs
Under mount microwave
How much it cost:
Paint and supplies $100.00
Microwave $60.00
Blue jars $12.00 (part I gave away as a gift)
Dish pans $6.00
$20.00 miscellanous craft supplies
Total $198.00
Labor and patience were the most expensive items for this makeover. We did all the labor ourselves, which wasn’t really much when it came right down to it. But fitting it in between our work schedules and my blogging, well that took some maneuvering.
 I practiced patience while I waited for Ken to add some floating shelves.
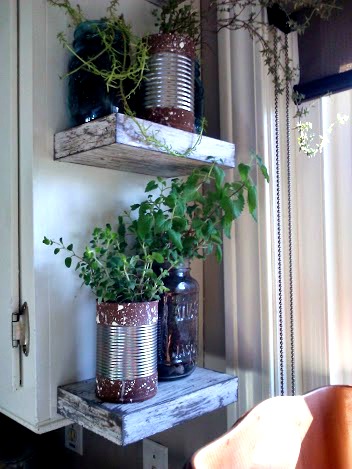 They were a little tricky to hang because we mounted them to the existing cabinet, but he finally put them up for me, as he was quite sure I would screw it all up if I did it myself, and he’s probably right! It’s another great way to use that vertical space.
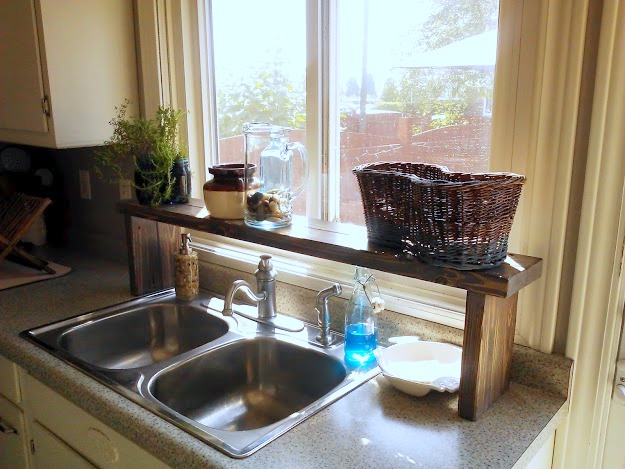 As much as I would have loved to keep the over the sink area looking like it did last summer with pretty baskets and herb filled jars.
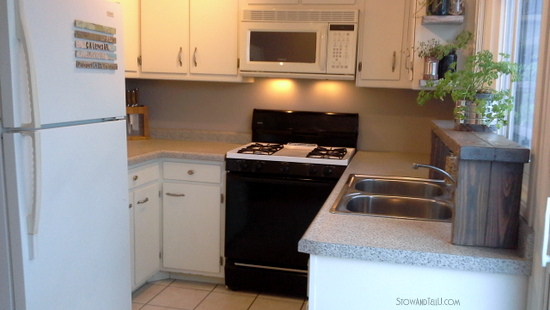
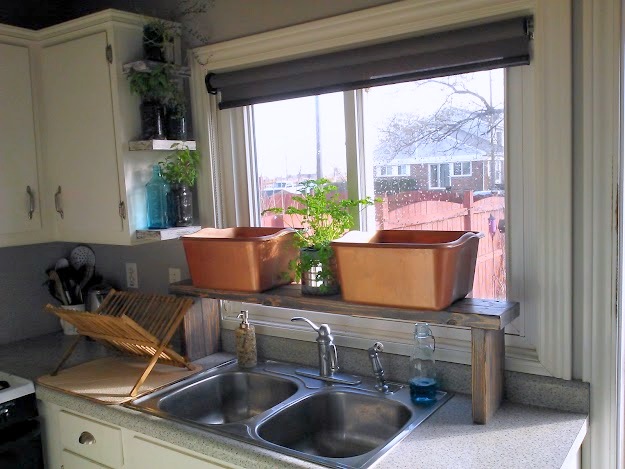 I can’t tell a lie. Most days it’s looking more like this, with the copper dish pans ready to be filled because I’m too darn busy to wash my dishes around the clock.
 Considering how much it cost to freshen up the kitchen…well this section, anyway, I have to say, I’m quite pleased. It is nice to have a change of scenery since like most people, we spend a lot of time in the kitchen. The other half of the kitchen, I’ll call it the seating area, is still yet to be completed. But rather than a bunch of small projects it will more than likely be just a few larger pieces. For now were focusing on the basement as much as we can, so I hope to share some more of that soon.
Thank you for stopping by, hope you’re having an awesome day!! ~ Amy
Anne says
It does look so much brighter! xoxox
heather f says
I am really loving this update. I still love how clever you were with your copper dishes buckets and the shelves look beautiful!
Bliss says
Where can I purchase some patience?
Feral Turtle says
Love it Amy. It really did freshen everything up and I love all the greenery you added.
Mel says
I love the fresh new look and I’m still so badly wanting to make the over the sink shelf.
Danni@SiloHillFarm says
It looks great Amy! Definitely brighter and bigger! I’m loving those floating shelves, they are perfect for greenery. I still love that over the sink shelf…such a genius project! What color did you put on your walls?
Doreen@househoneys says
Well done Amy! Fresher, brighter and functional. Looking forward to part deux.
Shanna Gilbert says
It looks fantastic Amy! What a difference a coat of paint can make! It really modernizes it and makes it look bigger and more open. Great job!